This article was written by Martin Aranovitch and by wikiHow staff writer, Nicole Levine, MFA. Martin Aranovitch is a WordPress Trainer and Educator and a WordPress Writer for WPMU DEV. With over 18 years of digital marketing and website maintenance experience, Martin specializes in providing comprehensive instruction for people looking to use WordPress effectively. He holds a Bachelor’s degree in Science and Technology Studies from The University of New South Wales. Martin is also a digital publisher and the author of multiple WordPress guides and training manuals for people of all learning levels.
There are 8 references cited in this article, which can be found at the bottom of the page.
This article has been viewed 4,462 times.
Do you want to make sure your text headers on your website are the proper size on all web browsers? HTML provides 6 levels of headings for websites, ranging from H1 (the largest) to H6 (the smallest). If you want to increase or decrease the size of your H1, H2, H3, or other tags, you can set the size using CSS. This wikiHow guide will teach you the most reliable and accessible way to change the header font size on your website using the font-size CSS property. And if you're using WordPress, we'll also show you how to adjust the header font size in your theme's CSS editor, as well as in the block editor.
Things You Should Know
- You can specify the font size of header tags (H1, H2, etc.) using the CSS font-size property.
- To make sure your headers look right on all browsers, use relative units of measurement like em, rem, and vh.
- If you're using WordPress, you can go to Appearance > Customize > Additional CSS to add your preferred header sizes.
Steps
Using the font-size CSS Property
-
1Choose a unit of measurement for your header size. When you use the CSS font-size property, you can change the size of your header font in two different ways:
- In relative units: For accessible web design, you'll usually want to adjust the font relative to other elements. This ensures the size of your headers will adjust automatically when the user resizes the window.
- In absolute units: If you want to be specific about the number of pixels (px), points (pt), inches (in), or other specific sizes, you can use absolute units. However, this can cause problems when it comes to responsive web design, as the user won't be able to adjust the size of the text in their browser, even when magnifying the page.[1]
-
2Common relative units. To make sure your header sizes stay consistent no matter the screen size of the user, you'll want to stick to relative units. The most common relative units you'll use with the font-size property are:
-
em: Adjusts the header size relative to the font size of the element. Using em is great because it changes the size of the font based on the font the reader is using on their computer, phone, or tablet.[2]
- For example, using font-size: 1.2em increases the size of the heading 1.2 times, or 20% larger than the default size.[3]
- Or, if the header tag is inside of another element that has a font size specified, such as a div, using font-size: 1.2em in your header code would make the size of the header 20% larger than the font size specified in the div.
-
rem: Similar to em, but changes the size based on the root (html) element's font size instead of the parent element. If you set your header size using rem as the unit of measurement, the header will always adjust based on that of the root element, even if the header is within another container.
- For example, if the HTML body font size is set to 100%, using font-size: 5rem in your H1 tag would make the H1 header size 5 times as large as the default font.
-
vh: Changes based on the height of the viewport (the area of the screen visible to the user).[4]
- For example, font-size: 10.0vh makes the font 10% of the viewport's height.
- vw: Just like vh, vw adjusts the size relative to the viewport, but to the width rather than the height.
Advertisement -
em: Adjusts the header size relative to the font size of the element. Using em is great because it changes the size of the font based on the font the reader is using on their computer, phone, or tablet.[2]
-
3Use the font-size property to specify the font size of your header tags. Once you've chosen a unit of measurement, you can change the size of a header by creating an (or editing an existing) element for your header tag in your website's CSS file or the WordPress CSS editor. Here are some examples to get you started:
- For example, if you want to change the size of the H1 to be 20% of the viewport size, you'd use:
h1 {
     font-size: 20vh;
}
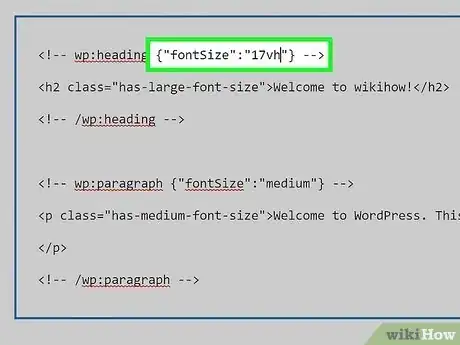
- In this example, we'll use CSS to also adjust the size of the H2 header tag, which we want to be a little smaller than H1 tags. Let's make it 17% of the viewport height:
h1 {
     font-size: 20vh;
}
h2 {
     font-size:17vh;
}
- For example, if you want to change the size of the H1 to be 20% of the viewport size, you'd use:
-
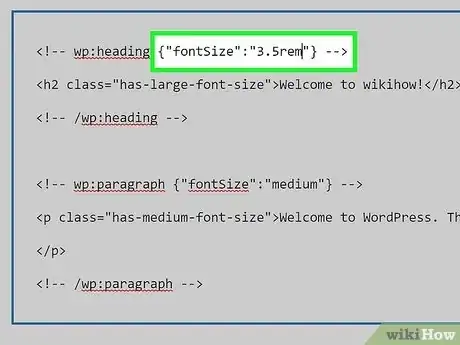
4Now, instead of using the viewport height (vh) as our measurement unit, let's use rem. In this example, we'll change the font size of H1, H2, and H3 relative to the size of the font set in the HTML element:
html {
     font-size: 100%;
}
h1 {
     font-size: 3.5rem;
}
h2 {
     font-size: 2.75rem;
}
h3 {
     font-size: 2rem;
}
Editing CSS for Headers in a WordPress Theme
-
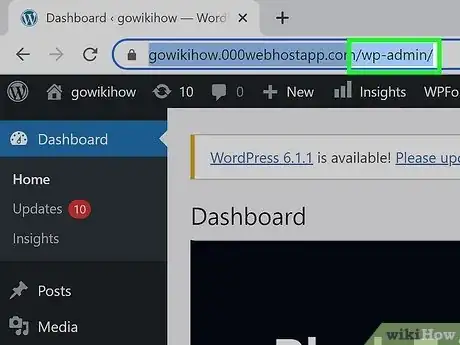
1Sign in to your WordPress dashboard. If you're designing a WordPress site and want to set the header sizes for your entire site, you can use the Customizer in your WordPress dashboard to change the CSS for your theme.[5]
- If you haven't already, see this method to learn how to change the header size with CSS.
-
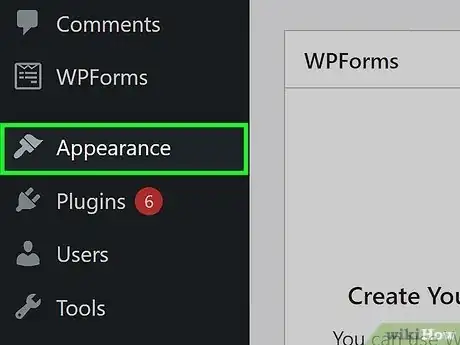
2Click Appearance. You'll see this option in the left panel.
- If you haven't already, click My Site to open your site for editing.
- If you've installed WordPress on your own dedicated or shared web server, you may also be able to edit the CSS file directly, either by downloading the file via FTP or by editing it in your browser. The file you're looking for will be called custom.css or style.css and should be in your theme's main directory.
-
3Click Customize. You'll see this option under Appearance in the left panel.[6]
- Some WordPress themes allow you to change header sizes without having to edit the CSS directly. If you see a "Headings" area, you can use the menus to adjust your header sizes.
-
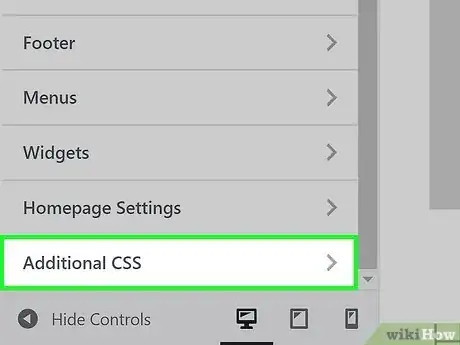
4Click Additional CSS. You'll see this in the left panel. This opens a CSS editor that lets you add your own custom additions to the theme's existing CSS.
-
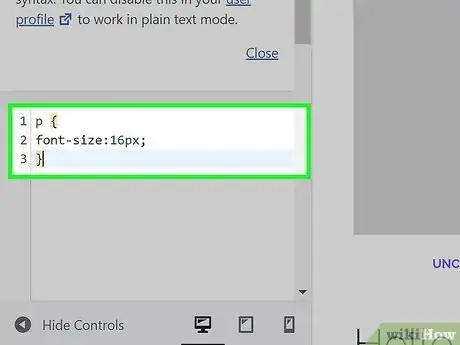
5Add the desired header elements to your CSS. As you type or paste your preferred header sizes using the font-size property into the field, you'll see a preview in the right panel. The preview will also show you how your changes will look on different screen sizes.
- The CSS you enter here will override any other CSS settings in your theme.[8] In other words, if the H1 size is set to 20px in the theme and you set the H1 to 2.75rem in Additional CSS, your changes will take precedence.
-
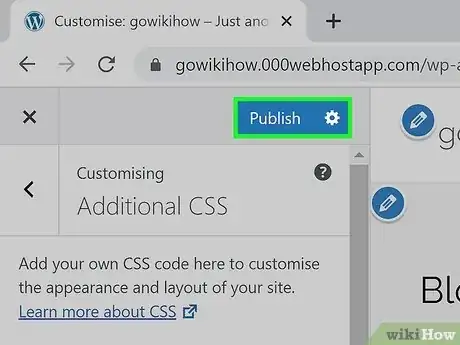
6Click Publish to save your changes. Once you've edited the global CSS for your theme, your new header sizes will apply to your entire WordPress website.
Changing Header Size in WordPress Block Editor
-
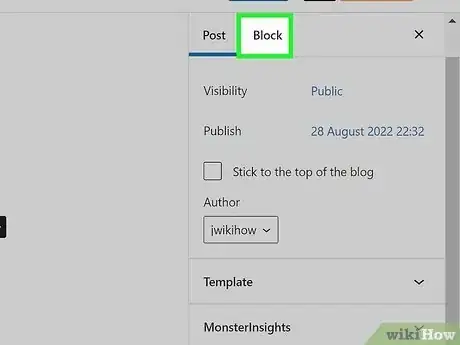
1Expand the sidebar in the WordPress block editor. If you're editing a page or post on WordPress using the block editor, you can easily adjust the size of each of your header tags (H1, H2, H5, etc.) individually. This updates the CSS for the selected header automatically. If you don't see the Settings sidebar running along the right side of the editor, click the Settings menu icon at the top-right corner to display it.
- Unlike when editing the CSS for your theme, the block editor only lets you change header sizes on the post or page that's open for editing.
-
2Click the header you want to edit. When you click the header, the header type (e.g., H1) appears in the pop-up window.
-
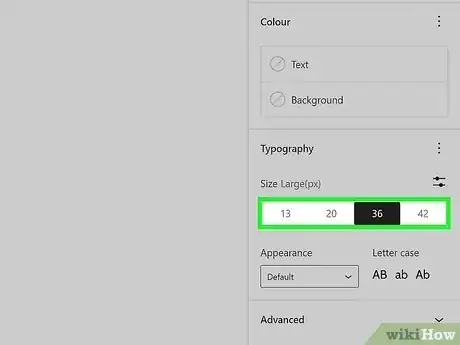
3Select a header size in the Typography area of the sidebar. For example, if you choose XXL, the selected header will adjust to the largest size.
- It's best to keep your header sizes uniform—H1 should be the largest, followed by H2, etc.
-
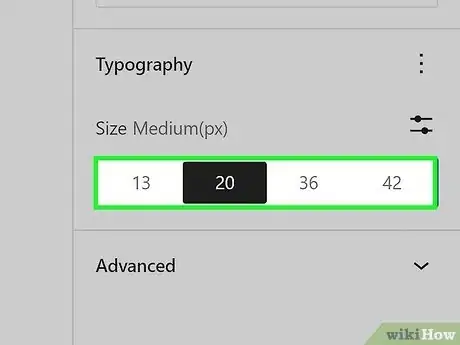
4Repeat for all other headers. You can now select another header on the page and adjust its size manually.
- Adjusting one header will not change the size of all headers on the page. In other words, making one H1 "Large" will not make all other H1s "Large." You'll need to change the size of each header individually.
-
5Click Publish to save your changes. Now your new header sizes will be visible to all readers.
References
- ↑ https://developer.mozilla.org/en-US/docs/Web/CSS/font-size
- ↑ https://developer.mozilla.org/en-US/docs/Web/CSS/font-size
- ↑ https://www.w3.org/TR/css-values-3/
- ↑ https://developer.mozilla.org/en-US/docs/Learn/CSS/Building_blocks/Values_and_units
- ↑ https://wordpress.com/support/editing-css/
- ↑ https://wordpress.com/support/customizer/
- ↑ ttps://wordpress.com/support/editing-css
- ↑ https://developer.mozilla.org/en-US/docs/Web/HTML/Element/Heading_Elements
