This article was co-authored by wikiHow staff writer, Nicole Levine, MFA. Nicole Levine is a Technology Writer and Editor for wikiHow. She has more than 20 years of experience creating technical documentation and leading support teams at major web hosting and software companies. Nicole also holds an MFA in Creative Writing from Portland State University and teaches composition, fiction-writing, and zine-making at various institutions.
This article has been viewed 200,916 times.
Learn more...
When you record your podcast, your band's lead singer, or other vocals in Audacity, you'll typically wind up with a mono track. When it comes time to save your final project, you'll want to make sure you're getting that full stereo sound in the left and right speakers. Fortunately, it's easy to convert a mono track to stereo in Audacity. If you just have one mono track, you can duplicate it, then merge them together in stereo. You can also join two mono tracks (or a mono track and a stereo track) into a single stereo track with custom pan and gain. Read on to learn how!
Things You Should Know
- To quickly convert a single mono track to stereo, duplicate the track, select both tracks, and choose "Make Stereo Track."
- To join two mono tracks into a stereo track, adjust the pan and gain for each track, then use "Mix and Render."
- You can split a stereo track into two mono tracks to choose custom pan and gain settings, then join them back together in stereo.
Steps
Merge Two Mono Tracks to Stereo
-
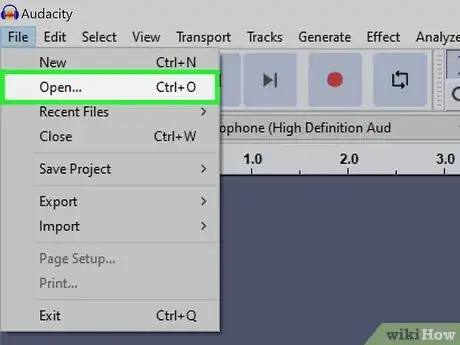
1Open the project that contains the tracks you want to combine. If you have two individual mono tracks (or a mono and a stereo track) that you want to join into a single stereo track, the process is super easy. You can also pan each track left or right to customize how much of each track you'll hear in the left and right speakers.
- If you only have a single mono track that you want to convert to stereo with custom panning (such as vocals you recorded), you'll want to duplicate the track first. Just select the track, go to Edit, then select Duplicate so you have two separate identical tracks.
- If you're starting with a stereo track that you want to edit as two separate mono tracks (one for each channel), click the down-arrow next to the track's name, then select Split Stereo to Mono.
-
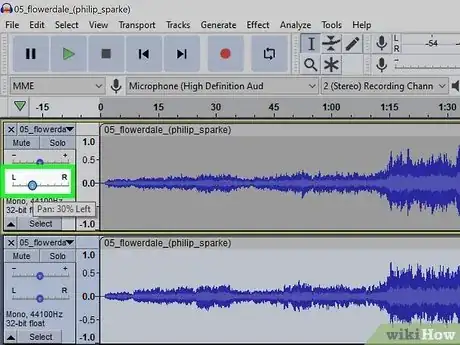
2Adjust the panning of the first track for the left speaker. For the top track, you'll want to drag the slider that has an "L" on one side and an "R" on the other to reflect how prominent this track should play through the left speaker. It's important to have the panning be at least a little bit different for each track to get stereo-width sound.
- For example, if you only want this track to play on the left speaker, you'd drag the slider all the way to the "L" to pan 100%. If you wanted the track to play mostly in the left speaker but also a little bit on the right speaker, you can pan to 75%.
Advertisement -
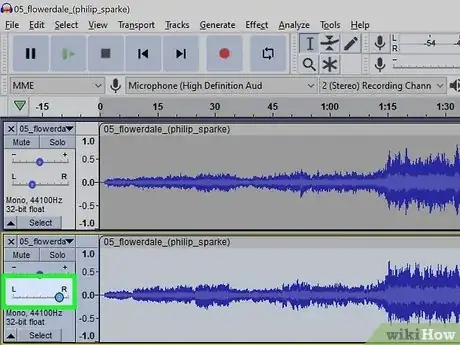
3Set the pan of the second track for the right speaker. For the second track, you'll usually want to pan more to the right for a true stereo effect. Similar to how you panned the first track, drag the slider to the "R" to pan right.
-
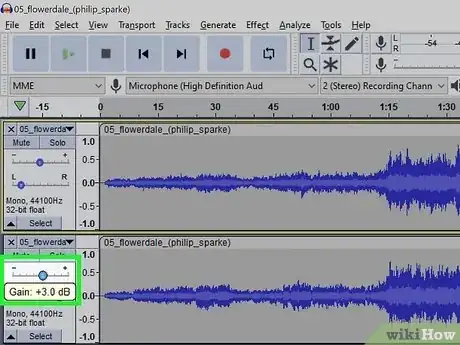
4Adjust the gain for one or both tracks (optional). By default, the gain for both tracks is set to 0.0, which means they'll both play at their default volumes. You can adjust the gain slider (above the panning slider) if you want one of the tracks to be louder or quieter than the other.
- If you want to edit either of the tracks, you can do so now. Audacity will apply all of your gain, amplitude envelopes, and other effects to your final stereo track once mixed and rendered.[1]
-
5Select both tracks. To do this, hold down the Ctrl key as you click each track. Both tracks should be highlighted.
-
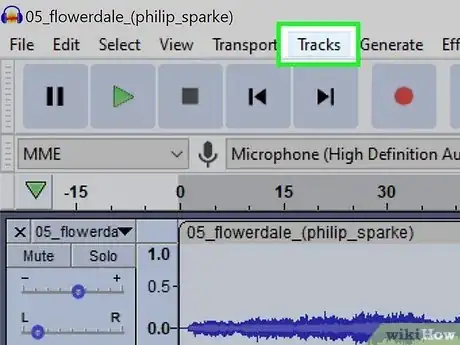
6Click the Tracks menu. You'll see it at the top of Audacity.
-
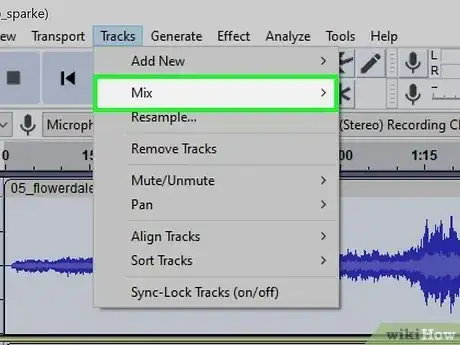
7Click Mix. Another menu will expand.
-
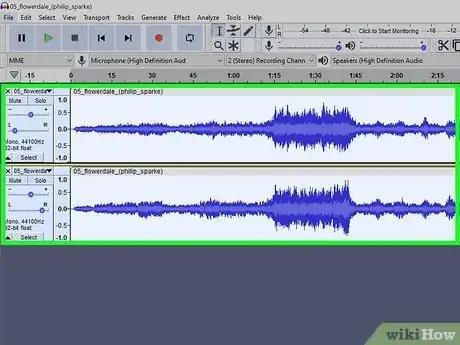
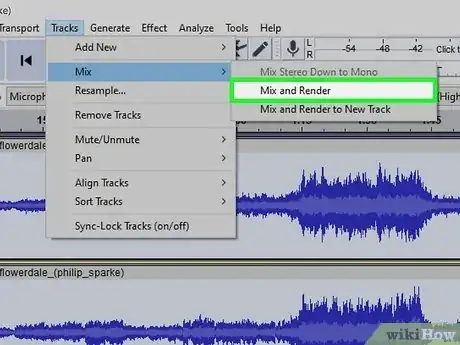
8Click Mix and Render. This replaces the selected tracks with a single stereo track that plays in both speakers with your custom pan and gain settings.
- If you'd rather keep the original files in your project, select Mix and Render as New Track instead. Remember to hit Mute on the other two tracks before previewing your new stereo track so they don't play too.
-
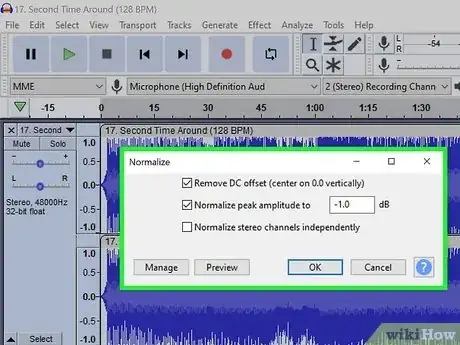
9Normalize the track before exporting (optional). This ensures that your final stereo track won't be too quiet, too loud, or have awkward spikes in volume.[2] To normalize, just select the track, click the Effect menu, select Volume and Compression, choose Normalize, and then click Apply.
-
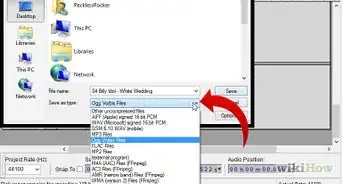
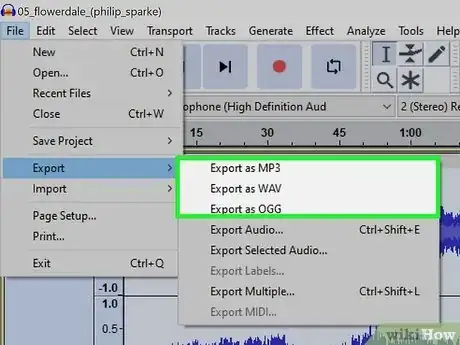
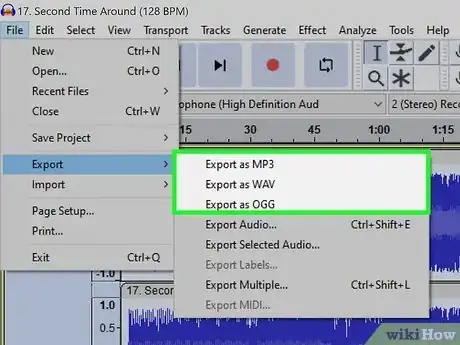
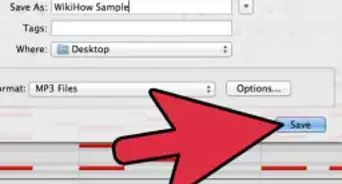
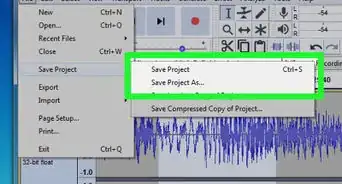
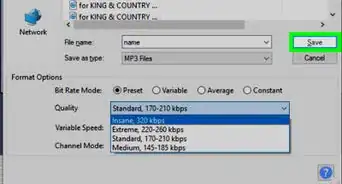
10Export your stereo track. You can now export your stereo track. Just click File > Export, then choose Export as WAV, Export as MP3, or your preferred format.
Convert One Mono Track to Stereo
-
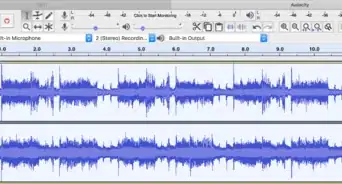
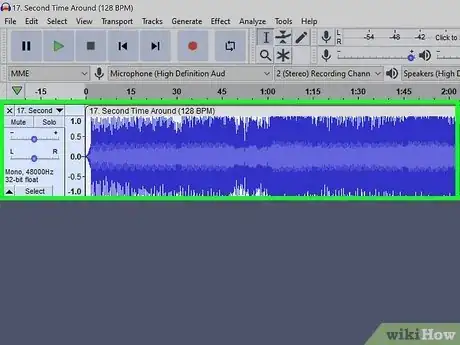
1Open the project that contains your mono track in Audacity. When a track is mono, you'll see a single waveform rather than separate waveforms for each channel. You'll also see the word "Mono" in the left panel.
- By default, converting a mono track to stereo automatically pans one of the tracks 100% to the left and the other 100% to the right. If you want more control over panning and gain, use this method instead.
-
2Click the track to select it. This highlights the entire track.
-
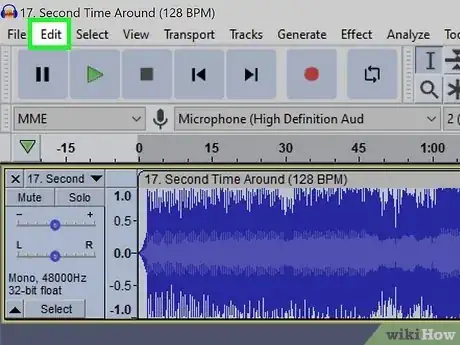
3Click the Edit menu. You'll see this at the top-left corner of Audacity.
-
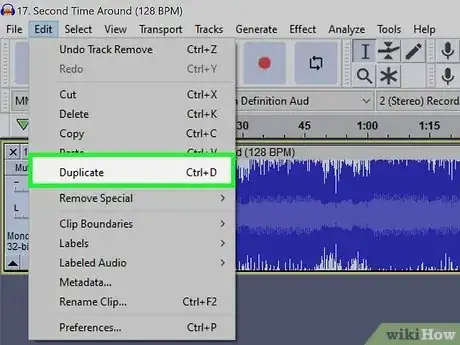
4Click Duplicate on the menu. You'll now have two identical mono tracks in your project.
- Once converted, the top track will be the left channel (pan 100% left), and the bottom track will be the right channel (pan 100% right). Don't change any of the pan or gain settings—these changes will be ignored during the merge to stereo.[3]
-
5Select the duplicate mono tracks. To select both tracks, click one track to select it, then hold down the Ctrl key as you click the second track.
-
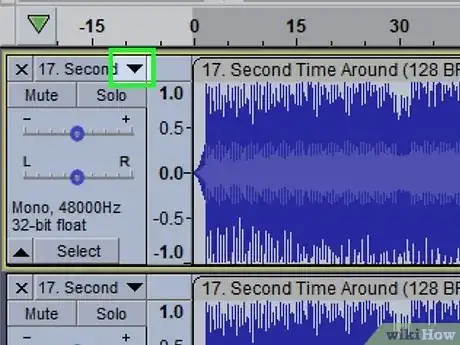
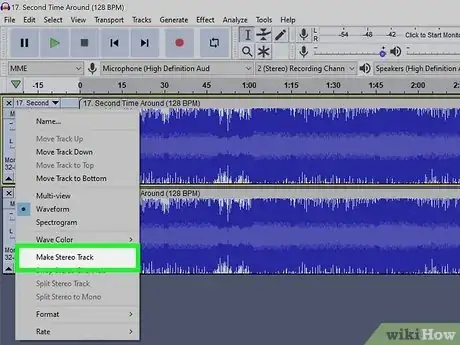
6Click the small down-arrow next to one of the track names. You'll see this small arrow in the left panel next to each track's name. It doesn't matter which of the two arrows you click, as the tracks are identical.
-
7Click Make Stereo Track on the menu. You now have a single stereo track! You'll see "Stereo" in the left panel where you saw "Mono" before, and the track now contains two identical waveforms that will play in stereo.
-
8Normalize the track before exporting (optional). This ensures that your final stereo track won't be too quiet, too loud, or have awkward spikes in volume.[4] To normalize, just click the Effect menu, select Volume and Compression, choose Normalize, and then click Apply.
-
9Export your stereo track. You can now export your stereo track by clicking File > Export and choosing Export as WAV, Export as MP3, or your preferred format.
Community Q&A
-
QuestionWhat if I only have one track and I want to mirror it to the right channel?
 Community AnswerOpen your sound file. Select the whole thing (Cntr-A). Copy it (Cntr-C). From menu "Tracks", select "Add New" and then "Stereo Track". Paste what you copied into the new stereo track (Cntr-V). On the upper left of the new stereo track pane, select the drop down labeled "Audio Track". From the popup menu select "Swap Stereo Channels". Select everything again (Cntr-A). This should select both tracks. From the "Tracks" menu select "Mix and Render". This gives you a single "stereo" track with identical right and left channels.
 -
QuestionIt still will not become stereo. How do I do it?
 Austin MorganCommunity AnswerFind your mono track; Select the entire thing and Ctrl+C (Copy) it. Click anywhere in the window except the track or any of the menus to deselect your mono track. Ctrl+V (Paste) the new mono track beneath the first one. THEN, click the dropdown with the track's name (directly right of the "X" in the track view window) of the top track and click "Left Channel." Do likewise with the bottom track but click "Right Channel." Make sure you can clearly see both tracks in the window, then zoom in until you can see the samples (small dots on the waveform). Slide one track--either is fine--a few samples to the right or left. This will give a SLIGHT illusion of being a proper stereo track.



.webp)
