This article was co-authored by wikiHow staff writer, Nicole Levine, MFA. Nicole Levine is a Technology Writer and Editor for wikiHow. She has more than 20 years of experience creating technical documentation and leading support teams at major web hosting and software companies. Nicole also holds an MFA in Creative Writing from Portland State University and teaches composition, fiction-writing, and zine-making at various institutions.
This article has been viewed 195,345 times.
Learn more...
This wikiHow article teaches you how to add label markers to a track in Audacity. A label marker, also called a track marker, is a feature in audio editing apps used for adding notes or annotations at a specific location in a file. You can use label markers to store editing notes, transcribe voice, to name segments that you want to break into separate files, or for any other purpose. When you add a label marker to a track, Audacity creates a separate label track in the project in which the labels will be stored.
Steps
-
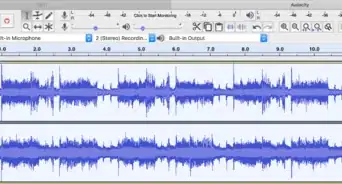
1Open your project in Audacity. You can label virtually any audio track in Audacity.
- If you haven't installed Audacity yet, you can get it from https://www.audacityteam.org/download.
-
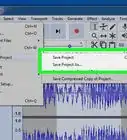
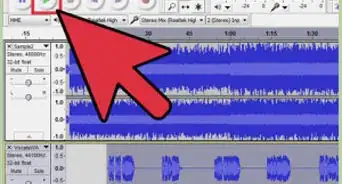
2Click or select the location you want to mark. You have two options:
- To mark a single moment in the track, just click the mouse where you want to add a marker. This is called a point label.
- To label a longer segment, use the mouse to highlight that region. This is called a region label.
Advertisement -
3Press Ctrl+B (PC) or ⌘ Cmd+B (Mac) to add the label marker. This inserts a label track into the project and places a marker at the selected location.
- Alternatively, you can click the Edit menu, select Labels, and choose Add Label at Selection.
- If you want to add labels quickly during playback, press Ctrl + M (PC) or Cmd + M (Mac) to add a label at the current playback position. This is especially handy when making transcription notes.
-
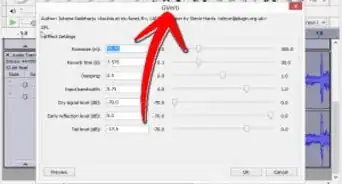
4Type a name or any other information you want in your label. The marker's label should not exceed 260 characters to avoid performance issues in the editor.[1]
-
5Press ↵ Enter or ⏎ Return. This saves the text to the label track.
- You can edit a label at any time by right-clicking it and selecting Edit label.
- To remove a label, right-click it and select Delete label.


Community Q&A
-
QuestionWhen moving clips around, how do I keep the labels attached to the clips?
 Community AnswerOnce you have your tracks lined up for timing, go to Tracks > Sync-Lock Tracks (on/off). A clock icon appears on all the tracks and they are now synced to each other.
.webp)

About This Article

1. Click or select the area you want to mark.
2. Press Control + B on a PC or Command + B on a Mac.
3. Type your label marker details.
4. Press Enter or Return.