X
This article was co-authored by wikiHow staff writer, Jack Lloyd. Jack Lloyd is a Technology Writer and Editor for wikiHow. He has over two years of experience writing and editing technology-related articles. He is technology enthusiast and an English teacher.
The wikiHow Tech Team also followed the article's instructions and verified that they work.
This article has been viewed 377,489 times.
Learn more...
This wikiHow teaches you how to add pictures to your Windows computer. You can import pictures from a storage item—such as a phone or a tablet—by using the Photos app that comes installed on your computer, or you can download photos from online.
Steps
Method 1
Method 1 of 2:
Importing from Storage
-
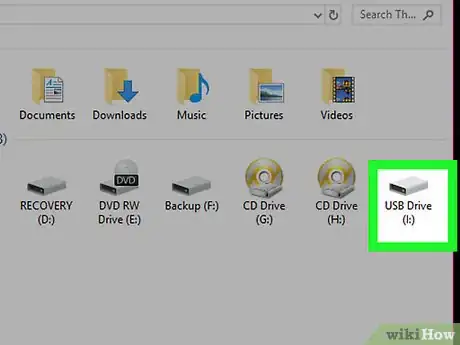
1Attach an item with pictures on it to your computer. Depending on the item, you'll do this in one of a few different ways:
- Phone or tablet - Connect your item using the USB charging cable.
- Flash drive - Plug the flash drive into a USB port.
- Camera SD card - Insert the SD card into your PC's card reader.
-
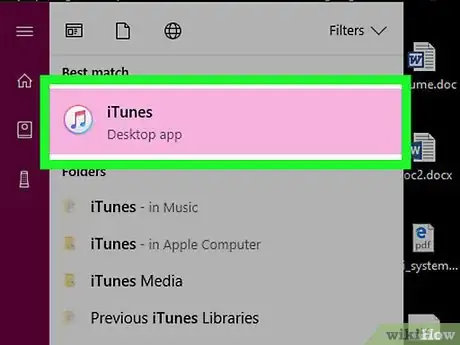
2Open iTunes if you're using an iPhone or iPad. If you're attempting to move pictures from an iPhone or iPad onto your computer, you'll need to open iTunes and allow the phone/tablet to appear there before proceeding; otherwise, your computer won't recognize the item as storage.
- Skip this step for any other type of storage.
Advertisement -
3
-
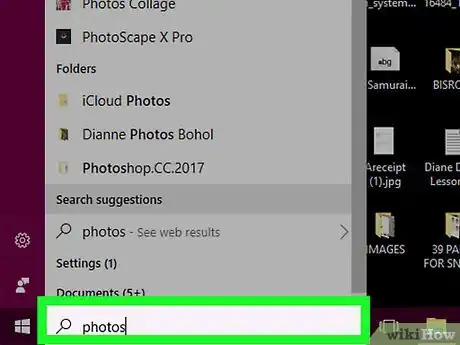
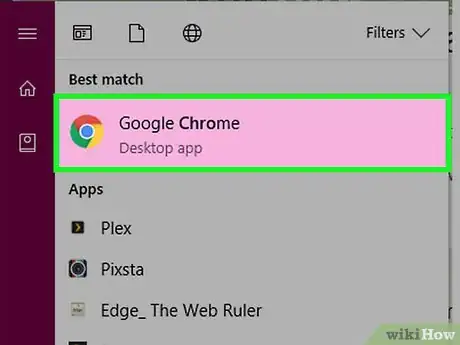
4Type in photos. Doing so will search your computer for the Photos app, which is a program that compiles all of the photos from your computer into one location.
- On many Windows computers, the Photos app is in the Start menu by default.
-
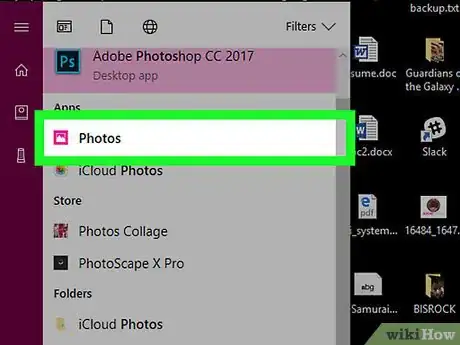
5Click Photos. This app is at the top of the Start menu. Doing so opens the Photos app.
-
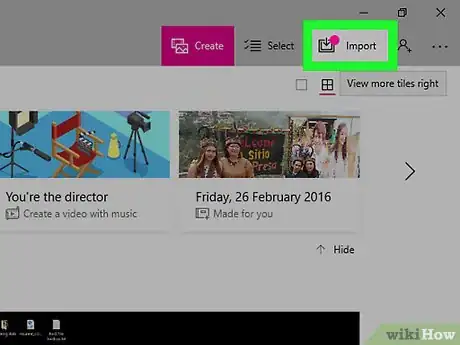
6Click Import. It's in the upper-right corner of the Photos window. A drop-down menu will appear.
-
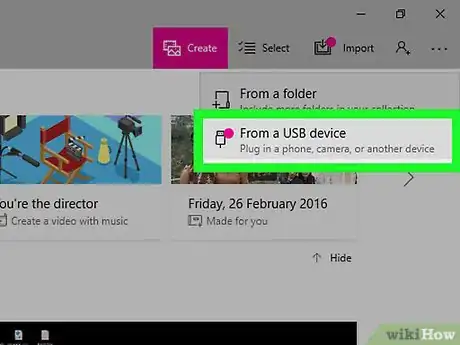
7Click From a USB device. It's in the drop-down menu. Clicking this will prompt your computer to begin scanning for connected items with photos.
- Once a window with available photos appears, you can proceed.
-
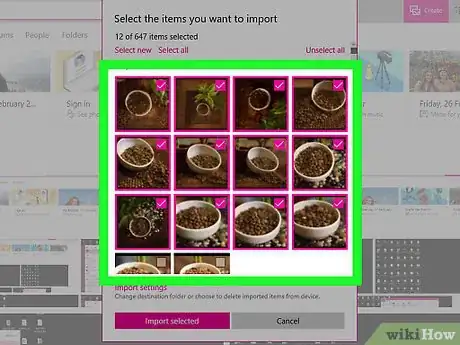
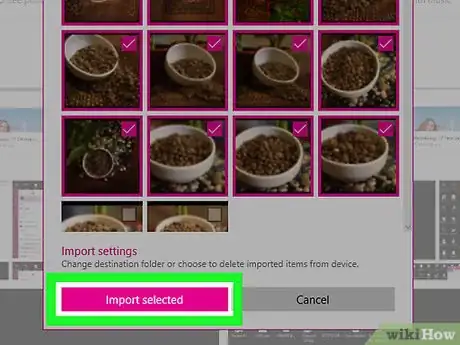
8Select photos to transfer onto your computer. Click each photo that you want to import to check its box, or click the Select all link to import all of the item's photos.
-
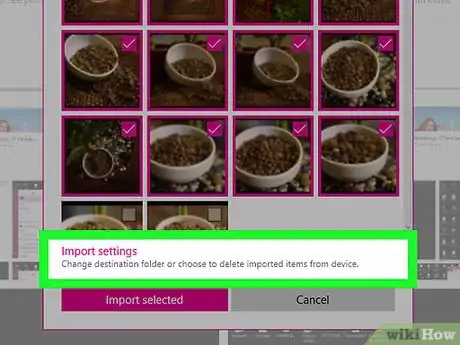
9Change the import folder if necessary. If you want to change the folder into which your photos are imported, do the following:
- Click Change how they're organized near the bottom of the window.
- Click Change where they're imported near the top of the window.
- Click a folder on the left-hand side of the window.
- Click Add this folder to Pictures in the bottom-right corner.
- Click Done at the bottom of the window.
-
10Click Import selected. It's at the bottom of the window. Doing so will prompt the photos to begin importing into your computer.
- Once the photos finish importing, you'll see a notification appear in the lower-right corner of your computer's screen.
Advertisement
Method 2
Method 2 of 2:
Downloading from Online
-
1Open an Internet browser. You can type search queries into an Internet browser's URL bar, which is the field at the top of the browser's window.
- Common Internet browsers include Microsoft Edge, Google Chrome, and Firefox.
-
2Search for a picture to download. For example, if you want an image of a forest, you might type "pine trees" or something similarly related into your browser.
- While searching, you can narrow your results to include only pictures by clicking the Images tab near your browser's search bar after entering a search term.
-
3Select a photo. Click the photo that you want to save. This will open the photo.
- On some websites, clicking a photo will redirect you to a different page. If so, click your browser's "Back" button and then proceed to the next step.
-
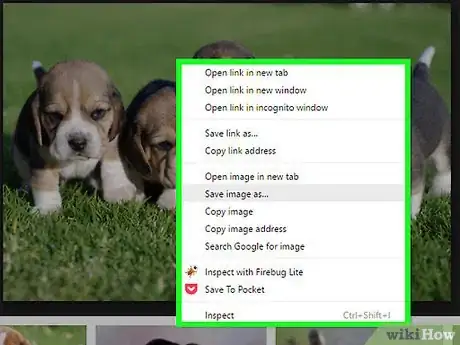
4Right-click the enlarged photo. This will prompt a drop-down menu to appear.
- If your mouse doesn't have a right-click button, click the right side of the mouse, or use two fingers to click the mouse.
- If your computer uses a trackpad instead of a mouse, use two fingers to tap the trackpad or press the bottom-right side of the trackpad.
- You can also use the 'List Options' key on the right-hand side of your keyboard between the Alt and Ctrl keys (not all keyboards have this though).
-
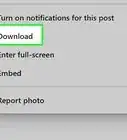
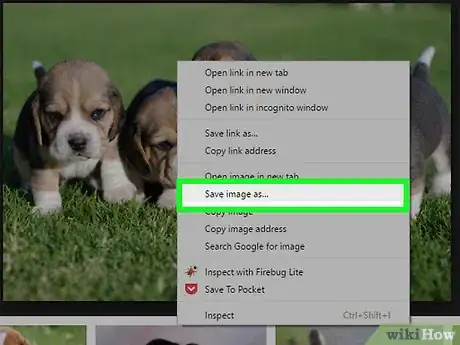
5Click Save image as…. It's toward the middle of the drop-down menu. Clicking this option prompts a File Explorer window to open.
- On some web browsers, this option may just say Save image or Save.
-
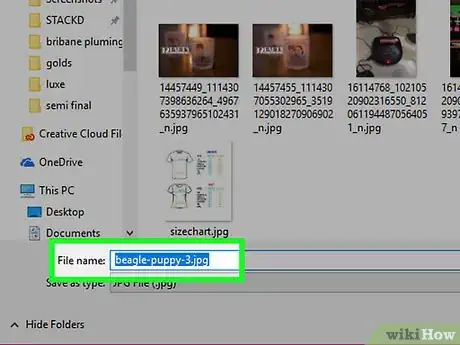
6Enter a name for your image. You'll do this in the "File name" field.
-
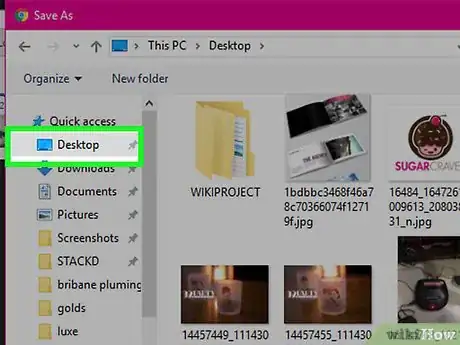
7Select a save location. In the left-hand pane of the "Save as" window, click the name of a folder in which you want to save your picture (e.g., Desktop).
- Your picture will appear in the selected save location once it finishes downloading.
-
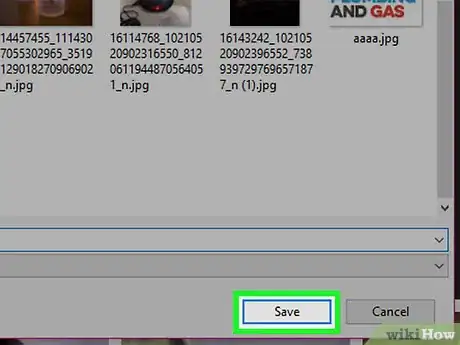
8Click Save. It's at the bottom of the window. Doing so will prompt your picture to begin downloading to your selected save location.
Advertisement
Community Q&A
-
QuestionHow do I change how I view pictures that are saving on my PC?
 Community AnswerGo to the Control Panel> Programs> Default Programs and select the application you want to use.
 -
QuestionIf my photos are already in my pictures, can I save them to a blank disk?
 Community AnswerYes, just insert the disc into your PC's player and wait until "External Disc" becomes an option in "This PC." Then either drag the photos from one folder to another or copy and paste by right clicking and pressing copy and then right clicking in the empty disc and clicking paste. Then burn your disc and you are good to go!
 -
QuestionI can't seem to save my picture. How do I do it?
 Community AnswerMost of the time the key combination Ctrl+S is effective in saving pictures. Otherwise try right-clicking on the picture and selecting "Save as" then give your picture a name.
Advertisement
Warnings
- Make sure you only download photos from legitimate sites.⧼thumbs_response⧽
- Some websites, such as the desktop version of Instagram, will not allow you to save pictures. You can instead take a screenshot of these pictures.⧼thumbs_response⧽
Advertisement
About This Article
Advertisement








-Step-53.webp)
