X
wikiHow is a “wiki,” similar to Wikipedia, which means that many of our articles are co-written by multiple authors. To create this article, 35 people, some anonymous, worked to edit and improve it over time.
This article has been viewed 291,890 times.
Learn more...
Taking photos with your digital camera is fun, easy, and addictive. Suddenly you find yourself with hundreds of photos on your hard drive, as well as printed out all over your desk, room, and walls. What should you do to organize and catalogue your photos? Here are some tips to help you clean up the clutter, and enjoy your digital memories.
Steps
-
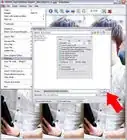
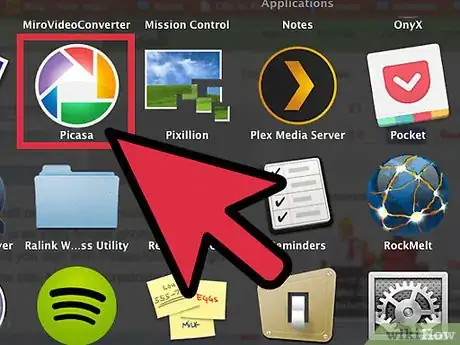
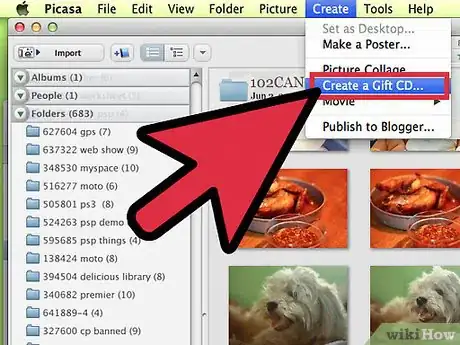
1Download a free image organizer. Fast small ones include Xnview (open source) and Irfanview (popular). Picasa from Google is an easy-to-use photo management tool. However, read the fine print on the agreement you sign with Picasa/Google. It gives Google the rights to all of the photos you put on the site, for their unrestricted use.[1]
-
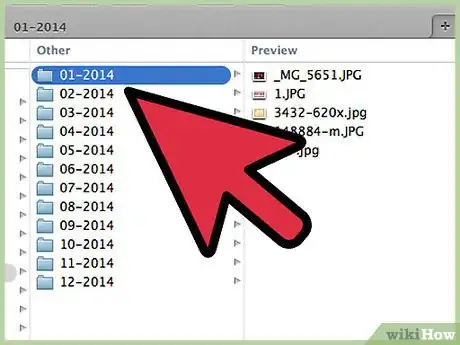
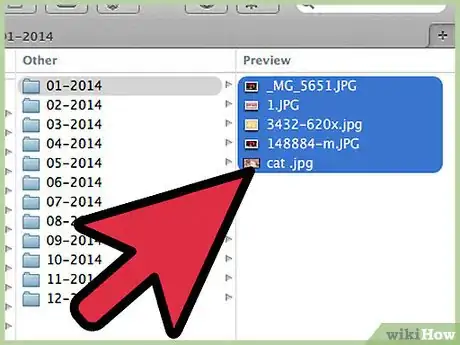
2When you transfer your photos from your camera to your computer, immediately put them into a folder on your hard drive -- not just My Pictures, but create a subfolder by date (use reverse date format e.g. 2007-06-26 which is listed better by computers ordering files by name), event name or both. After the date you could give your shoot a nameAdvertisement
-
3If you already have copious numbers of photos dumped into your My Pictures folder, take some time to create sub-folders as described above, and sort them into the appropriate folder.
-
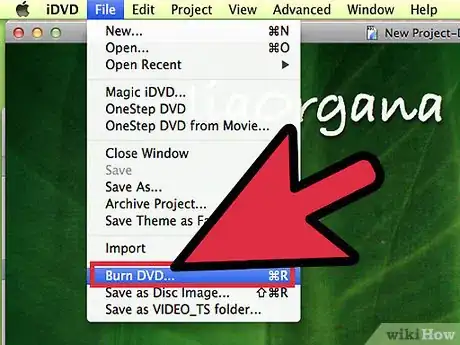
4Regularly back up your photos by burning them onto a CD or DVD. Nothing is worse than having a hard drive crash and losing all of your pictures. Then, put your CD or DVD into a box, holder, or album (you can find 'photo albums' for picture CDs in photography shops) so you know where it is and have easy access. You can also use Online file backup services like Dropbox, Sugarsync or SkyDrive or use a dedicated Photo Share site that offers file synchronization like InmyPhotofolder.[2]
-
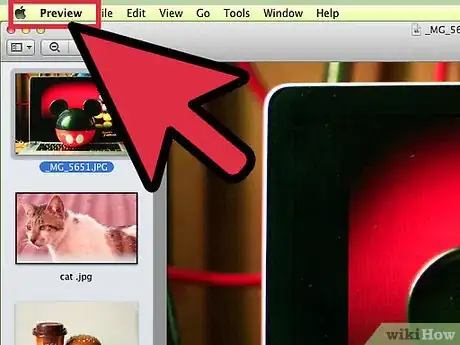
5Log your best shots. Open all your images from a shoot. On a mac you can do this in preview. Scroll through these images and jot down your favourite shots. By doing this you can reduce 200 images down to 20.
-
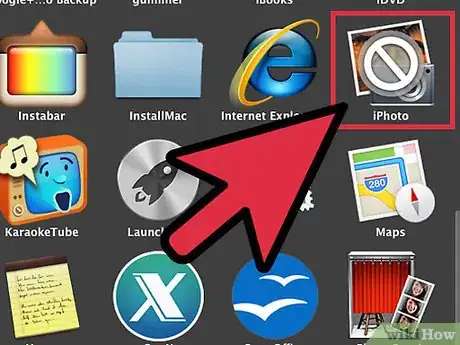
6Import these images into a library. On a mac you could import them into iPhoto.
-
7As soon as the ink is dry, organize your photos into albums. The sooner you do this, the fewer photos you will have piling up and cluttering your space, not to mention getting damaged.
-
8Do the above step for all of the photos you already have printed out. Use different albums to catalogue and categorize -- for example, you can keep separate albums for friends, events you attend, and 'artful' shots that you take.[3]
-
9Remember that if you back up your photos onto a CD, and leave them on the computer as well, you will eventually find you have multiple copies of the same photo in different folders. In Picasa2, when you back up pictures, Picasa will remember not to double up on the same CD.
-
10One good method of organizing is to put only photos about a particular subject on each CD and label it as such, such as "grandkids" or "reunion 98" then if you want a particular subject you can find it easily because you don't have "sewing projects" on the same CD as "Reunions"
Advertisement
Community Q&A
-
QuestionShould I organize my photos by category or date?
 Community AnswerI would personally say both: make some categories and then sort the photos in each category by date.
 -
QuestionHow can I arrange my family photos that were taken at different times?
 Community AnswerGo to Google Play Store and download Collage Photos. Or you can just print them out and glue or tape them to a cardboard box or poster board.
 -
QuestionHow can I edit photos?
 Community AnswerTo edit a photo, use a photo editing program such as Photoshop. See further: how to Edit Digital Photos.
Advertisement
Warnings
- Make sure the photo albums you choose are acid-free. Photos last longer in acid-free albums.⧼thumbs_response⧽
Advertisement
References
About This Article
Advertisement








-Step-53.webp)
