This article was co-authored by wikiHow staff writer, Nicole Levine, MFA. Nicole Levine is a Technology Writer and Editor for wikiHow. She has more than 20 years of experience creating technical documentation and leading support teams at major web hosting and software companies. Nicole also holds an MFA in Creative Writing from Portland State University and teaches composition, fiction-writing, and zine-making at various institutions.
The wikiHow Tech Team also followed the article's instructions and verified that they work.
This article has been viewed 14,244 times.
Learn more...
This wikiHow teaches you how to improve the quality of photos you take with your Samsung Galaxy's camera app.
Steps
-
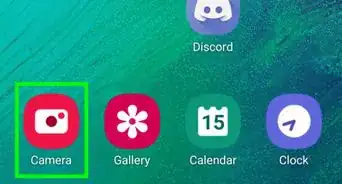
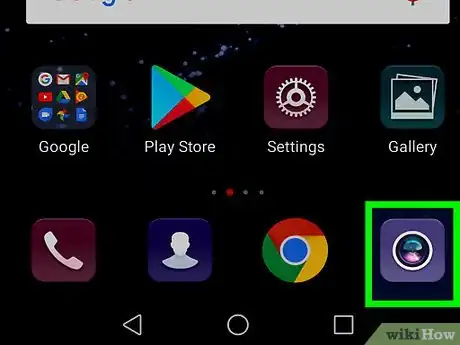
1Open the Camera app on your Galaxy. It's the camera icon typically found at the bottom of the home screen.
- Increasing the resolution increases the file size of your photos. If you have limited space on your phone or tablet, keep this in mind.
-
2Tap the gear icon. It's at the top-right corner of the screen. A menu will expand.Advertisement
-
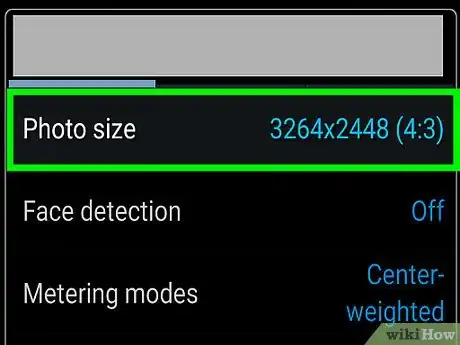
3Tap Picture size under “REAR CAMERA.” A list of resolutions will appear.
-
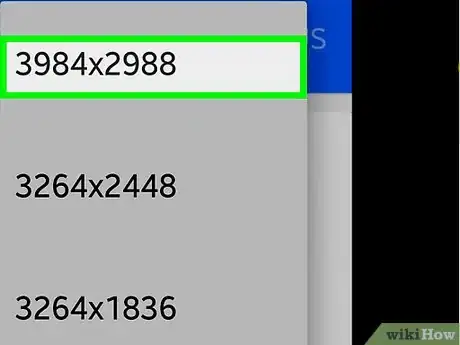
4Select a higher resolution. The largest number indicates the highest resolution.
-
5Tap the back button. This brings you back to the camera settings.
-
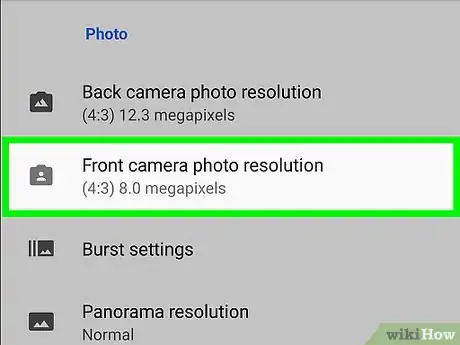
6Tap MacButton under “FRONT CAMERA.” A menu containing several resolution choices will expand.
-
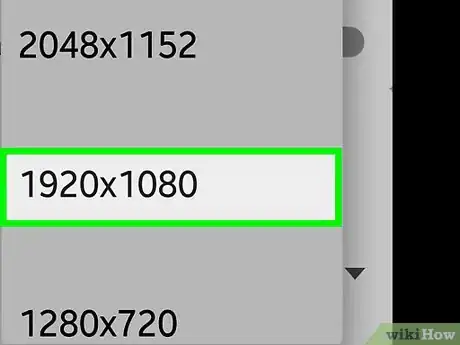
7Tap your desired resolution. Again, the larger the number, the higher the resolution. Your new resolution settings will take effect immediately.
About This Article
1. Open Camera.
2. Tap the gear.
3. Tap Picture size under “REAR CAMERA.”
4. Tap a resolution.
5. Tap the back button.
6. Tap Picture size under “FRONT CAMERA.”
7. Tap a resolution.






-on-Samsung-Galaxy-Step-17.webp)
