X
wikiHow is a “wiki,” similar to Wikipedia, which means that many of our articles are co-written by multiple authors. To create this article, volunteer authors worked to edit and improve it over time.
This article has been viewed 51,878 times.
Learn more...
FFmpeg is a free software project that produces libraries and programs for handling multimedia data. This tutorial will cover the installation and usage of FFmpeg to record your desktop on Ubuntu Linux. Each individuals results may vary depending on your system configuration.
Steps
-
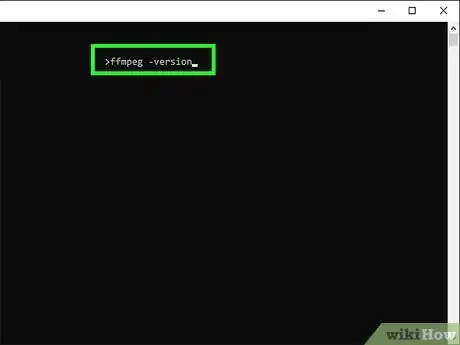
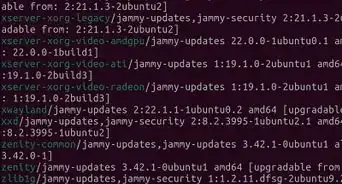
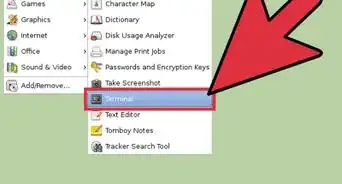
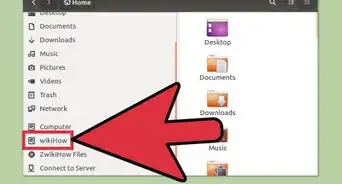
1Check whether you have FFmpeg installed on your system. If typing ffmpeg -version doesn't give you an error message, it is installed. Otherwise you can install FFmpeg by opening a terminal and using the following commands:
-
Type/Copy/Paste: sudo apt-get update
- This command updates the package repositories on your system
-
Type/Copy/Paste: sudo apt-get install ffmpeg
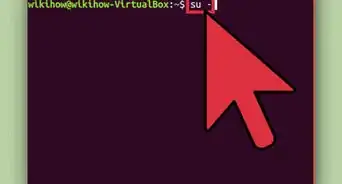
- This command installs FFmpeg on your system. If this gives you an error message stating that you aren't in the sudoers file, you can type su root, enter the root password, and then issue this command. If you don't have the root password either, you'll have to ask your system's administrator to install it for you.
-
Type/Copy/Paste: sudo apt-get update
-
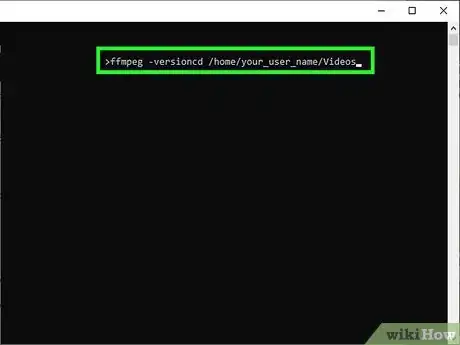
2Change into your "Videos" directory. This is not required, but keeping videos inside of that directory will let you find them easily.
- Type/Copy/Paste: cd /home/your_user_name/Videos
Advertisement -
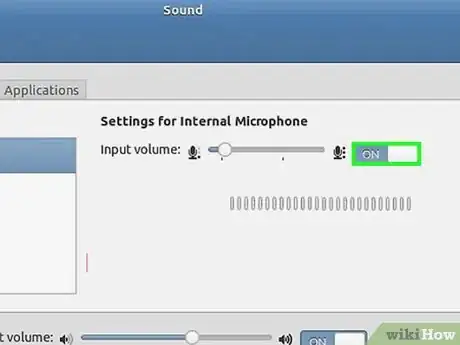
3Make sure your microphone is turned on and the volume is turned up. The following commands will record the full desktop video and sound in the video formats provided below.
-
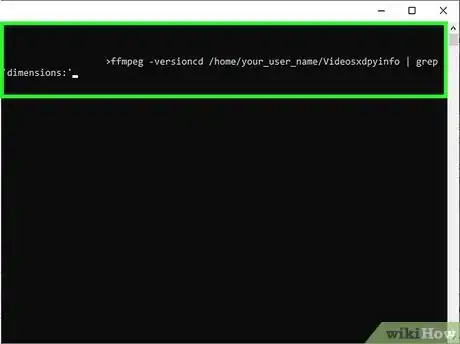
4Find out your screen size. You'll need it if you want to record your whole screen. To find out your screen size, type: xdpyinfo | grep 'dimensions:'
-
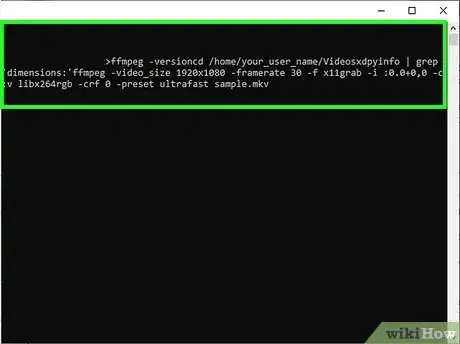
5To record the screen without audio, use the following command: ffmpeg -video_size 1920x1080 -framerate 30 -f x11grab -i :0.0+0,0 -c:v libx264rgb -crf 0 -preset ultrafast sample.mkv
- -video_size specifies the size of the recorded area. If you have a different screen size, use that instead of 1920x1080. If you want to record only an area of the screen, specify the area size here.
- -framerate specifies the frame rate, i. e. how many frames of video are recorded in a second. If you need another frame rate, use another number than 30. The lowest allowed framerate is 20.
- -f x11grab is what actually tells FFmpeg to record your screen. You shouldn't change that.
-
-i :0.0+0,0 is where you specify the x and y offset of the top left corner of the area that you want to record. For example, use
:0.0+100,200to have an x offset of 100 and an y offset of 200. - -c:v libx264rgb -crf 0 -preset ultrafast are encoding options. These specify a fast and lossless recording.
-
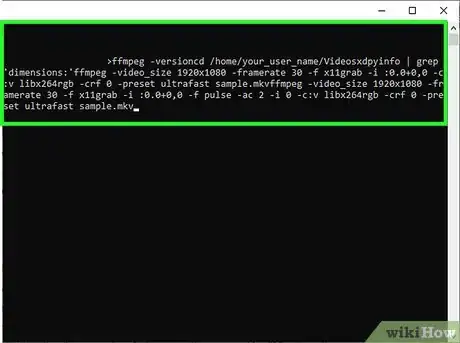
6Use the following command to also record either your microphone or the system sounds: ffmpeg -video_size 1920x1080 -framerate 30 -f x11grab -i :0.0+0,0 -f pulse -ac 2 -i 0 -c:v libx264rgb -crf 0 -preset ultrafast sample.mkv
- Most options are the same as for recording just the screen, but you also specify some additional options. Note that you can't just append new audio options at the end, since their order affects how FFmpeg interprets them.
- -f pulse tells FFmpeg to grab the input from PulseAudio, which is your sound server.
- -ac 2 specifies the number of audio channels. If you receive an error like: "cannot set channel count to 2 (Invalid argument)", you should change that to 1.
-
-i 0 specifies which device to grab the input from. You can see a list of all devices with the command pacmd list-sources. The number behind
-iis the index listed there. The other output of the command will give you an explanation of what that audio device is for. A device with a name like "Monitor of Built-in Audio Analog" will most likely record the system audio, while something with "microphone" in the description will most likely be a microphone.
-
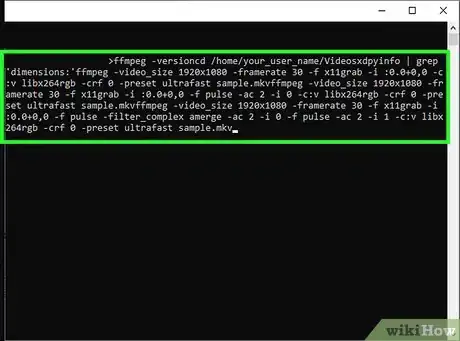
7Use
-filter_complex amergeto merge both audio inputs into one. This will let you have your microphone and the system sounds recorded at the same time. For example, your command could look like: ffmpeg -video_size 1920x1080 -framerate 30 -f x11grab -i :0.0+0,0 -f pulse -filter_complex amerge -ac 2 -i 0 -f pulse -ac 2 -i 1 -c:v libx264rgb -crf 0 -preset ultrafast sample.mkv -
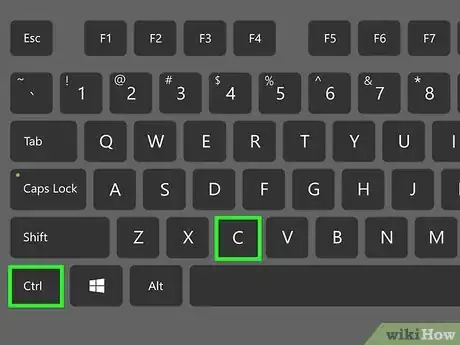
8Press Ctrl+C to stop the recording. It should exit with a message like: "Exiting normally, received signal 2."
-
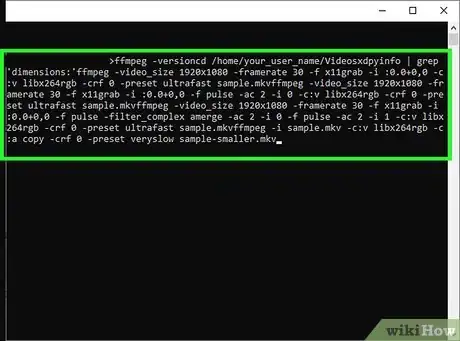
9Re-encode your file, if necessary. If you're concerned about storage space, you can run the following command to get a smaller file without quality loss: ffmpeg -i sample.mkv -c:v libx264rgb -c:a copy -crf 0 -preset veryslow sample-smaller.mkv. Of course, you can do any other conversion, too; see How to Convert Media with FFmpeg for instructions about that.
-
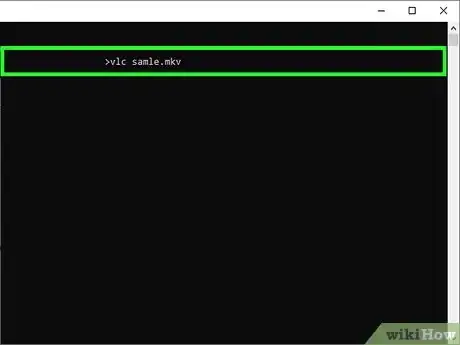
10Watch the recording. This will let you confirm that it actually was recorded as intended. You can use a media player such as VLC, Totem, or MPV. Opening the file with one of these is as simple as typing vlc samle.mkv, totem sample.mkv, or mpv sample.mkv.
- You need to have a media player installed. If you don't have any media player at all, you can install one through APT.
Advertisement
Warnings
- Do a short test recording before recording anything long with this method. This will let you check whether your setup and command is working fine, and make adjustments if necessary.⧼thumbs_response⧽
- There may be short delays at the beginning and the end of the recording. Record a little longer than necessary to make sure that really everything that you needed was recorded.⧼thumbs_response⧽
Advertisement
References
About This Article
Advertisement
