This article was co-authored by wikiHow staff writer, Nicole Levine, MFA. Nicole Levine is a Technology Writer and Editor for wikiHow. She has more than 20 years of experience creating technical documentation and leading support teams at major web hosting and software companies. Nicole also holds an MFA in Creative Writing from Portland State University and teaches composition, fiction-writing, and zine-making at various institutions.
The wikiHow Tech Team also followed the article's instructions and verified that they work.
This article has been viewed 40,997 times.
Learn more...
This wikiHow teaches you how to take high resolution photos with your Android’s built-in camera. You can use these methods on most Androids, but if you have a Samsung Galaxy, check out Improve Photo Resolution on Samsung Galaxy instead.
Steps
Changing the Camera’s Resolution
-
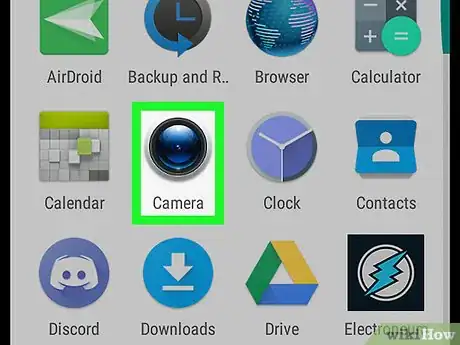
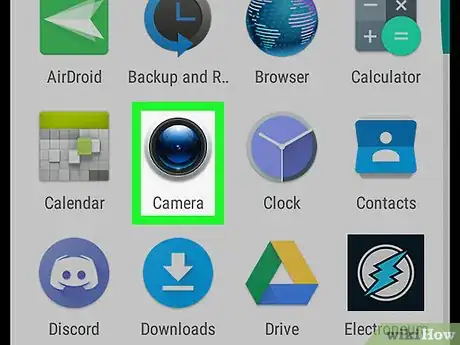
1Open the Camera app on your Android. You’ll usually find it on the home screen.
- The camera apps on Android phones and tablets vary by manufacturer. The options should be similar, but your Android may have different menu names and locations than those in this article.
-
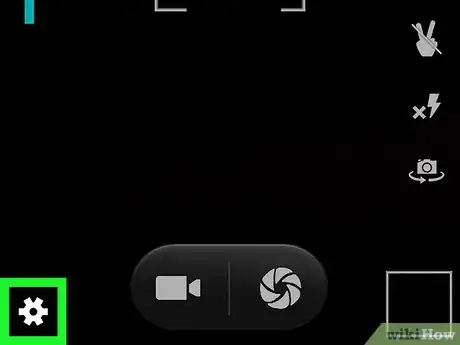
2Tap the gear icon. It’s usually at one of the corners of the camera screen. A list of settings will appear.[1]Advertisement
-
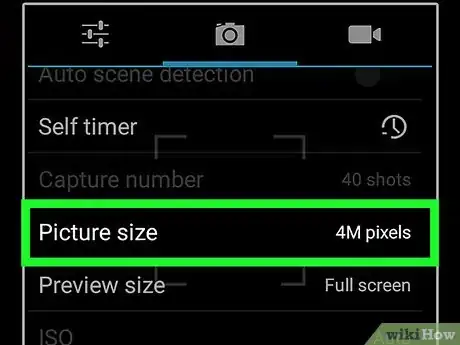
3Find and select Image properties or Image quality. This may also be called Picture size or Image resolution. You’ll know you’re in the right place if you see options like “Standard,” “Low,” and/or “High.”[2]
-
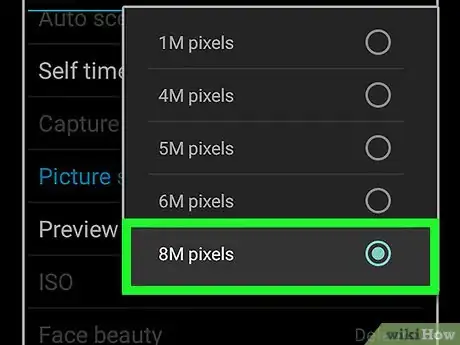
4Select High. This tells your Android’s camera to save photos in the highest resolution possible.
Using HDR Mode
-
1Open the Camera app on your Android. You’ll usually find it on the home screen.[3]
- The camera apps on Android phones and tablets vary by manufacturer. The options should be similar, but your Android may have different menu names and locations than those in this article.
- HDR mode takes higher-quality photos by capturing more variations in colors and brightness. It takes the best quality photos of scenery when there’s lots of variation between light and darkness.[4]
-
2Tap the HDR option on the viewfinder. Look for an icon that says “HDR" somewhere on the screen.[5]
- If you don’t see this option, it’s probably hiding in a filter/photo mode menu. Tap the icon that opens the menu of different modes (e.g. low light, beautification, etc), and then select HDR.
-
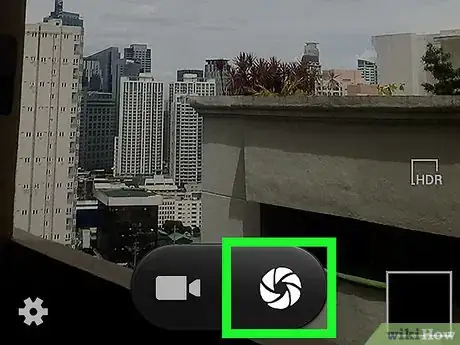
3Take a photo. Make sure you stay as still as possible when taking photos in HDR mode. The slightest movement could make the photo appear blurry.
- HDR mode will snap 3 to 5 photos of the same shot and then convert them into one high-quality photo.
References
- ↑ https://www.dummies.com/consumer-electronics/tablets/android-tablets/how-to-change-the-resolution-on-your-android-tablets-camera/
- ↑ https://www.dummies.com/consumer-electronics/smartphones/droid/how-to-set-the-image-resolution-on-your-androids-camera-app/
- ↑ https://support.google.com/googlecamera/answer/2838995?hl=en
- ↑ https://moblivious.com/iphoneography/what-is-hdr-and-how-hdr-can-help-take-better-photos-in-iphone/
- ↑ https://www.androidauthority.com/how-to-use-hdr-android-173210/
