This article was co-authored by wikiHow staff writer, Nicole Levine, MFA. Nicole Levine is a Technology Writer and Editor for wikiHow. She has more than 20 years of experience creating technical documentation and leading support teams at major web hosting and software companies. Nicole also holds an MFA in Creative Writing from Portland State University and teaches composition, fiction-writing, and zine-making at various institutions.
This article has been viewed 239,964 times.
Learn more...
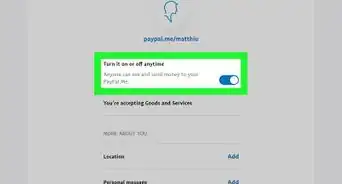
PayPal requires users to use their real names on personal accounts. If you don't want the people you exchange money with on PayPal to know your real name, you'll need to set up a business account. Although you'll still need to provide your real name to PayPal to set up your account, you can make your business name anything you want. This wikiHow teaches you how to switch to a business account to protect your real name on PayPal.
Steps
-
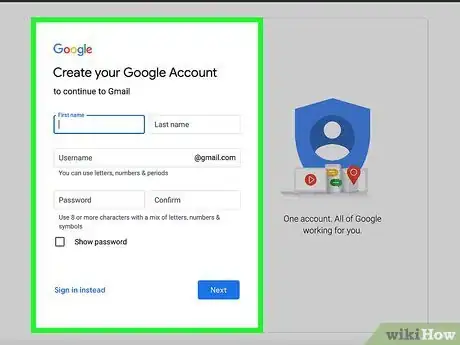
1Create a new email address for your business. To create a business account, you'll want to make sure you're using an email address that doesn't have your real name attached to it. This ensures that nothing about your account will accidentally display your real name to the people with whom you exchange money.
- Creating a new email address also allows you to keep your personal account open, which means you can continue using it with the people you don't mind knowing your real name. If you do use the same email address, PayPal will close your personal account and you'll only have your business account.[1]
- Even if you haven't registered legally as a business, you are still allowed to create a PayPal business account.
-
2Sign in to https://www.paypal.com. Log in to the account for which you want to hide your real name.Advertisement
-
3Click the gear icon. It's at the top-right corner.[2] This takes you to your Settings.
-
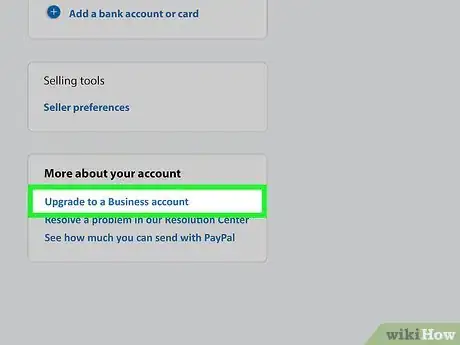
4Click Upgrade to a Business account. It's toward the bottom of the left panel.
-
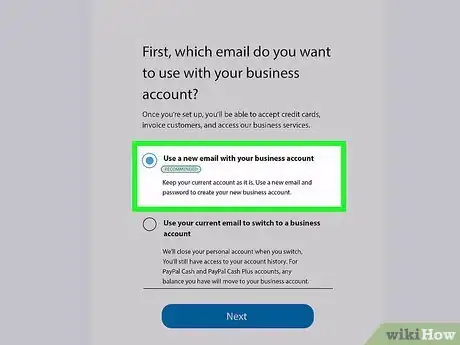
5Select Use a new email with your business account. It's the first option. This ensures you don't close your personal account.
- Alternatively, you can choose Use your current email address to switch to a business account if you don’t mind closing your personal account.
-
6Click the blue Next button. It's at the bottom of the page.
-
7Enter your email address and click Continue. Now you'll be asked to provide details about your business.
-
8Follow the on-screen instructions to create your business account. During the setup process, you'll be asked to enter your business name (make sure it's something you don't want to hide), your contact information, and some basic information about your business.[3] Once your business account is created, you can use that to send and receive payments with PayPal instead of the account connected to your real name.
- You will be asked for your employer ID or sole proprietor ID. This is for tax purposes. If you are not actually a registered business, just enter your social security number here.[4]
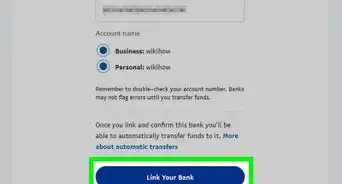
- After creating your business account, you can link your regular bank account. Even though your real name is connected to your bank account, nobody you do business with will see your name or banking information.
References
About This Article
1. Create a separate email address that doesn't contain your name.
2. Sign in to your PayPal account.
3. Click the gear.
4. Click Upgrade to a Business account.
5. Click Use a new email with your business account.
6. Click Next.
7. Enter your email address and click Continue.
8. Follow the on-screen instructions.
