wikiHow is a “wiki,” similar to Wikipedia, which means that many of our articles are co-written by multiple authors. To create this article, 14 people, some anonymous, worked to edit and improve it over time.
This article has been viewed 111,500 times.
Learn more...
When you send a message that exceeds the message size limit for either your or the recipient's mail server, the message will be returned to you and not delivered. This is often called a "bounced" message. Optimizing the size of pictures and attachments for e-mail helps to avoid exceeding the maximum message size limits associated with most e-mail accounts. Follow the steps below to automatically reduce pictures in size and include them as an attachment to an e-mail message
Steps
Online


In Outlook
-
1Create a new e-mail message in Outlook.
-
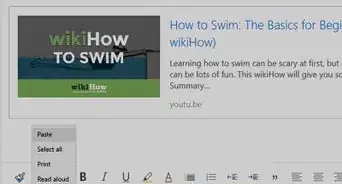
2Click Attach File, On the INSERT tab, in the include group.
-
3On the Insert tab, click the Include Dialog Box Launcher.
-
4Go to the Attachment Options pane, under Picture options, in the Select picture size drop-down list and click the size of the picture you want to include.
-
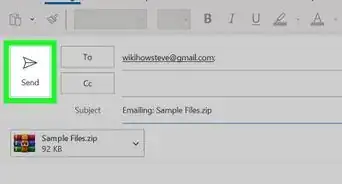
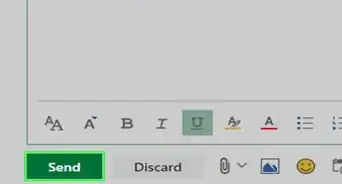
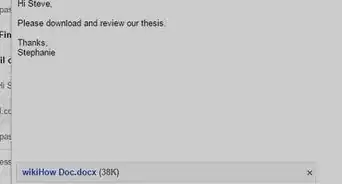
5Click send when you are finished composing your e-mail message.


Warnings
- Your original picture will not be modified. Only the copy of the picture being sent will be reduced in size.⧼thumbs_response⧽
-Step-53.webp)