This article was co-authored by Gonzalo Martinez. Gonzalo Martinez is the President of CleverTech, a tech repair business in San Jose, California founded in 2014. CleverTech LLC specializes in repairing Apple products. CleverTech pursues environmental responsibility by recycling aluminum, display assemblies, and the micro components on motherboards to reuse for future repairs. On average, they save 2 lbs - 3 lbs more electronic waste daily than the average computer repair store.
The wikiHow Tech Team also followed the article's instructions and verified that they work.
This article has been viewed 257,170 times.
This wikiHow teaches you how to access and use Apple's cloud-based storage platform from your iPhone, iPad, Mac, or over the Web.
Steps
Using iPhone or iPad
-
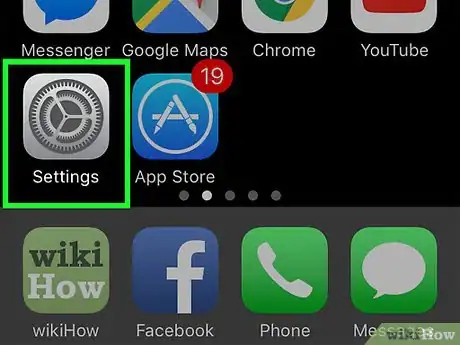
1Open your device's Settings. It's an app that contains gears (⚙️) and is typically located on your home screen.[1]
-
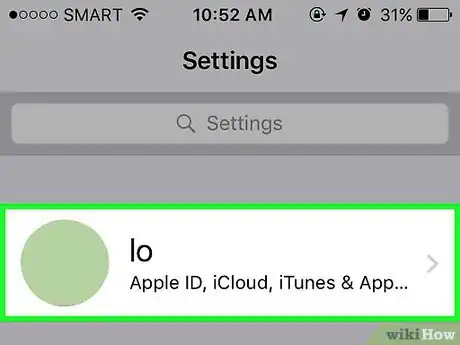
2Tap your Apple ID. It's the section at the top of the menu that contains your name and image, if you've added one [2]
- If you are not signed in, tap Sign in to (your device), enter your Apple ID and password, then tap Sign In.
- If you are running an older version of iOS, you may not need to do this step.
Advertisement -
3Tap iCloud. It's in the second section of the menu.[3]
-
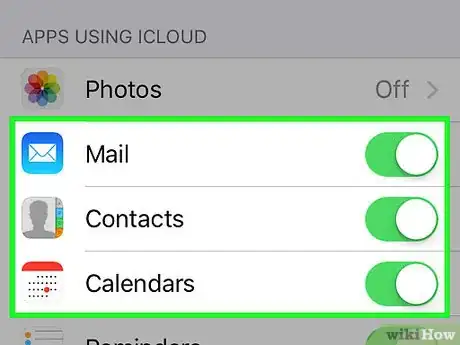
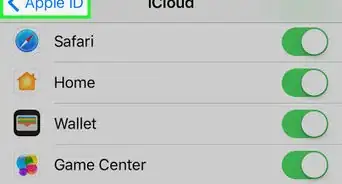
4Select the types of data you wish to store on iCloud. Do so by sliding the buttons next to the apps listed under "Apps Using iCloud" to the "On" (green) or "Off" (white) position.
- Scroll down to see the complete list of apps that may access iCloud.
-
5Tap Photos. It's near the top of the "Apps Using iCloud" section.[4]
- Turn on iCloud Photo Library to automatically upload and store your camera roll to iCloud. When enabled, your entire photo and video library will be accessible from any mobile or desktop platform.
- Turn on My Photo Stream to automatically upload new photos to iCloud whenever you're connected to Wi-Fi.
- Turn on iCloud Photo Sharing if you'd like to create photo albums that friends can access over the web or on their Apple device.
-
6Tap iCloud. It's in the upper-left corner of the screen.
-
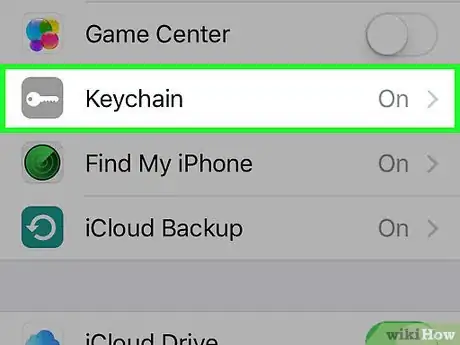
7Scroll down and tap Keychain. It's near the bottom of the "Apps Using iCloud" section.
-
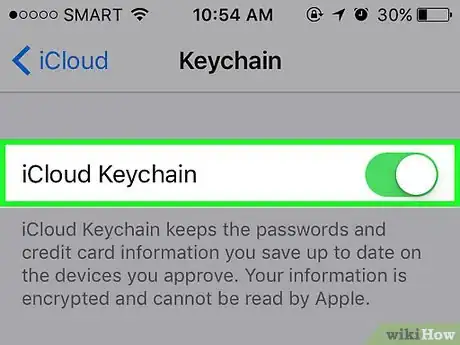
8Slide the "iCloud Keychain" button to the "On" (right) position. It will turn green. Doing so makes stored passwords and payment information available on any device that you've logged into with your Apple ID.
- Apple does not have access to this encrypted information.
-
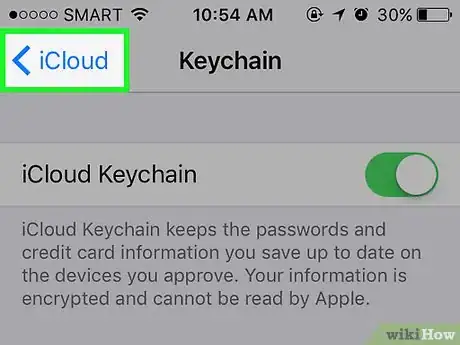
9Tap iCloud. It's in the upper-left corner of the screen.
-
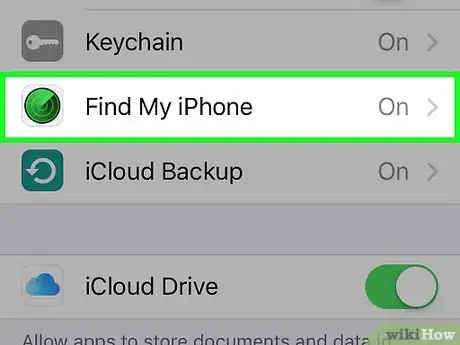
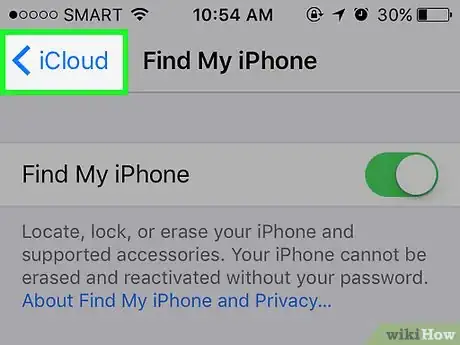
10Scroll down and tap Find My iPhone. It's near the bottom of the "Apps Using iCloud" section.
-
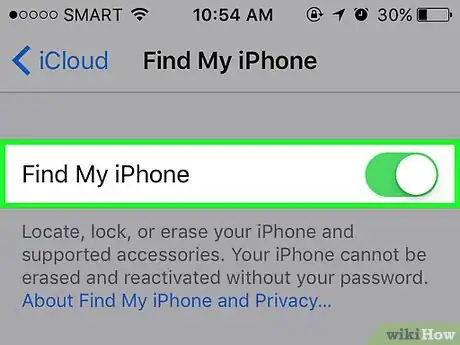
11Slide the "Find My iPhone" button to the "On" (right) position. Doing so allows you to locate your device by logging into iCloud on a computer or mobile platform and clicking on "Find My iPhone."
- Turn on Send Last Location to enable your device to send its location information to Apple when the battery is critically low.
-
12Tap iCloud. It's in the upper-left corner of the screen.
-
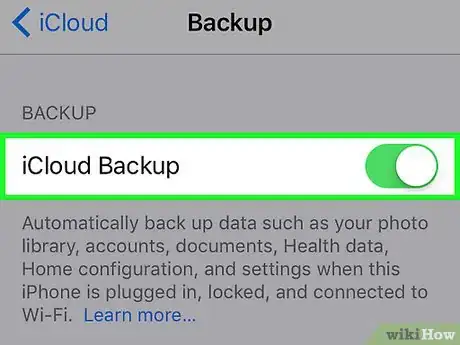
13Scroll down and tap iCloud Backup. It's near the bottom of the "Apps Using iCloud" section.
-
14Slide the button next to "iCloud Backup" to the "On" (right) position. Do this to automatically save all of your files, settings, app data, pictures, and music to iCloud whenever your device is plugged in, locked, and connected to Wi-Fi. iCloud Backup enables you to restore your data from iCloud if you replace or erase your device.
-
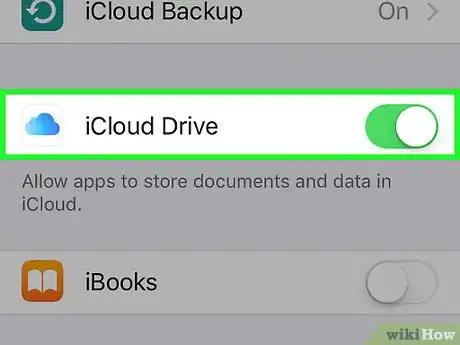
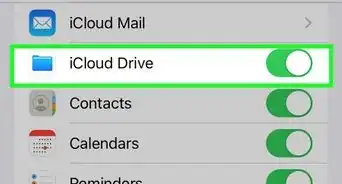
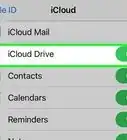
15Slide the "iCloud Drive" button to the "On" (right) position. Doing so will allow apps to access and store data on your iCloud Drive.
- Any app listed below iCloud Drive will be able to access its storage if the button next to it is in the "On" (green) position.
Using Mac
-
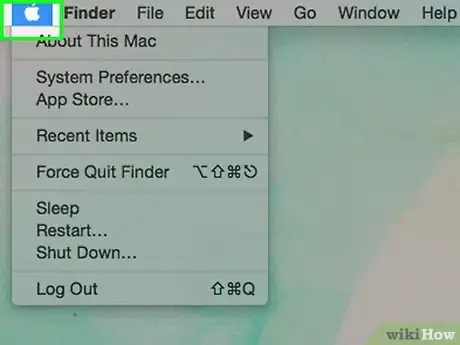
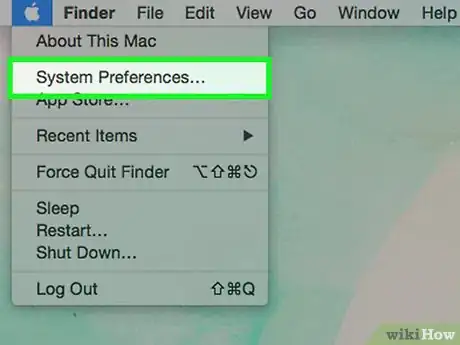
1Click on the Apple menu. It's the black, apple-shaped icon in the upper-left corner of your screen.
-
2Click on System Preferences. It's in the second section of the drop-down menu.
-
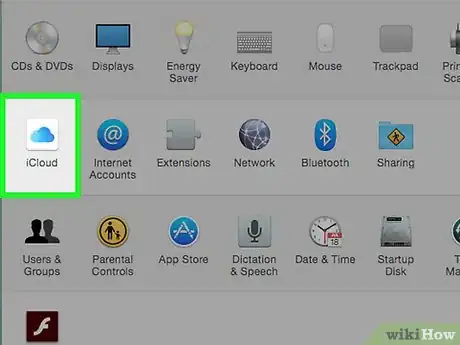
3Click on iCloud. It's on the left side of the window.
- If you're not automatically logged in, enter your Apple ID and password.[5]
-
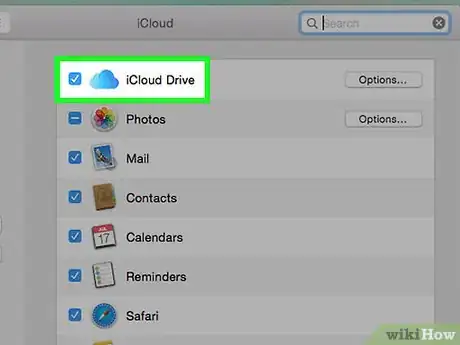
4Check the box next to "iCloud Drive." It's at the top of the right pane. Now you can store files and documents on iCloud.
- Do so by choosing "iCloud Drive" in any "Save" dialog box or dragging files to iCloud Drive in the left pane of a Finder window.
- Select which apps have permission to access iCloud Drive by clicking on the Options button next to "iCloud Drive" in the dialog box.
-
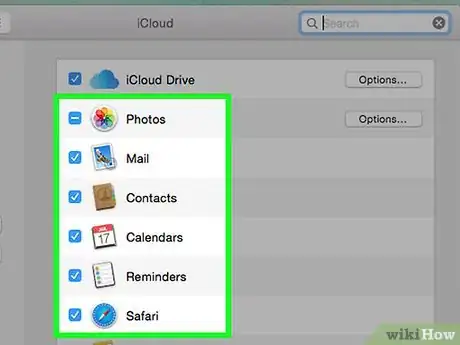
5Select the types of data to sync with iCloud. Do so by checking the boxes below "iCloud Drive". For example, check "Photos" if you want to back up and access your Photos on iCloud. Now, your selected data will be stored and available on iCloud.
- You may need to scroll down to see all the selections.
Using the Web
-
1Go to the iCloud website. Do so from any browser, including on a computer running Windows.
-
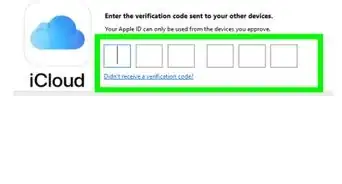
2Enter your Apple ID and password.
-
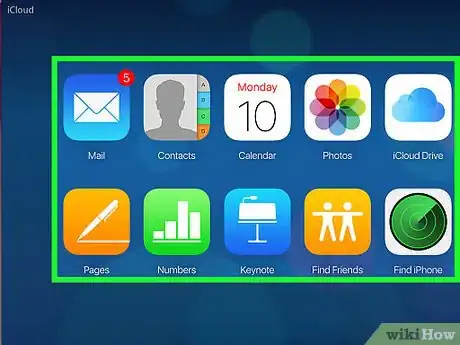
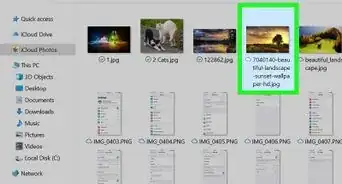
3View your stored data. The iCloud web apps allow you to see any of the data you've stored or synced with iCloud. For example, click on Photos to see your synced pictures.
-
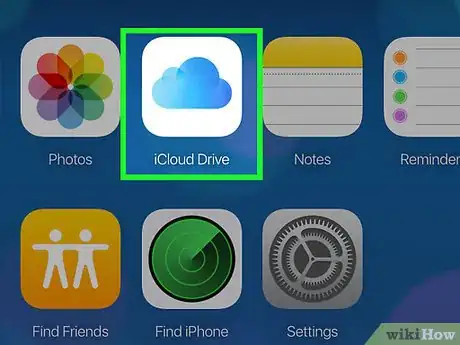
4Click on iCloud Drive. This opens your iCloud Drive interface, in which you can upload and download documents and files.
-
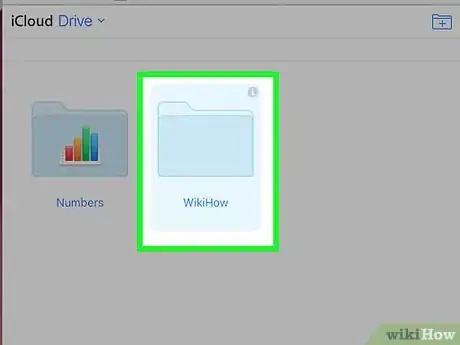
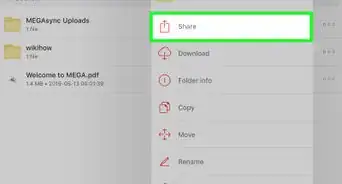
5Click and drag any documents you wish to save onto the Drive screen. Now your documents will be available from any device, including iPhones and iPads.
Expert Q&A
Did you know you can get expert answers for this article?
Unlock expert answers by supporting wikiHow
-
QuestionHow can I find what's being stored in my iCloud?
 Gonzalo MartinezGonzalo Martinez is the President of CleverTech, a tech repair business in San Jose, California founded in 2014. CleverTech LLC specializes in repairing Apple products. CleverTech pursues environmental responsibility by recycling aluminum, display assemblies, and the micro components on motherboards to reuse for future repairs. On average, they save 2 lbs - 3 lbs more electronic waste daily than the average computer repair store.
Computer & Phone Repair Specialist
-
QuestionHow do I erase things from my phone if it's in the iCloud?
 Gonzalo MartinezGonzalo Martinez is the President of CleverTech, a tech repair business in San Jose, California founded in 2014. CleverTech LLC specializes in repairing Apple products. CleverTech pursues environmental responsibility by recycling aluminum, display assemblies, and the micro components on motherboards to reuse for future repairs. On average, they save 2 lbs - 3 lbs more electronic waste daily than the average computer repair store.
Computer & Phone Repair Specialist
-
QuestionCan I delete pictures from my phone, but not in iCloud?
 Community AnswerIndeed you can! If you enable your iCloud Photo Library setting, your entire library will upload to iCloud Drive. You can then switch the iCloud Photo Library setting back off and delete your phone's pictures--the photos will stay in iCloud Drive as long as you don't have a photostream enabled.
Warnings
- If you're on a shared or public computer, remember to sign out of your iCloud account when you finish using it.⧼thumbs_response⧽
- Be wary of sending Keychain or Wallet information over public networks, since these applications carry sensitive information.⧼thumbs_response⧽
References
- ↑ Gonzalo Martinez. Computer Repair Technician. Expert Interview. 25 July 2019.
- ↑ Gonzalo Martinez. Computer Repair Technician. Expert Interview. 25 July 2019.
- ↑ Gonzalo Martinez. Computer Repair Technician. Expert Interview. 25 July 2019.
- ↑ http://www.apple.com/icloud/
- ↑ http://www.apple.com/icloud/setup/mac.html
- ↑ http://www.apple.com/icloud/
About This Article
1. Sync mail, contacts, and calendars across devices.
2. Store photos and videos with iCloud Photo Library.
3. Use Keychain to store passwords and payment information.
4. Enable Find My iPhone in case your phone is lost or stolen.
5. Use iCloud Backup to automatically back up all info to the cloud.
6. Enable iCloud Drive to back up apps and app data.
