Learn the Google Sheets basics
This article was co-authored by wikiHow staff writer, Kyle Smith. Kyle Smith is a wikiHow Technology Writer, learning and sharing information about the latest technology. He has presented his research at multiple engineering conferences and is the writer and editor of hundreds of online electronics repair guides. Kyle received a BS in Industrial Engineering from Cal Poly, San Luis Obispo.
The wikiHow Tech Team also followed the article's instructions and verified that they work.
This article has been viewed 121,161 times.
Learn more...
Looking for a robust, web browser spreadsheet editor? Google Sheets might be for you! It’s easy to use and has many of the same features as Microsoft Excel. This wikiHow guide will show you how to use Google Spreadsheets on Windows or Mac.
Things You Should Know
- Open a new spreadsheet by going to https://sheets.google.com/ in your web browser.
- Edit an Excel .xlxs file by uploading it to your drive and opening it in Google Sheets.
- Enter data into cells. Then, adjust the formatting by using the toolbar or Format tab.
- Share your spreadsheet by clicking the blue Share button in the top-right of the Sheet.
Steps
Opening a Spreadsheet
-
1Go to Google Sheets. Enter https://sheets.google.com/ into the URL bar of your web browser. This will take you straight to the Sheets home page.[1]
- Or, go to https://www.google.com/sheets/about/ and click Go to Sheets.
- Or, click the 9-dot grid button in the upper-right corner of https://www.google.com/, Gmail, or any Google web app. Select Sheets from the menu.
-
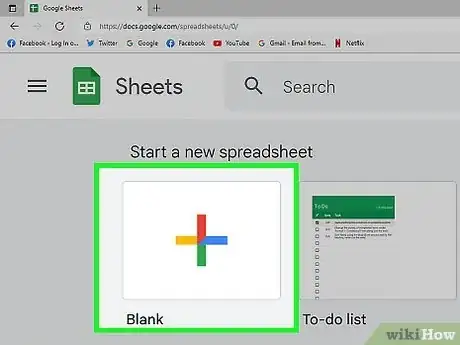
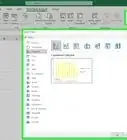
2Open a new spreadsheet. Hover over the Plus (+) icon in the bottom right of the Sheets homepage. This will pop up two options:
- Create new spreadsheet opens a blank spreadsheet.
- Choose template opens the template gallery, where you can choose a premade layout that fits your spreadsheet needs.
- You can also open a new spreadsheet from Google Drive by clicking the New button and selecting Google Sheets.
Advertisement -
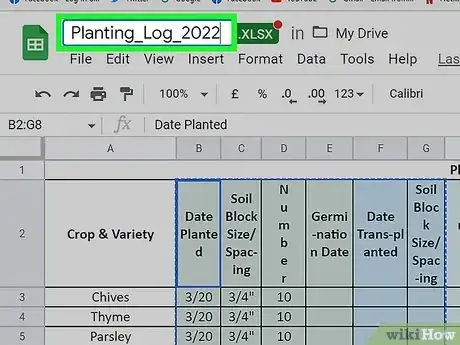
3Rename your spreadsheet. New spreadsheets will have “Untitled spreadsheet” in the upper-left title box. Click that text and type in the title you want for the spreadsheet.
Opening an Excel File in Sheets
-
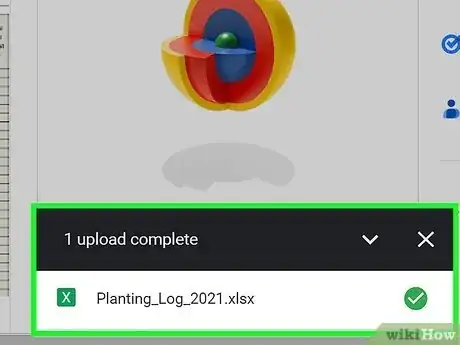
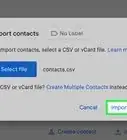
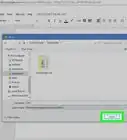
1Upload an .xlsx Excel file to your Google Drive. You can drag and drop the Excel file from your computer’s files (File Explorer on Windows, Finder on macOS) into any Google Drive folder in your web browser.
- Alternatively, click New in Google Drive, then File upload.
-
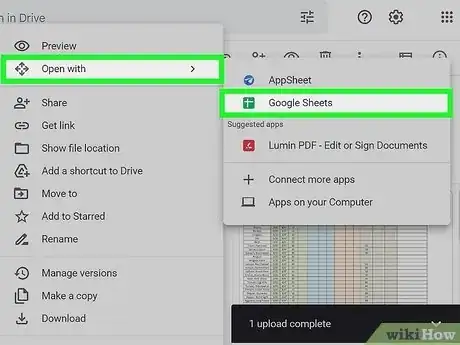
2Right-click the Excel file. Then, choose Open with > Google Sheets in the pop-up menu. This will open the Excel file in Google Sheets. The formatting and formulas might not be exactly correct.
- The .XLSX icon next to the title in the Google Sheets editor indicates that you’re working on an Excel file. If there’s a red dot notification on this icon, there may be a compatibility issue.
Using Google Sheets
-
1Enter data in cells. You can label the first cell of rows and columns to create row and column headers. This can make it easier to organize data, and also works with some Google Sheets features like the chart maker.
- By default, there will be 26 columns (A to Z) and 1000 rows.
- Add more rows by scrolling to the bottom, entering in an amount next to “more rows at bottom,” and clicking Add.
- After adding in your data, you can search through the sheet if you’re looking for something specific.
-
2Adjust rows and columns. To edit an entire row (e.g. delete, hide, copy/paste, format), right-click the row number and select an option in the pop-up menu. To edit entire columns, click the drop-down arrow that appears when you hover your cursor over a column's letter.
- You can add a new column or row to a specific location by selecting any cell in the row/column and clicking the Insert tab. You'll see options to insert rows or columns above or below and to the right or left of the selected cell.
-
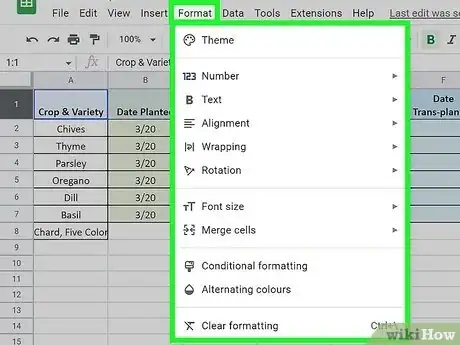
3Format cells, rows, or columns. To format a cell or range of cells, select those cells by clicking and dragging the cursor over the cells. To format an entire row or column, select its corresponding number or letter. Then, click the Format tab to select a formatting option (e.g. font, font size, bold, italics, data type)
- You can also use the toolbar above the formula box to make formatting changes to a range of cells.
- When selecting multiple cells (horizontally or vertically), you can merge them so that they span multiple rows or columns.
- To adjust the way numbers are formatted, go to the Number subsection in the Format tab. You can format numbers in a variety of ways. For example, selecting “Percent” will show numbers as percentages.
-
4Organize data. After selecting a range, you can sort or filter that data by clicking on the Data tab. You can even name ranges of data for easier reference.
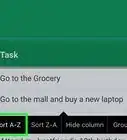
- If your data have column headers, go to Sort range > Advanced range sorting options. Check the “Data has header row” box. When you click the Sort by drop-down menu, you can select a column by its header name.
- The A to Z and Z to A options are ascending and descending respectively. This sorts numbers low-to-high or high-to-low.
- Filtering your data is a great way to see temporary views of the dataset without changing the spreadsheet.
-
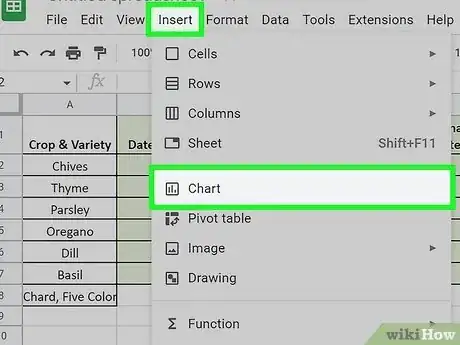
5Insert graphics. Visualizations can be useful when showing others your analysis results. Go to the Insert tab to see options for placing charts, images, links, forms, and drawings.
- See our guide on creating graphs in Sheets for more detailed information!
-
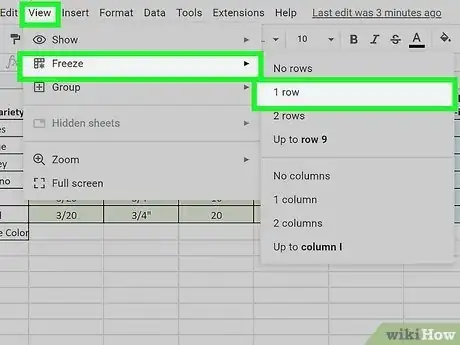
6Freeze rows and columns. Go to View > Freeze.
- 1 row or 2 rows will freeze the first 1 or 2 rows.
- 1 column or 2 columns will freeze the first 1 or 2 columns.
- To freeze more rows and columns, select the cell that you want to freeze up to. Then, select Up to row NUMBER or Up to column LETTER.
-
7Use functions. You'll find the Functions menu in the Insert tab. Or, in the toolbar, the Functions button is the summation symbol on the right.
- Google Sheets offers most of the same functions found in Microsoft Excel, so those experienced with Excel should find Sheets to be pretty familiar.
- Advanced users can create their own functions using Google Apps Script. For example, you could create a simple script to add the time and date automatically.
- Here are a few common Google Sheets functions:
- IF lets you return a specified value by evaluating a logical expression. This works similarly to using If-Else in Excel.
- VLOOKUP searches a column for a key value, then returns a cell value in a specific column to the right of the search range. (Check out our Excel guide for this function).
- SUM adds multiple cell values together. (Same as SUM in Excel).
- ABS will give you the absolute value of a number.
- FLOOR rounds a number value down to the closest integer.
- NPV returns the net present value for an investment given periodic cash flows.
-
1Use selection and navigation shortcuts. Keyboard shortcuts can save you a ton of time while working on a Google Sheet! Here are a few common shortcuts for Windows:[2]
- Show common keyboard shortcuts — Ctrl + /
- Select column — Ctrl + Space
- Select row — Shift + Space
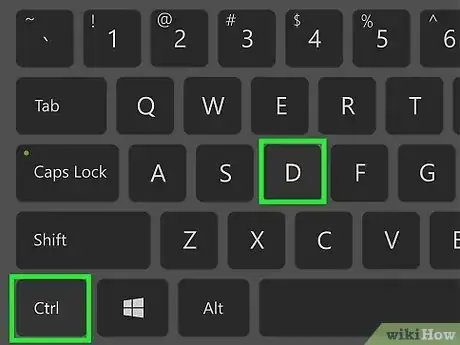
- Fill down — Ctrl + d
- Fill right — Ctrl + r
- Copy, cut, and paste — Ctrl + c, Ctrl + x, and Ctrl + v
- Move to beginning of sheet — Ctrl + Home
- Move to beginning or end of a range — Ctrl + Up/Down/Left/Right Arrow
-
2Use macOS shortcuts. Here are the above shortcuts on a Mac:
- Show common keyboard shortcuts — Cmd + /
- Select column — Ctrl + Space
- Select row — Shift + Space
- Fill down — Cmd + d
- Fill right — Cmd + r
- Copy, cut, and paste — Cmd + c, Cmd + x, and Cmd + v
- Move to beginning of sheet — Cmd + Fn + Left Arrow
- Move to beginning or end of a range — Cmd + Up/Down/Left/Right Arrow
Saving & Sharing Spreadsheets
-
1Finalize your spreadsheet. While Google Sheets automatically saves your drafts, you can rename your spreadsheet or make a copy of it before sharing with others. You can find additional options in the File tab.
-
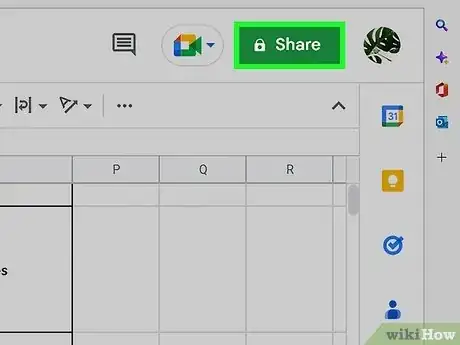
2Share your spreadsheet. You can find the Share function under the File tab, or as a blue button in the upper-right corner. Click Share and enter the email addresses of the individuals you want to share the sheet with.
- Sharing a sheet with some means that they can view, comment on, or edit the file directly.
- There’s also an option to create a shareable link that you can send to people separately.
-
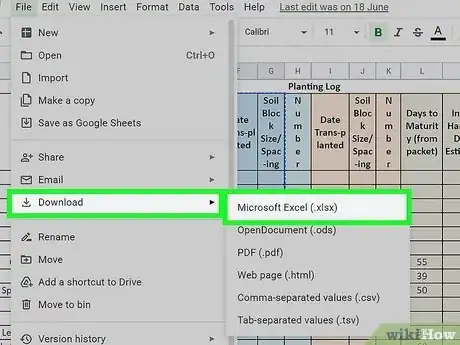
3Download your spreadsheet. If you want a copy of your spreadsheet locally on your computer, select the "Download as" option under the File tab. There are several options, including downloading the document as an Excel (.xlsx) file, .csv, or PDF.
-
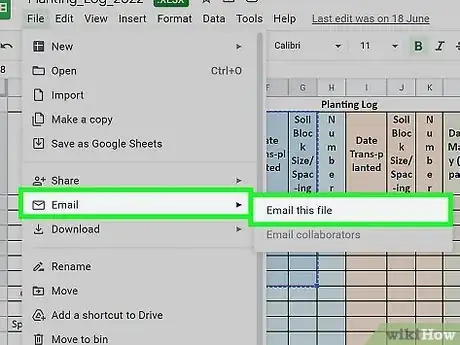
4Email your spreadsheet. You'll find this option under the File tab. You can either email collaborators (the individuals you've already shared the spreadsheet with), or email the spreadsheet to others as an attachment.
Expert Q&A
-
QuestionHow do I maintain the data size on the spreadsheet without effecting the task bar at the bottom. I know I an zoom in size but this also reduces the size/image of the task bar
 Kyle SmithKyle Smith is a wikiHow Technology Writer, learning and sharing information about the latest technology. He has presented his research at multiple engineering conferences and is the writer and editor of hundreds of online electronics repair guides. Kyle received a BS in Industrial Engineering from Cal Poly, San Luis Obispo.
wikiHow Technology Writer Using Google Sheet's zoom feature (found in the taskbar next to the formatting painting tool) will increase or decrease the cell sizes without changing the taskbar and menu sizes.
 -
QuestionI am new with spread sheets, so the publisher has set us up on a online spread sheet. In making chnges this morning i accidentally deleted 2 columns B & C . How do I bring them back to show on the spr
 Kyle SmithKyle Smith is a wikiHow Technology Writer, learning and sharing information about the latest technology. He has presented his research at multiple engineering conferences and is the writer and editor of hundreds of online electronics repair guides. Kyle received a BS in Industrial Engineering from Cal Poly, San Luis Obispo.
wikiHow Technology Writer You can see and revert to previous versions of a Google Sheet by opening the file, going to File > Version history > See version history. Then, click the version that has the deleted data and press "Restore this version" at the top of the page.
 -
QuestionHow do you open a Google Sheet that has been sent to you in an email
 Kyle SmithKyle Smith is a wikiHow Technology Writer, learning and sharing information about the latest technology. He has presented his research at multiple engineering conferences and is the writer and editor of hundreds of online electronics repair guides. Kyle received a BS in Industrial Engineering from Cal Poly, San Luis Obispo.
wikiHow Technology Writer You can click the link to the Google Sheet in the email. There might be a button that says "Open" in the email. Alternatively, you can go to your Google Drive, click Shared with me in the left menu, and open the shared Google Sheet file from there.
wikiHow Video: How to Use Google Spreadsheets
References
About This Article
Anyone with a Google account can create and share a spreadsheet by using Google Sheets. To get started, open your web browser and go to Sheets.Google.com. If you're already signed in to your Google account, you'll see the main area of Google Sheets. If not, you'll be prompted to sign in with your Google Account. Once you are signed in, you can select a template from the template gallery, or click the plus sign to create a blank workbook. Type a name for your Google Sheets file into the top-left corner. As you work on your file, the changes you make will be saved automatically to your Google Drive. If you plan to collaborate on this sheet with others, or just want others to see what you've been working on, you can share your file by clicking the "Share" button at the top-right corner of your open Google Sheets file. If you just want to share a link to the file by pasting it into a message or post, click "Copy link" to copy the link to your clipboard, and then paste it wherever you'd like. If you want to share your file via email, type the email address of the person you want to share with into the top field, and then click the correct person in the search results. You can enter multiple addresses if you want to share with more than one person—you can even share with a group by typing the group's name and selecting it from the search results. Once you've added at least one person to share with, you'll see a permissions drop-down menu at the top-right corner. It's set to "Editor" by default, which means the person or people you're sharing with can make their own edits to the file. If you don't want others to make changes, click the drop-down menu and select "Viewer," or "Commenter" if you also want the viewer to be able to add comments. Next, click the gear icon to manage whether Editors can change permissions or invite others, and whether Viewers and Commenters can download, print, or copy the file. Before sending the invitation, type a message into the Message area that explains what the Google Sheets file is, or why you're sharing it. Then, click "Send" to share the file. When a recipient clicks the link in the email from Google Sheets, the file you shared will open for viewing or editing.

