This article was co-authored by wikiHow staff writer, Darlene Antonelli, MA. Darlene Antonelli is a Technology Writer and Editor for wikiHow. Darlene has experience teaching college courses, writing technology-related articles, and working hands-on in the technology field. She earned an MA in Writing from Rowan University in 2012 and wrote her thesis on online communities and the personalities curated in such communities.
This article has been viewed 99,542 times.
Learn more...
Anyone who has a smartphone most probably uses it to view their Facebook accounts. With technology allowing you to sync multiple accounts into your device, Facebook contacts are becoming more and more important to keep track of your phonebook. Usually, Facebook will prompt you to sync with your phone when you launch it for the first time; however, if you skipped that step, this wikiHow article teaches you how to sync your Facebook account with your Android within Facebook or in your Settings.
Steps
Syncing Facebook Contacts in Facebook
-
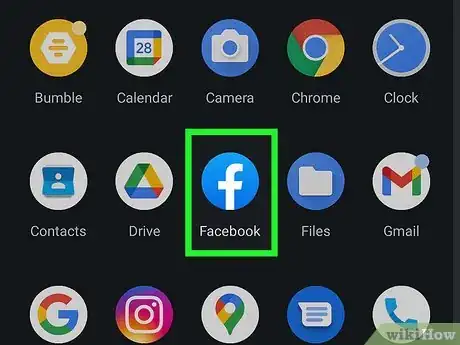
1Open Facebook. This app features a lowercase blue "f" on a white background.
- This is helpful if you skipped the step that allows Facebook and Android to sync your contacts.
-
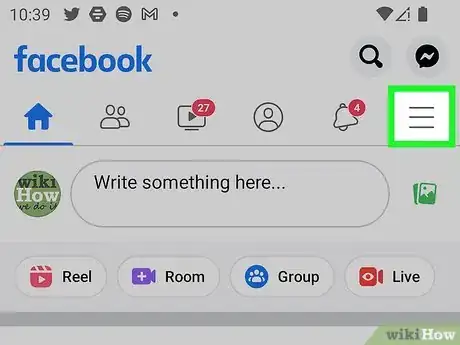
2Tap ☰. This three-lined menu icon is in the top-right corner of your screen.Advertisement
-
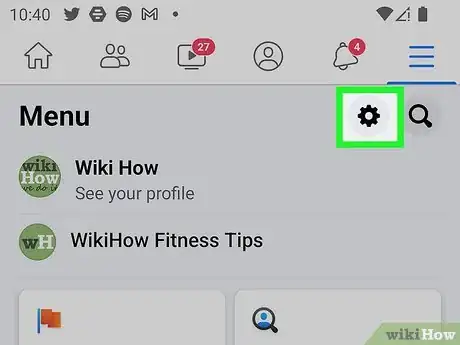
3Tap the gear icon. You should see this Settings icon in the top-right corner of the menu. Alternatively, tap Settings & Privacy at the bottom of the menu, then tap Settings.
-
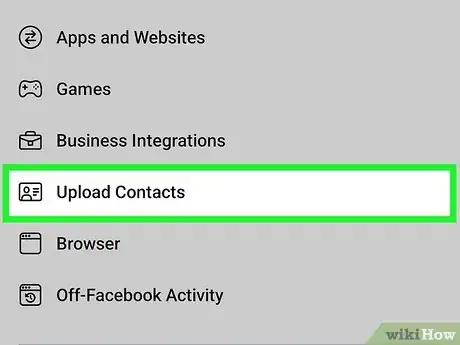
4Tap Upload Contacts. It's under the "Permissions" section header.
-
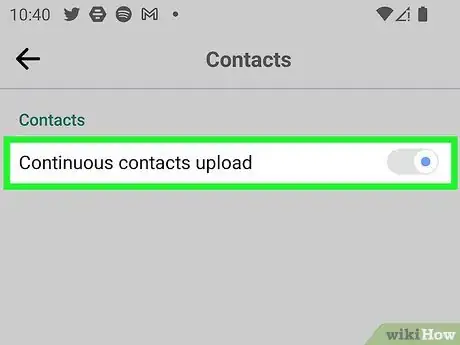
5Tap the switch next to "Continuous contacts upload" to toggle it on . The switch should be to the right if it's on. When this is enabled, Facebook will automatically upload contacts from your Android every time you use the Facebook app.[1]
- Disabling this will also erase any previous contact data. If you want to delete your contacts, you'll need to turn this feature off, then go to your contact management page and select Delete All. If you have "Continuous contacts upload" enabled, all the deleted contacts will be restored from your mobile.
Syncing Facebook Contacts in Settings
-
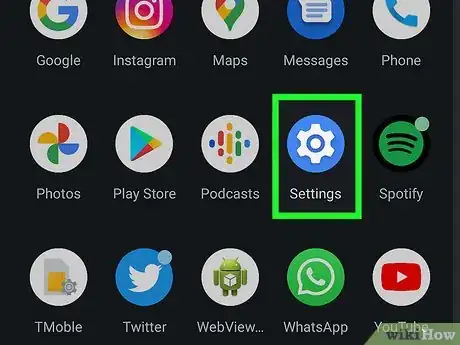
1Go to Settings. To do this, tap the gear icon in the Quick Settings panel or tap the gear app icon.
- You should only be using this method if using Facebook did not work for you, as the other way is the official method of syncing contacts.
-
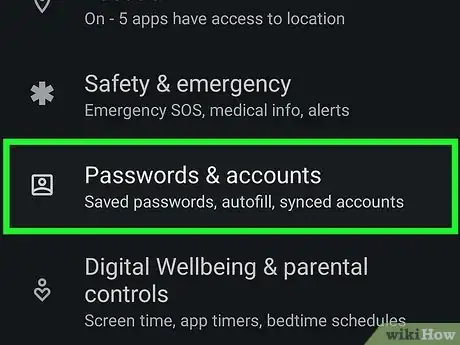
2Tap Accounts and Backup. The wording may vary slightly depending on your phone's manufacturer. Instead, this menu could say "Accounts & Sync."
- You may need to tap Manage accounts to see all your active accounts and continue.
-
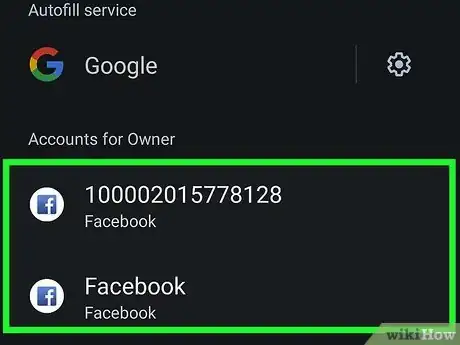
3Tap on your Facebook account. You must have a Facebook account for you to be able to see this option.
- If you don't see Facebook in the list of accounts, add it. Tap Add account' at the bottom of your screen, then tap Facebook from the list. Enter your Facebook account information (like your email and password), then tap Sync Now when prompted.
-
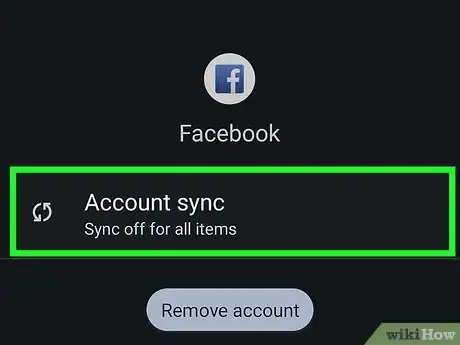
4Tap Sync account. This will direct you to another window with your Facebook account information.
-
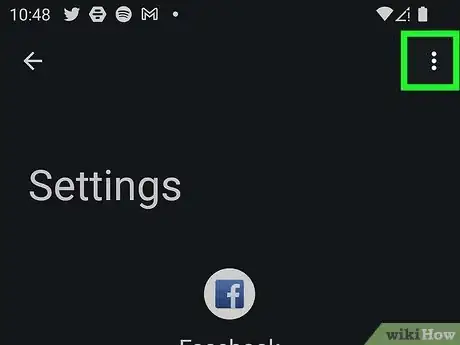
5Tap ⋮. You'll see this three-dot menu icon in the top-right corner of your screen.
-
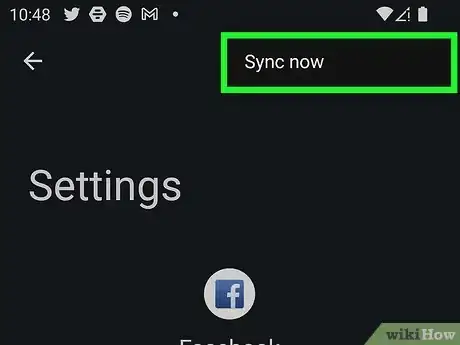
6Tap Sync now. Depending on your Internet speed and the number of contacts synced, this might take a few seconds, so wait for a little while.
- Check your contacts. If you see the Facebook icon beside your contacts, then you have successfully synced your Facebook account to your Android device.
Community Q&A
-
QuestionHow do I sync Facebook? It says it is off.When I hit sync now nothing happens
 wikiHow Staff EditorThis answer was written by one of our trained team of researchers who validated it for accuracy and comprehensiveness.
Staff Answer wikiHow Staff EditorStaff AnswerIn the Facebook app on your phone, tap the three-line menu icon, then tap the gear icon. Tap "Upload Contacts" in the "Permissions" section, and tap the toggle next to "Continuous contacts upload".
 -
QuestionMy ex is stalking my Facebook account through an Android tablet that was synced to my Android phone. How do I stop this?
 Community AnswerThe best thing you could do is just to change your password.
