X
wikiHow is a “wiki,” similar to Wikipedia, which means that many of our articles are co-written by multiple authors. To create this article, 9 people, some anonymous, worked to edit and improve it over time.
This article has been viewed 30,762 times.
Learn more...
Chromebooks are unique laptops that runs on Google’s ChromeOS, an operating system centered around Google’s Chrome browser. Setting the device up is easy and requires only a few minutes. To begin, make sure that your Wi-Fi network is functioning.
Steps
Part 1
Part 1 of 3:
Inserting the Battery
-
1Take the battery out of the packaging. Out of the box, some Chromebooks have their battery detached from their body and in a separate plastic bag. Simply take the battery out of the box and remove the plastic bag. If your Chromebook's battery comes preinstalled, you can skip this part.
-
2Insert the battery into the Chromebook. Do this by sliding the battery, with its pins facing toward the laptop, into the battery compartment in the rear of the computer.
Advertisement
Part 2
Part 2 of 3:
Turning On the Chromebook
-
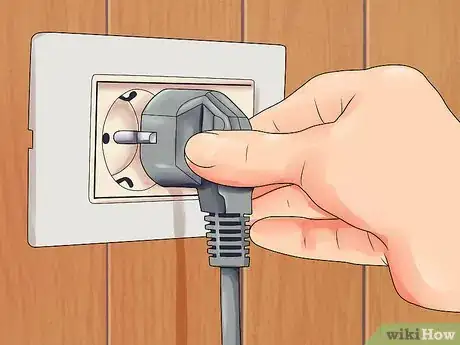
1Plug the Chromebook into a power source. Grab the supplied power cable and plug it into the charging port located on one of the sides of the Chromebook. Plug the other end into a wall outlet.
- A Chromebook's charging port is generally a circle slightly smaller than the audio jack.
-
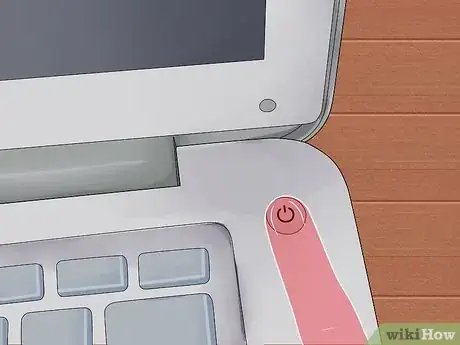
2Turn on the Chromebook. Do this by pressing and holding the power button, which is located at the top right corner of or above the keyboard, until the computer powers on.
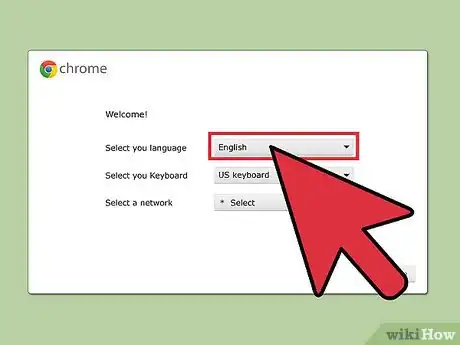
- The first time a Chromebook is turned on, you will be directed to its Connect screen to begin setup.
Advertisement
Part 3
Part 3 of 3:
Setting Up Your Chromebook
-
1Choose your language settings. You can do this by selecting the language in the Connect screen that comes out.
-
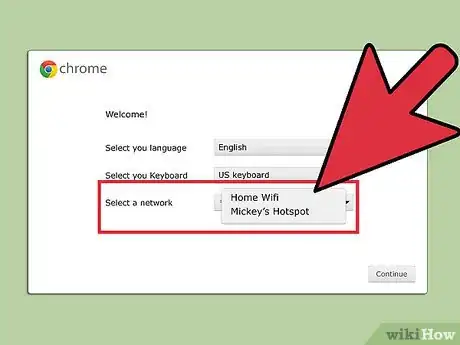
2Connect to your Wi-Fi network. Select your network’s name from the options and input the password if applicable.
-
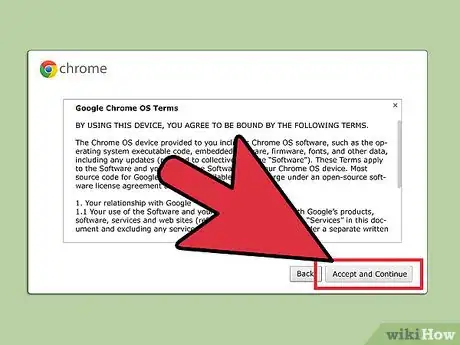
3Accept the Terms of Agreement by clicking “Accept.” You Chromebook will download any required system updates after connecting to the network.
-
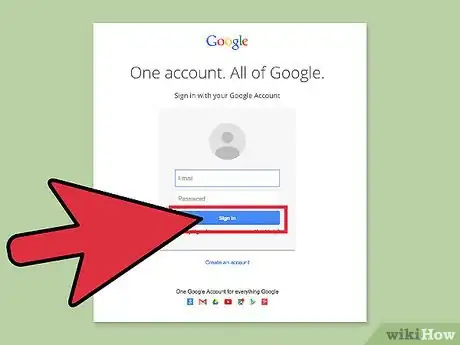
4Sign into your Google account. A Google account is necessary for you to use the Chromebook’s features to the max. Log in using your username and password in the Sign In box that appears.
- This account will be set as the owner, so make sure your primary account is the one you use to log in.
-
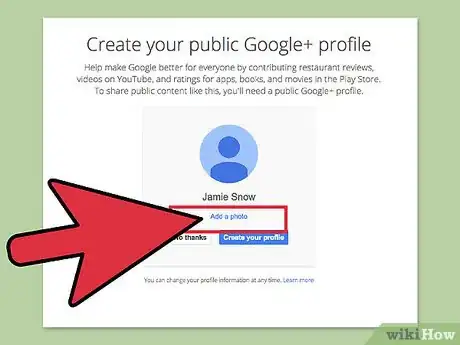
5Add an account picture. This picture will represent the account on the main Sign In screen. You have the option to take a picture or choose an icon.
- You can take a picture with the Chromebook’s built-in camera.
-
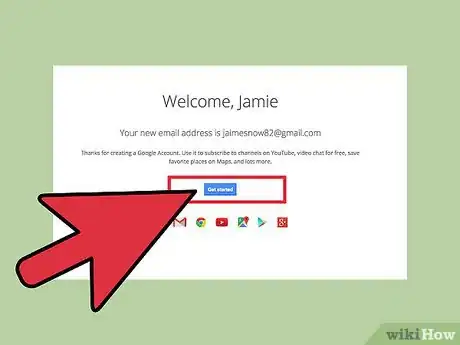
6Go through the Get Started app. This will show you around your new Chromebook and introduce you to the various controls and options you can tweak.
- Once the tour of your Chromebook has ended, you can begin using your new laptop.
Advertisement
Community Q&A
-
QuestionCan I take pictures using Chromebook?
 Community AnswerYes, most Chromebooks have built in cameras. You simply turn on the camera by clicking on it and use it like any other camera or camera on a smartphone.
 -
QuestionHow do I get a password for a new Chromebook?
 Community AnswerYou can set up a Chromebook by going to 'settings,' going to 'Users' and then clicking on 'require password to wake from sleep.'
 -
QuestionWhat is the device name for my Chromebook?
 Community AnswerChromebooks don't have device names like Windows. If you need to identify the Chromebook in a network, you can use the MAC address.
Advertisement
About This Article
Advertisement


