This article was co-authored by wikiHow staff writer, Travis Boylls. Travis Boylls is a Technology Writer and Editor for wikiHow. Travis has experience writing technology-related articles, providing software customer service, and in graphic design. He specializes in Windows, macOS, Android, iOS, and Linux platforms. He studied graphic design at Pikes Peak Community College.
The wikiHow Tech Team also followed the article's instructions and verified that they work.
This article has been viewed 442,165 times.
Learn more...
This wikiHow teaches you how to set your JAVA_HOME Environment path. This is where Java Development Kit (JDK) is installed on your computer. Java is one of the most popular programming languages. It is used to run everything from desktop graphic user interfaces, mobile applications, web applications, as well as business and scientific applications. Many applications that run Java or are being developed in JDK need to know where the JAVA_HOME Environment path is located.
Steps
-
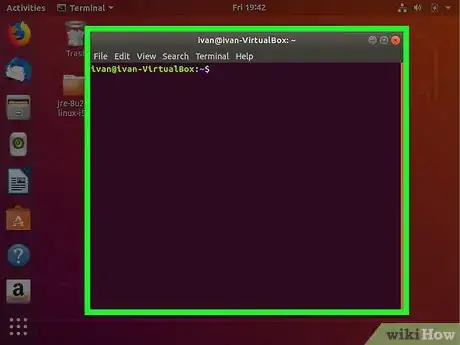
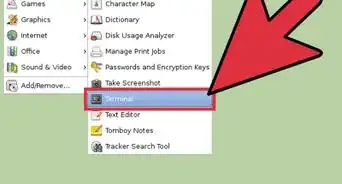
1Launch the Terminal. To open the Terminal in Ubuntu, press Ctrl+Alt+T or open the Dash and click the icon that resembles a black screen with a text prompt on it.
-
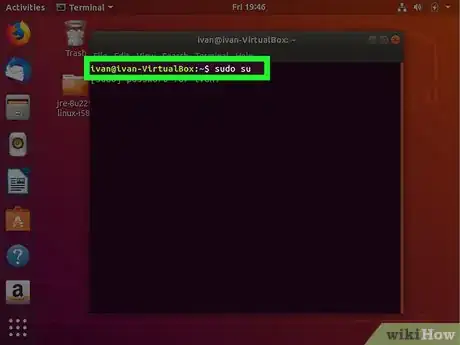
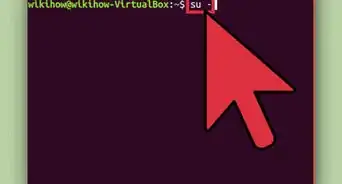
2Type in sudo su and press ↵ Enter. This gives you root privileges.Advertisement
-
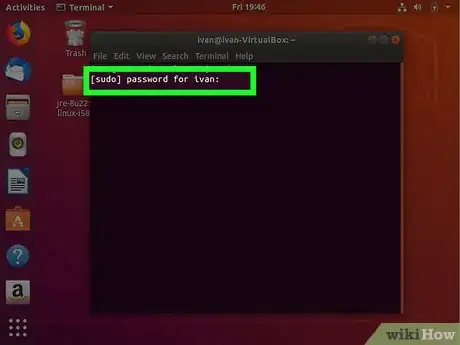
3Enter the root password. In order to get root access, you will need to enter the root password.
-
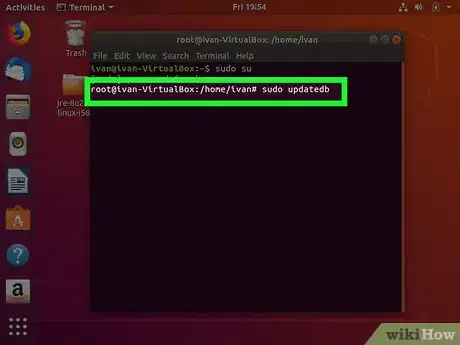
4Type sudo updatedb and press ↵ Enter. This updates your database.
-
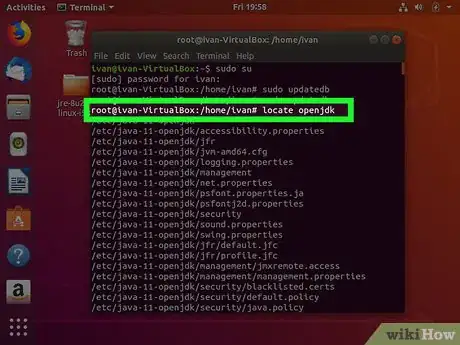
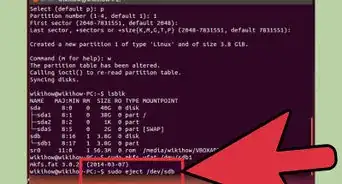
5Type locate openjdk and press ↵ Enter. This command is used to identify where is Java installed on your Ubuntu machine.
- If Java has not been installed, type sudo apt-get install openjdk-9-jre-headless -y and press ↵ Enter
-
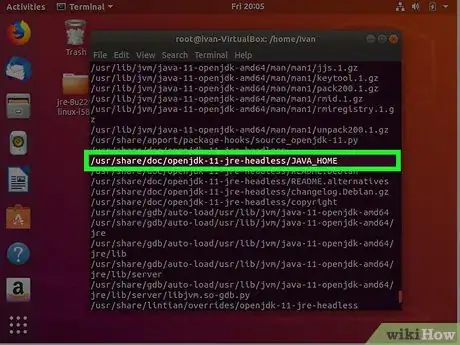
6Look to see where Java is installed. You can use the install location to set the Java_Home path. For example, if most of the return outputs are "/usr/lib/jvm/java-9-openjdk-amd64", we would use this path to set the Java_Home pather.
-
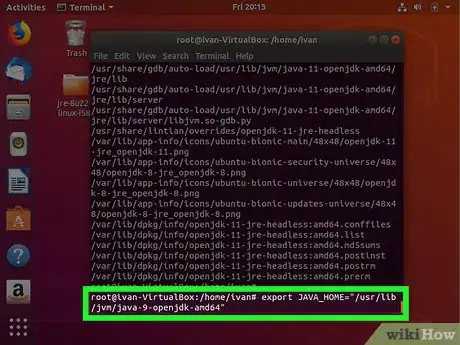
7Type export JAVA_HOME= followed by the Java installation path. In our previous example, we would type export JAVA_HOME="/usr/lib/jvm/java-9-openjdk-amd64". This temporarily sets the Java_Home path. However, if the system is restarted, it will be lost.
-
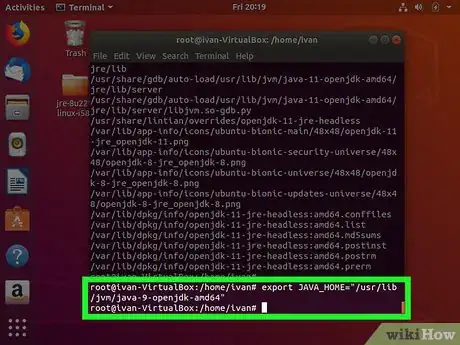
8Press ↵ Enter. This executes the command.
-
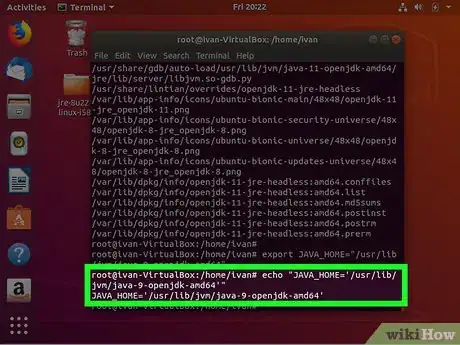
9Type echo "JAVA_HOME=' followed by the installation path. Using the above example, we would type echo "JAVA_HOME='/usr/lib/jvm/java-9-openjdk-amd64'".
-
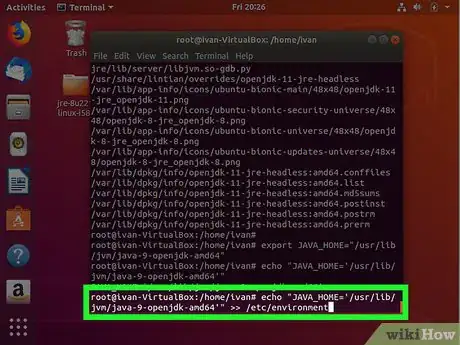
10Add >> /etc/environment to the end of the line and press ↵ Enter. This permanently sets the Java_Home path.
- Alternatively, if you do not have root access, you can type echo "JAVA_HOME='java installation path'" >> .bashrc and press ↵ Enter to set the Java_Home path.[1]
Community Q&A
-
QuestionStep 8 says to "export PATH ." Should I include the "."? There is no "." in Step 6.You should not include the trailing period.
-
QuestionWhat should I do if my path is showing JAVA_HOME=/usr/lib/jvm/java-8-oracle?
 Community AnswerThen Java is already installed in your system. You can change the current JAVA_HOME if you want to update it.
 -
QuestionHow do I update Java using a command?
 PinguTop AnswererIf you installed Java from APT, as is usually done on Ubuntu, you need to find which exact Java package you installed first. It's usually either some Oracle JDK or GCJ. You can use "dpkg --get-selections" to list all packages and the "grep" command to find the package in it. Then, you should write "sudo apt-get install --only-upgrade packageName", with packageName being the name of the package you found.
About This Article
1. Open the terminal.
2. Type "Sudo su" and press Enter.
3. Enter the root password.
4. Type "sudo updatedb" and press Enter to update the Java database.
5. Type "locate openjdk" and press Enter to find the Java installation location.
6. Type "export JAVA_HOME=" followed by the Java installation location in the terminal and press Enter.
7. Type "echo echo "JAVA_HOME=' " followed by the installation path.
8. Add ">> /etc/environment" to the end of the line and press Enter.
