This article was co-authored by Mobile Kangaroo and by wikiHow staff writer, Jack Lloyd. Mobile Kangaroo is a full service repair shop and Apple Authorized Service Provider headquartered in Mountain View, CA. Mobile Kangaroo has been repairing electronic devices such as computers, phones, and tablets, for over 19 years, with locations in over 20 cities.
The wikiHow Tech Team also followed the article's instructions and verified that they work.
This article has been viewed 1,920,460 times.
This wikiHow teaches you how to move photos from your iPhone or Android onto your Windows or Mac computer. You can use a charger cable to do this, or you can send photos to your computer through Google Drive.
Steps
On Windows
-
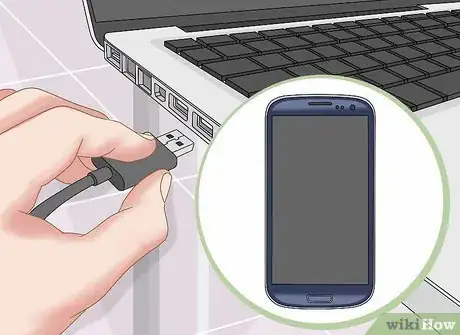
1Connect your phone to your computer. Attach the charger end of the USB charger cable to the phone, then attach the other end to your computer's USB port.
-
2Advertisement
-
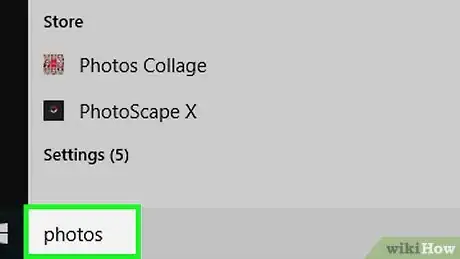
3Type photos into Start. This will bring up the Photos application in the Start menu.
-
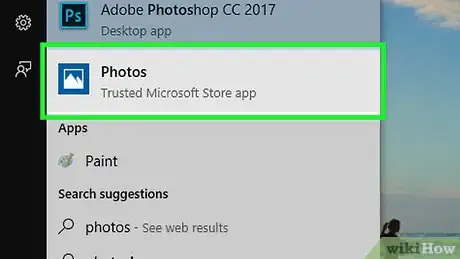
4Click Photos. It's at the top of the Start menu. This icon resembles a couple of mountain peaks on a colored background. The Photos app will open.
-
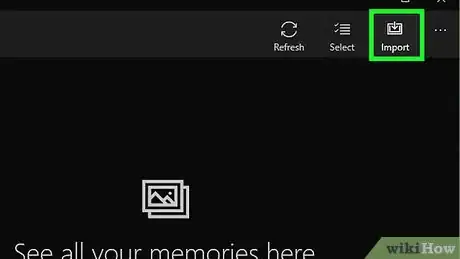
5Click Import. It's in the upper-right side of the Photos window.
-
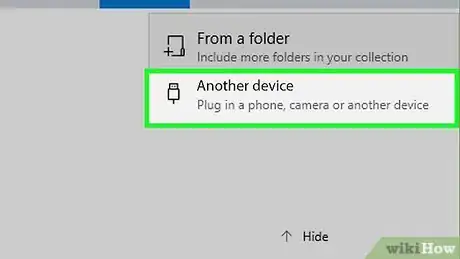
6Click Another device. This link is on the right side of the window.
-
7Wait for your computer to find your photos. Your computer will search for connected items, such as a USB flash drive and your phone. This may take awhile.
-
8Select photos to move. By default, every photo and video on your phone is selected; click selected photos to de-select them, or click Clear all to de-select every photo and video and then click only the ones you want to move.
-
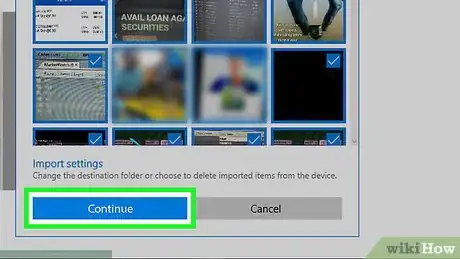
9Click Continue. It's at the bottom of the window.
-
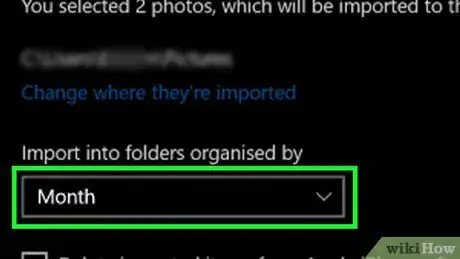
10Review your import settings. You can change the following items before importing:
- Import folder - To change the folder into which your photos upload, click the Change where they're imported link, then click a folder you'd like to use and click Add this folder to Pictures.
- Sort type - Click the drop-down box in the middle of the window, then click either Day or Month
- Keep photos on phone - Check the box near the bottom of the window to delete the photos from your phone once they've been moved, or leave it unchecked to keep the photos on your phone.
-
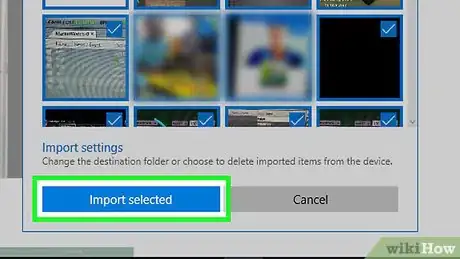
11Click Import. It's at the bottom of the window. This will prompt the photos to begin moving onto your computer.
Using iPhone on Mac
-
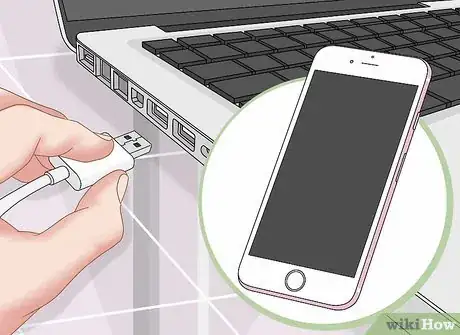
1Connect your iPhone to your computer. Attach the charger end of the USB charger cable to the phone, then attach the other end to your computer's USB port.
- If your Mac doesn't have a USB port, you will need to purchase a USB-C to USB-3.0 adapter.
-
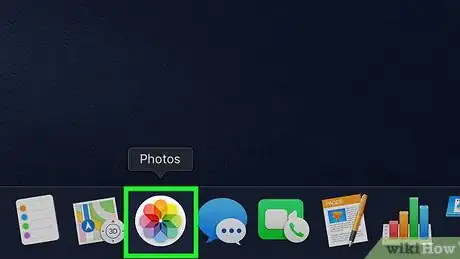
2Open Photos. Click the Photos app icon, which resembles a multicolored pinwheel on a white background. You'll find this in your Mac's Dock.
-
3Click the Import tab. This is in the upper-right side of the window.
-
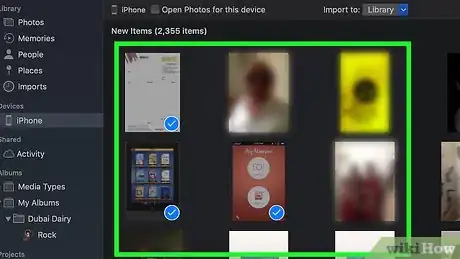
4Select photos to import. Click each photo that you want to import to select it.
- You can also just click Import All New Photos in the top-right corner of the Photos window.
-
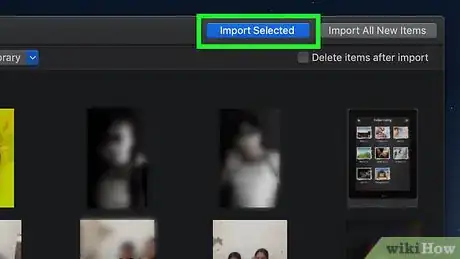
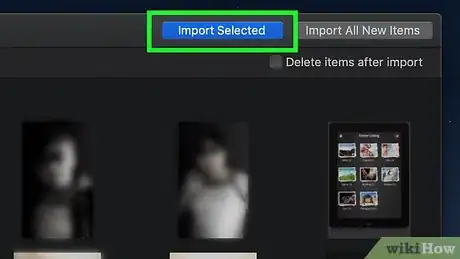
5Click Import Selected. This button is near the top-right side of the Photos window. Doing so will prompt the photos to begin copying onto your Mac.
- Skip this step if you clicked Import All New Photos.
-
6Wait for your photos to finish importing. Depending on how many photos you have to import, this process' time will vary.
-
7Decide whether or not to keep the photos on your iPhone. When prompted, click either Delete Items or Keep Items. This will either delete the photos from your iPhone or keep them on your iPhone, respectively.
Using Android on Mac
-
1Connect your Android to your Mac. Use the Android's charging cable to connect your Android to one of your computer's USB ports.
- If your Mac doesn't have a USB port, you will need to purchase a USB-C to USB-3.0 adapter.
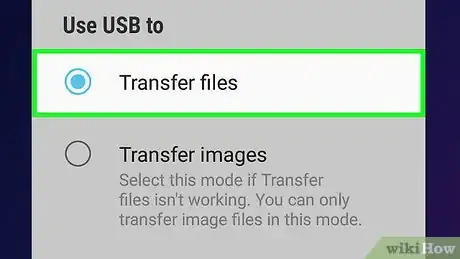
- If your Android prompts you to select a connection type, tap Media device (MTP) on its screen before continuing.
-
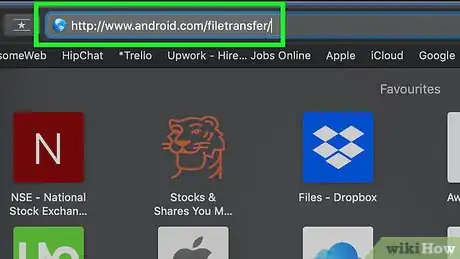
2Download and install Android File Transfer. To do so:
- Go to http://www.android.com/filetransfer/
- Click DOWNLOAD NOW
- Install Android File Transfer
-
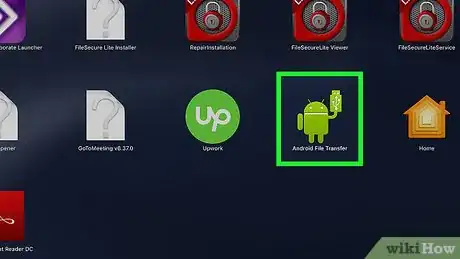
3Open Android File Transfer. If Android File Transfer doesn't launch automatically, click the spaceship icon in your Dock, then click the green Android mascot icon.
-
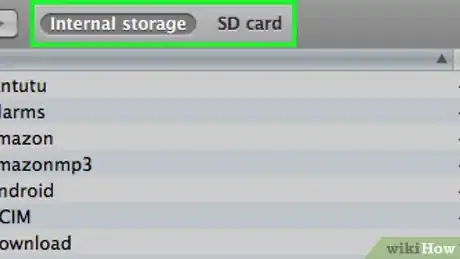
4Double-click the "Internal storage" or "SD card" folder. Depending on where the photos you want to transfer are stored and what kind of storage is available on your Android, you may see a slightly different option here.
-
5Double-click the "DCIM" folder.
-
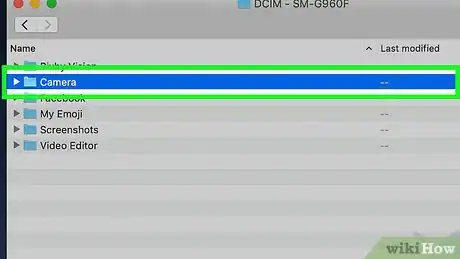
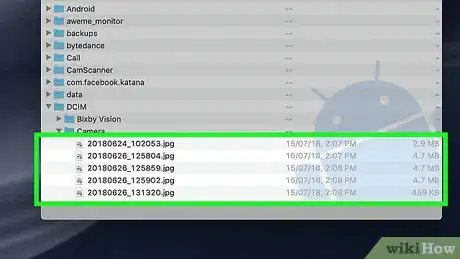
6Double-click the "Camera" folder. This is where all of your Android's photos are stored. Doing so will bring up a list of your Android's photos.
- Depending on whether or not your photos are in an album, you may have to open another folder before continuing.
-
7Select your Android's photos. Click and drag your mouse across the photos you want to move onto your computer to select them. You can also hold down the ⌘ Command key while clicking individual photos to select them independently.
- To select all photos in a folder, press ⌘ Command+A.
-
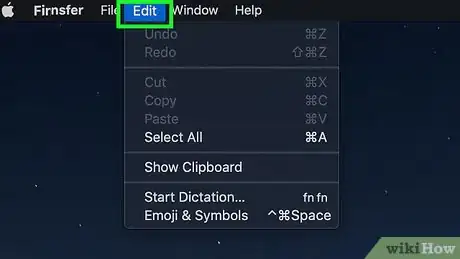
8Click Edit. This menu item is in the upper-left side of your Mac's screen. A drop-down menu will appear.
-
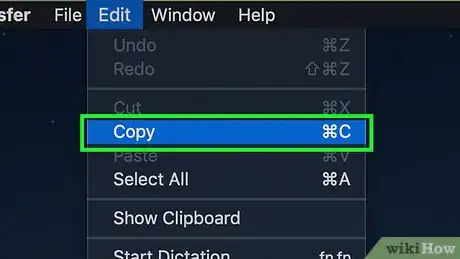
9Click Copy. It's near the top of the Edit menu.
-
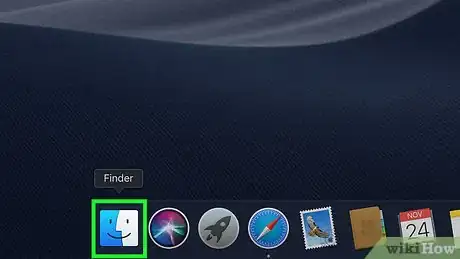
10Open Finder. Click the blue, face-like app in your Mac's Dock.
-
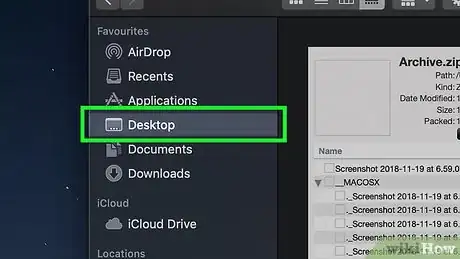
11Select a save location. Click a folder (e.g., All My Files) on the left side of the Finder window to select it as your photos' save location.
-
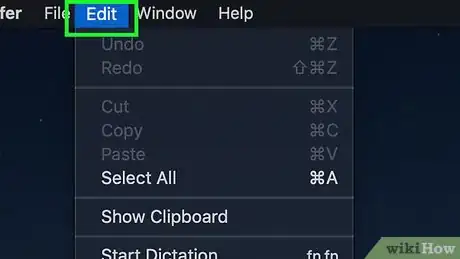
12Click Edit again. The Edit drop-down menu will reappear.
-
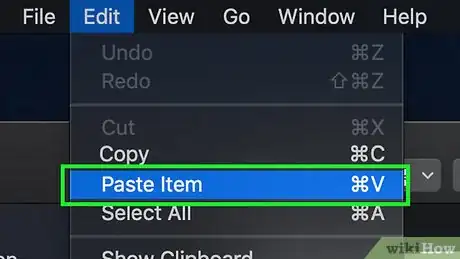
13Click Paste Items. This will copy the photos from your Android onto your Mac, though it may take a few minutes for all of the selected photos to transfer.
Using Google Drive
-
1Make sure you have Google Drive installed on your phone. If you don't already have Google Drive, you can download it for iPhone or download it for Android before continuing. Google Drive is free to download and use.
-
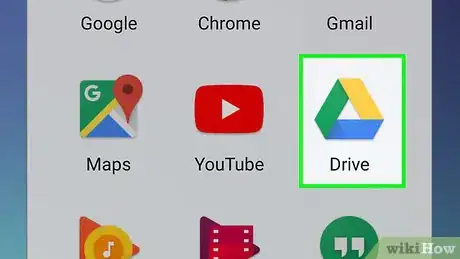
2Open Google Drive. Tap the Google Drive app icon, which resembles a green, blue, and yellow triangle. Google Drive will open if you're logged in.
- If you aren't logged in, you'll first need to select a Google account to use with Google Drive. Make sure that this is an account that you can use on your computer as well.
-
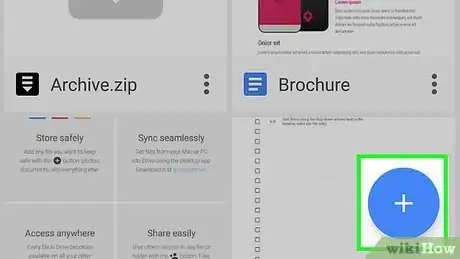
3Tap +. It's a blue button in the lower-right side of the screen. A menu will open.
-
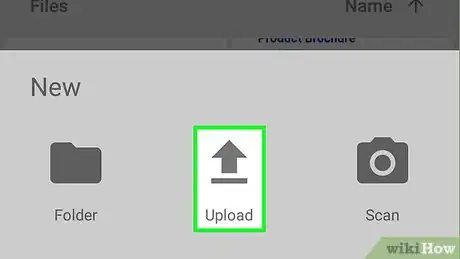
4Tap Upload. This upward-facing arrow icon is in the menu.
-
5Tap Photos and Videos. Doing so will open your phone's Photos app.
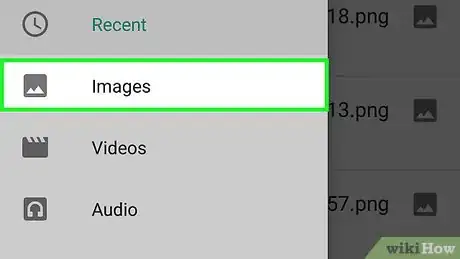
- On Android, you'll instead tap Images here.
-
6Select photos to upload. Tap an album if necessary, then tap each photo you want to upload to select them.
-
7Tap UPLOAD. It's in the top-right corner of the screen.
-
8Wait for the photos to finish uploading. This time will vary depending on how many photos you're uploading and the strength of your Internet connection.
-
9Open Google Drive on your computer. In a web browser, go to https://drive.google.com/. Your Google Drive main page will open if you're already logged in.
- If you aren't logged in, click Go to Google Drive in the middle of the page, then enter your email address and password.
- If you're logged into multiple Google accounts, make sure you're opening the same account in Drive as you used on your phone. You can click your name badge in the top-right corner of the Google Drive page and select the correct account.
-
10Select the photos you uploaded. Click and drag your mouse across the photos that you uploaded. They will be highlighted in blue.
-
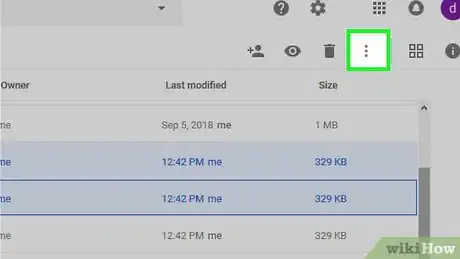
11Click ⋮. It's in the upper-right corner of the page. A drop-down menu will appear.
-
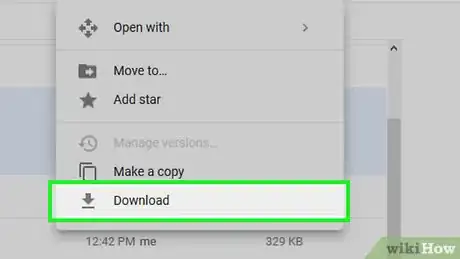
12Click Download. This option is in the drop-down menu. Doing so will prompt all selected photos to begin downloading onto your computer.
-
13Wait for the pictures to finish downloading. Once your download is complete, you can open the pictures' folder to view the pictures on your computer.
Expert Q&A
Did you know you can get expert answers for this article?
Unlock expert answers by supporting wikiHow
-
QuestionHow do I transfer photos from phone to Mac without USB?
 Mobile KangarooMobile Kangaroo is a full service repair shop and Apple Authorized Service Provider headquartered in Mountain View, CA. Mobile Kangaroo has been repairing electronic devices such as computers, phones, and tablets, for over 19 years, with locations in over 20 cities.
Computer & Phone Repair Specialists
-
QuestionHow do I transfer files from my Android to my computer wirelessly?
 Mobile KangarooMobile Kangaroo is a full service repair shop and Apple Authorized Service Provider headquartered in Mountain View, CA. Mobile Kangaroo has been repairing electronic devices such as computers, phones, and tablets, for over 19 years, with locations in over 20 cities.
Computer & Phone Repair Specialists
-
QuestionHow can I get an Android phone to accept an external SD card?
 Community AnswerThat depends on a couple things. First, your phone has to actually have an SD card slot. Many modern Android phones don't. Second, your phone has to be able to read and write to the type and capacity of SD card you're using. You'll have to do some research on your phone to find out that information.
Warnings
- If you decide to use Google Drive, make sure you upload your photos while connected to Wi-Fi. Uploading over a cellular connection will most likely result in extra charges on your monthly bill.⧼thumbs_response⧽
About This Article
1. Connect Android to computer via USB.
2. Open the Windows Photos app.
3. Click Import.
4. Click Another device.
5. Select photos to move.
6. Click Continue.
7. Click Import Selected.
