This article was co-authored by wikiHow staff writer, Rain Kengly. Rain Kengly is a wikiHow Technology Writer. As a storytelling enthusiast with a penchant for technology, they hope to create long-lasting connections with readers from all around the globe. Rain graduated from San Francisco State University with a BA in Cinema.
The wikiHow Tech Team also followed the article's instructions and verified that they work.
This article has been viewed 1,646,368 times.
Learn more...
Do you need to scan a photo or document into your computer, phone, or tablet? If you have a scanner or a printer with scan capabilities, you'll be able to scan documents onto your Windows or Mac computer. If you don't have a scanner, you can also use the Notes app on your iPhone or the Google Drive app on your Android device. This wikiHow will show you how to scan and save documents onto your Windows or Mac computer, iPhone, and Android device.
Things You Should Know
- For Windows, download Windows Scan. Prepare your scan, then click the scan icon.
- When using iOS, open the Notes app. Tap the camera icon, then tap "Scan Documents". Point your camera at the document to scan.
- On Android, open the Google Drive app. Tap "+", then "Scan". Point your camera at the document to scan.
Steps
Using Windows Scan
-
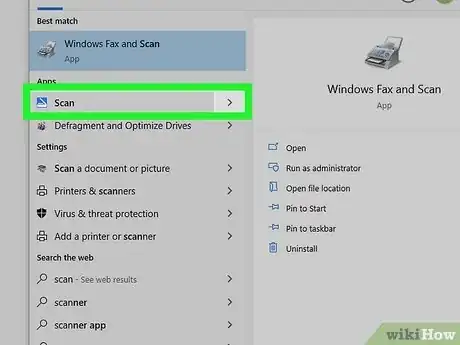
1Open the Windows Scan app. This looks like a white scanner with a blue background.
- If you don't have Windows Scan, you'll need to download it from the Microsoft Store.
-
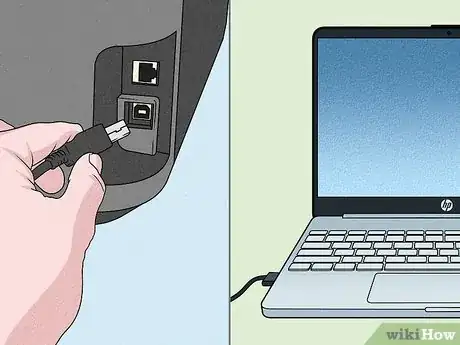
2Connect your printer to your computer. Make sure the printer is plugged in and turned on.[1]
- Your printer must have a built-in scanner to scan documents.
Advertisement -
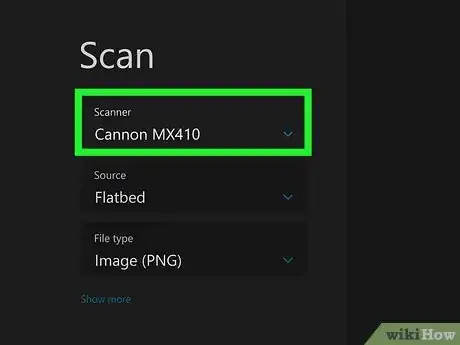
3On Windows Scan, select your scanner. If you have more than one printer connected to your computer, you'll need to click the Scanner field and select the printer you want to use.
- If you don't see your scanner, navigate to Windows Settings → Devices → Printers & Scanners → Add a printer or scanner. Wait for your device to find nearby printers, then click Add device.
-
4Select the source. Click the source field to choose between Flatbed or Feeder.
- When using the feeder, be sure you have selected the feeder option. This will let you scan multiple pages at once.
- If you're using the flatbed, be sure to select the flatbed option. This will only let you scan one document at a time.
-
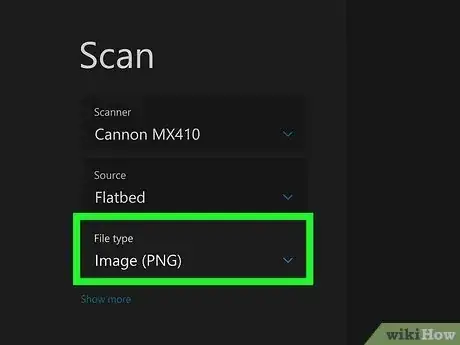
5Select your file type. You can choose between JPEG, PNG, TIFF, Bitmap, OPENXPS, XPS, or PDF.
- When scanning anything other than a photo, it's best to select PDF.
-
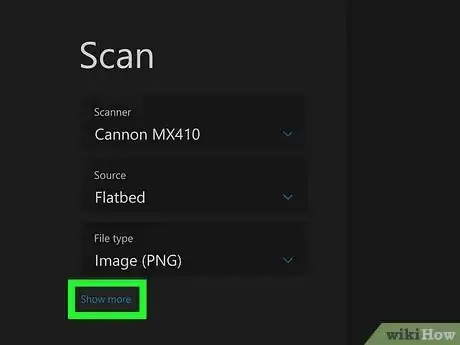
6Click Show more to adjust additional settings. Click Resolution to change your resolution (DPI). You can select between 150, 300, or 600.
- If you have a document with lots of small details, such as an image, select a higher DPI. This may increase your scan time, but the details of your scan will be much clearer. If you're scanning a simple black-and-white document, a lower DPI setting will work fine.
- Change the destination folder by clicking Save file to. Use the File Explorer to select a new save location.
-
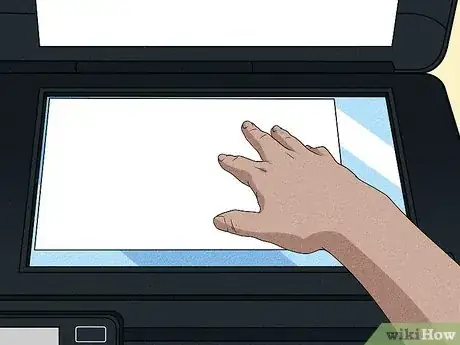
7Place a document face-down in your scanner. If you're using the feeder, make sure they're in the correct order.
-
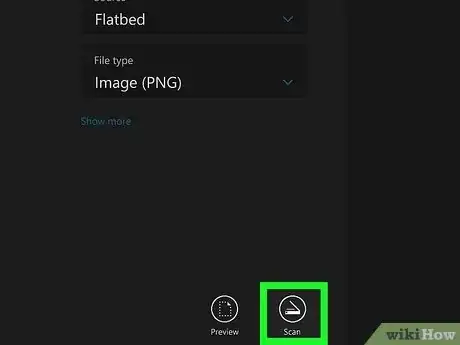
8On Windows Scan, click the scan icon. This is the icon of the open scanner, on the bottom of the scan options.
- Your printer will begin scanning the document.
- When your scan is finished, you'll see a pop-up notification.
-
9Click View to view your scan. You can also open the destination folder to find your scans.
- This may be My Scans or Pictures.
- If needed, you can email the scan.
Using Mac
-
1Place a document face-down in your scanner. You'll also want to make sure that your scanner is on and connected to your computer before proceeding.
-
2
-
3Click System Preferences…. It's at the top of the drop-down menu.
-
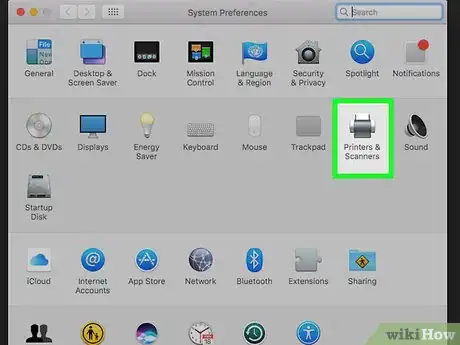
4Click Printers & Scanners. This printer-shaped icon is on the right side of the System Preferences window.
-
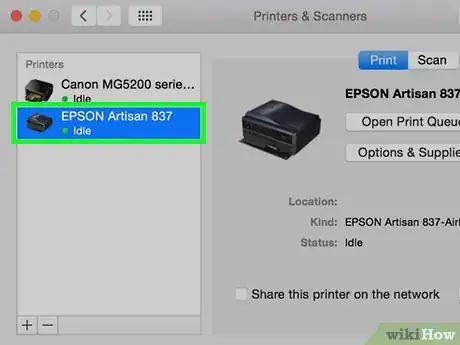
5Select your scanner. Click your scanner's (or printer's) name in the left-hand column.
- If you don't see it, click the + in the lower-left side of the screen. Select your printer and click Add.
-
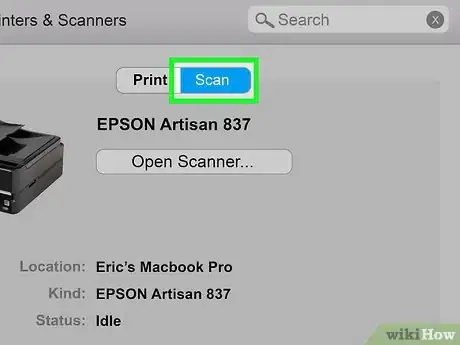
6Click the Scan tab. It's at the top of the window.
-
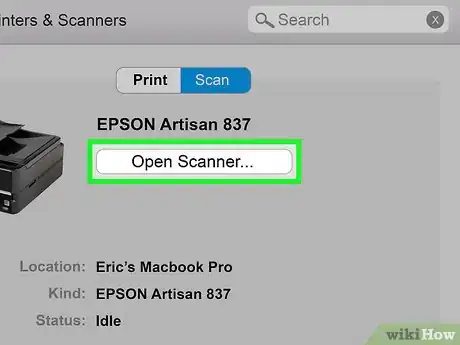
7Click Open Scanner…. You'll find this near the top of the Scan tab window.
-
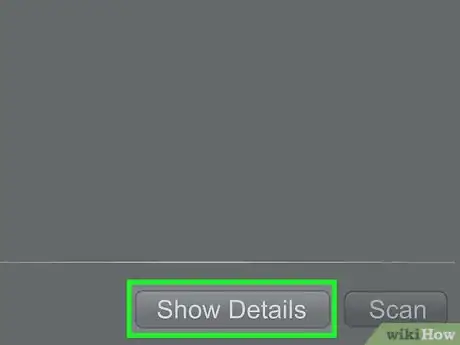
8Click Show Details. It's in the lower-right side of the window.
-
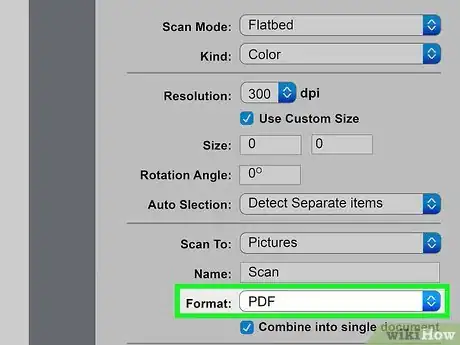
9Select a file type. Click the "Format" drop-down box, then click a file type (e.g., PDF or JPEG) that you want to use to save your file.
- When scanning anything other than a photo, it's best to select PDF.
-
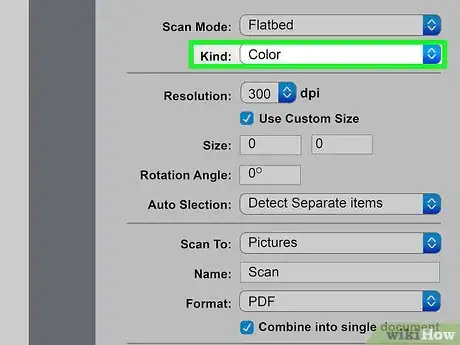
10Decide on a color. Click the "Kind" drop-down box at the top of the page, then select a color option (e.g., Black and White).
-
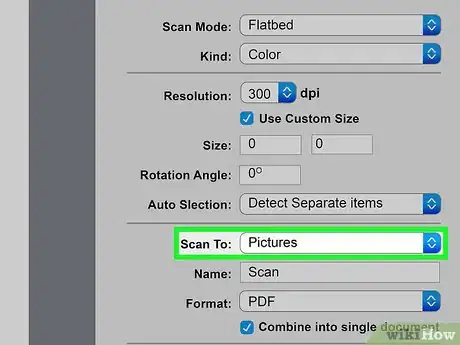
11Select a storage location. Click the "Save To" drop-down box, then click a folder in which you want to save your scanned document (e.g., Desktop).
-
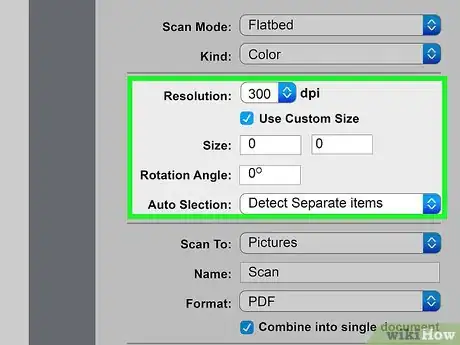
12Change other options on the page. Depending on the type of file that you're scanning, you may want to change the "Resolution" value or the "Orientation" value here.
-
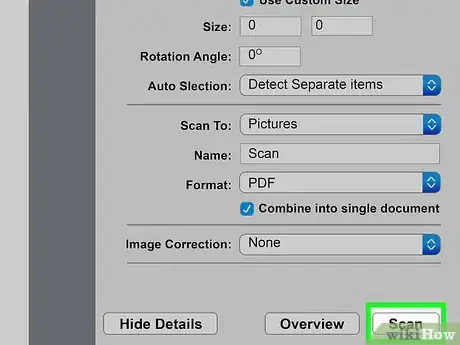
13Click Scan. It's in the bottom-right corner of the window. Your document will begin scanning into your computer.
- When it finishes, you'll be able to find it in your selected save location.
Using iPhone or iPad
-
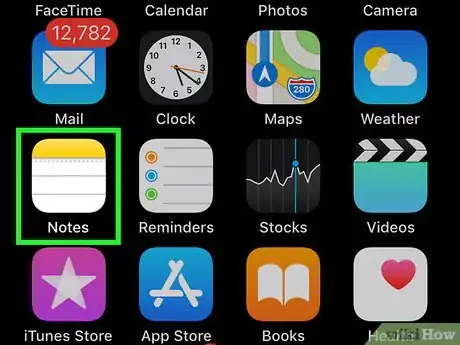
1Open the Notes app. This is the icon with the yellow notepad.
- If it's not already installed, you can install it from the App Store.
-
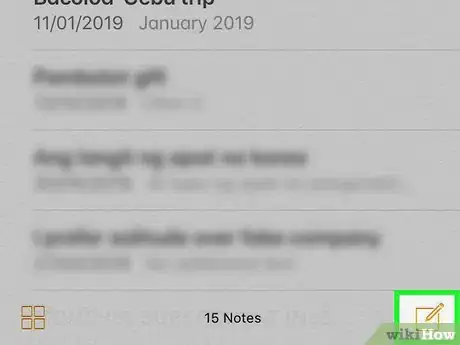
2Create a new note. You can do this by clicking the pencil and note icon located at the top right or bottom right corner, depending on your iOS version.
-
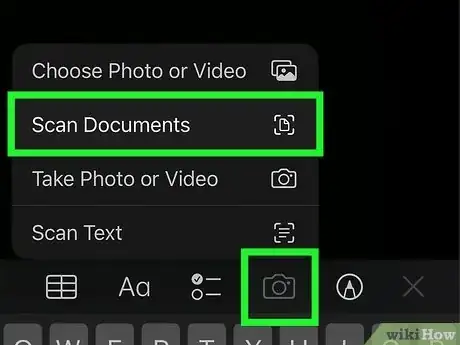
3Tap the camera icon and select Scan Documents. This will open your camera.
-
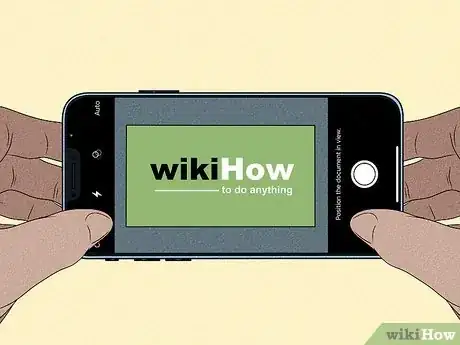
4Position your camera over the document you want to scan. You'll be able to compile multiple documents in the same PDF file as long as they are scanned in the same session.[2]
- For best quality, scan your documents in a well-lit area and with steady hands.
- The camera will automatically snap a photo when the scan has been detected.
- You can manually press the white camera button to snap a photo.
- If you need to retake a scan, click the scanned documents in the bottom left corner. Click Retake on the top right of the scan you want to retake.
-
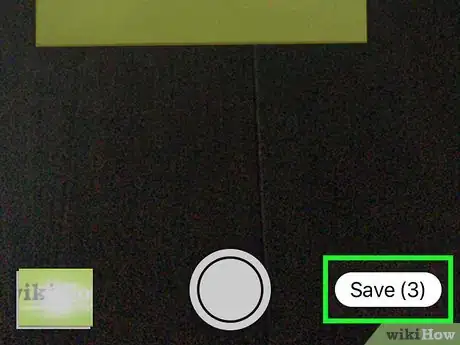
5When finished, click Save. If you scanned more than one document, there will be a number in parenthesis indicating the number of successful scans.
- The scans will automatically be in PDF format.
- If you scanned multiple documents in the same session, they will be compiled together in the same PDF file.
-
6Click the scanned document in the Notes page. This will bring up the document options.
- Make sure you've selected the scanned document, not the Note.
- It will say Scanned Document(s) at the top.
-
7
-
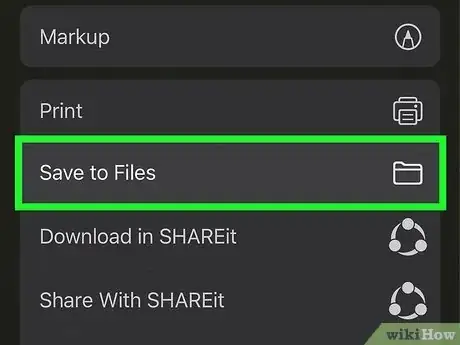
8Save your scanned document. You can choose Save to Files, Save to Dropbox, Mail, and more.
- Tap OK to save or send your scan.
Using an Android
-
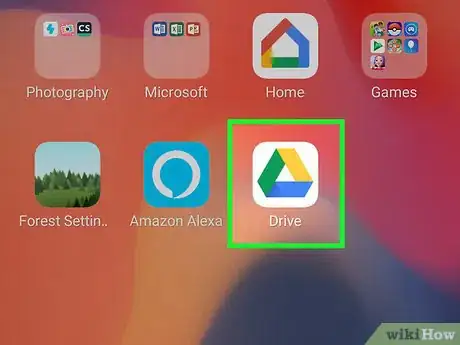
1Open the Google Drive app on your Android device. You'll need to login to your Google account to use Google Drive.
- If you don't have an account, you can create an account.
- If needed, download Google Drive from the Google Play Store.
-
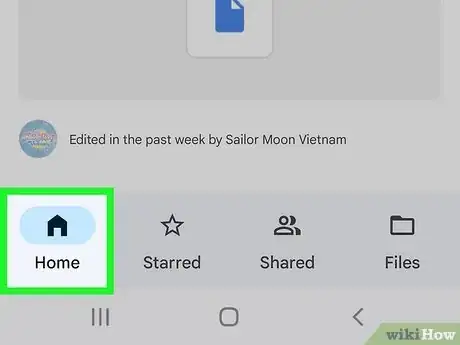
2Navigate to your homepage. By default, the app should open on this page. If not, tap Home on the bottom left corner.
- This is where you can add files or store pictures.
-
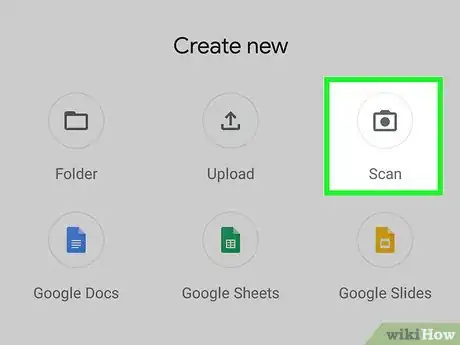
3Tap +. It's in the bottom-right corner of the screen. A pop-up menu will appear.
-
4Tap Scan. This camera-shaped icon is in the pop-up menu. Your device's camera will open.
- If you're using the camera for the first time, you may receive a pop-up window. Select either While using the app or Only this time.
- Do not select Don't allow since you need camera permission to scan documents from your phone.
-
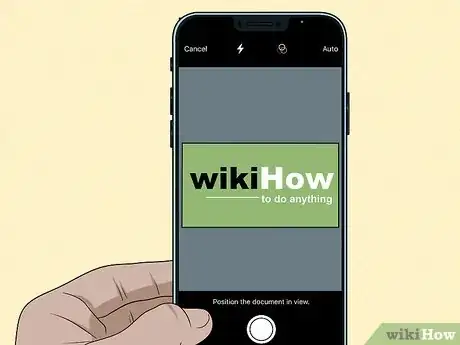
5Point your phone's camera at a document. The document should be centered in the middle of the screen.
- Make sure that your document is flat and completely on-screen before proceeding.
-
6Tap the "Capture" button. It's a blue-and-white circle at the bottom of the screen. This will scan your document.
- You can choose to Retry if you want to take the photo again.
- Otherwise, click OK.
- Google Drive will automatically convert your picture into a scan. If there is white space, it will automatically locate the borders of your document.
-
7Tap Save. This is in the bottom-right corner of the screen. Doing so saves your scan.
- You can also crop your scan by tapping and dragging any of the spheres located around the edge of the scan.
- To add more pages to the PDF, tap + and then scan another item.
-
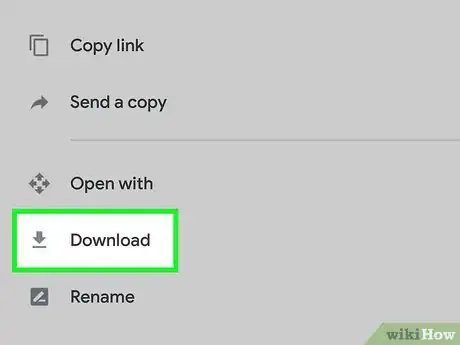
8Save your scanned document onto your phone. Tap the three dots icon in the top-right corner, then tap Download.
- You can also tap Send a copy if you want to email the scan.
Community Q&A
-
QuestionDo I need ink in my printer to scan?
 Community AnswerNo. Ink is for printing, not for scanning. You just need documents and electricity to scan.
 -
QuestionCan I scan a stack of documents to my PC, or do I have to scan them one at a time?
 Community AnswerWell, seeing as you are scanning a piece of paper, probably one at a time, because the device you are scanning with will only be able to see one document at a time.
 -
QuestionHow do I email a scanned document?
 Community AnswerOnce you've scanned the document, open a blank email message and add an attachment. From there, just select your scanned document as the attachment.
Warnings
- Attempting to scan wrinkled, dirty, or otherwise compromised documents will result in a lower quality scan.⧼thumbs_response⧽
References
About This Article
1. Place document face-down on scanner.
2. Open Windows Fax and Scan.
3. Click New Scan.
4. Select your scanner.
5. Select a document type from the “Profile” menu.
6. Choose Color or Black and White.
7. Select a file type.
8. Click Preview.
9. Click Scan.
