wikiHow is a “wiki,” similar to Wikipedia, which means that many of our articles are co-written by multiple authors. To create this article, volunteer authors worked to edit and improve it over time.
There are 7 references cited in this article, which can be found at the bottom of the page.
This article has been viewed 167,639 times.
Learn more...
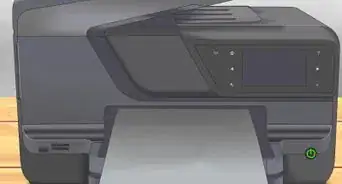
Whether you just got a new printer or it’s time to replace an empty ink cartridge in your existing printer, putting an ink cartridge in your printer only takes a few minutes. Once your printer is on, take your new ink cartridge out of the packaging, open your ink tray and replace any old cartridges with your new ones. Most printers operate similarly, making putting a new cartridge in easy.
Steps
HP Printer
-
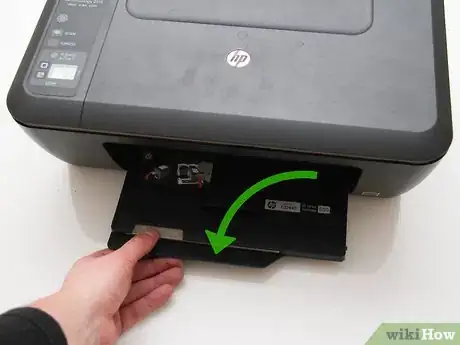
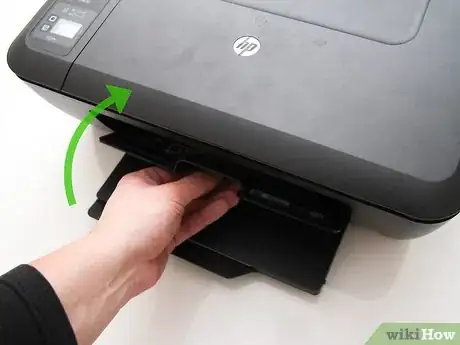
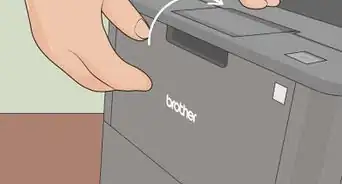
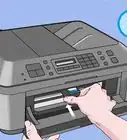
1Open the ink tray in the center of your printer. If you have an HP Deskjet printer you will have a top lid for scanning documents. Underneath that center lid is a components and ink tray which is located above your output tray. Open your ink tray.
- Make sure that your printer is plugged in and turned on. In order for the ink compartments to slide into view, your printer must be powered on.
- The ink cartridges will slide into view in the center of your printer.
- In some HP printers, such as the HP All-in-One printers, there is a top lid which you lift up to access the ink cartridges. [1]
-
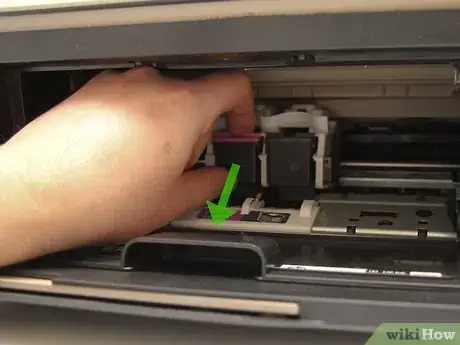
2Pop the existing ink cartridges out of the printer. If there are already ink cartridges in your printer, you will have to remove these old ones. [2]
- Press down on the ink cartridge you want to remove. This is will dislodge it from the ink holder.
- Once you hear the click and see the existing ink cartridge popped out, pull it the rest of the way out.
- Some HP printers have individual cartridges for each color. If you have one of these printers, the process is the same. Just pop out each individual cartridge you need to replace.
Advertisement -
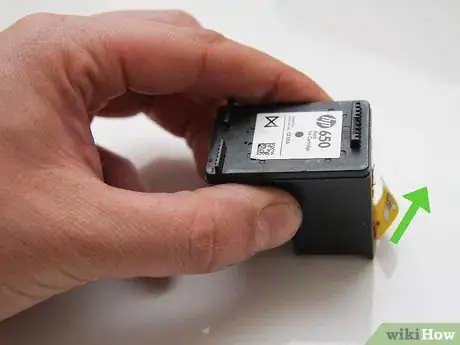
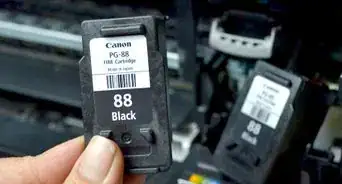
3Remove the new ink cartridge from the packaging. Your new ink cartridge will come in a white plastic package.
- Tear open the packaging to reveal the new cartridge.
- Your cartridge will either have a blue top or a black top unless you have individual cartridges for each color. The blue topped cartridge is your colored ink. The black topped cartridge is your black ink.
- Remove the protective tab on the ink cartridge. This is a plastic film that covers the part of your cartridge that dispels the ink.
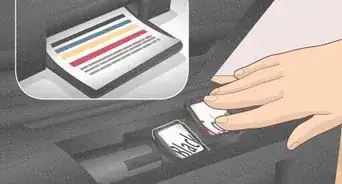
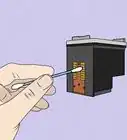
- Try not to touch the copper-colored area of the cartridge or the ink nozzles. Touching this area can cause clogs, ink failure, or a disconnection if your fingerprints smudge the area.
-
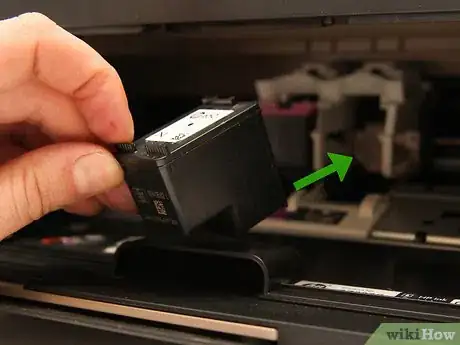
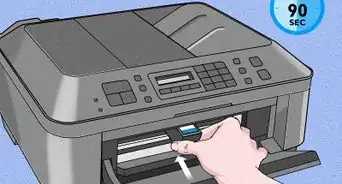
4Insert your new ink cartridges. Slide the new cartridge into the ink slot.
- Insert your cartridge into the slot with the ink nozzles facing away from you.
- Your ink cartridges will have two small plastic tabs on the top of your cartridge near the sticker that tells you the ink number. These tabs should be closer to you. Make sure the ink nozzle is facing away from you.
- The color cartridge goes on the left side. The black cartridge on the right side.
-
5Close the ink cartridge door. You should feel it click into place.
- Once the door is closed properly you will hear the cartridges slide back into place.
- Finished.
Canon Printer
-
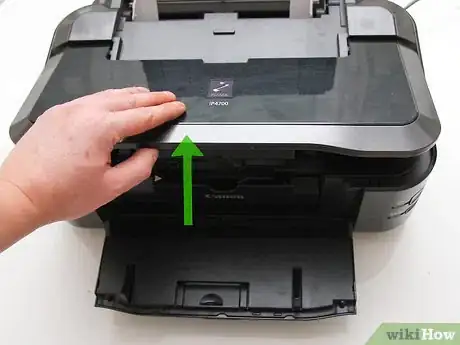
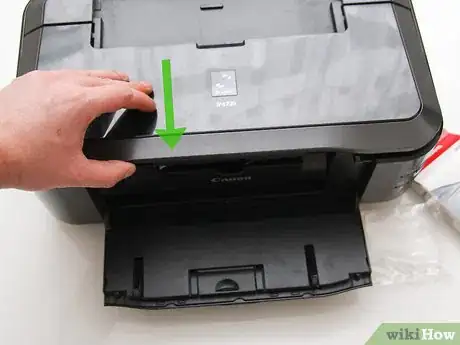
1Open the ink tray in the center of your printer. If you have a Canon printer which uses a FINE cartridge like in the MX or MG series, you will have a center paper output cover which is above your output tray. Open your ink tray in the center which is above the output tray. [3]
- Make sure that your printer is plugged in and turned on. In order for the ink compartments to slide into view, your printer must be powered on.
- The ink cartridges will slide to the right side of your open tray. This is the replacement position.
- In some Canon printers, such as the MX or MG Series which uses FINE ink cartridges, the cartridge holder moves to a replacement position behind the head cover. The head cover will open automatically. [4]
- If you have a Canon PIXMA printer which uses several, smaller ink cartridges, the cartridge holder will slide into the middle of your operations tray when you open the operation lid on top of the printer. [5]
-
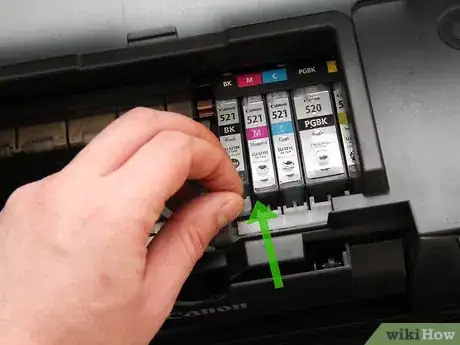
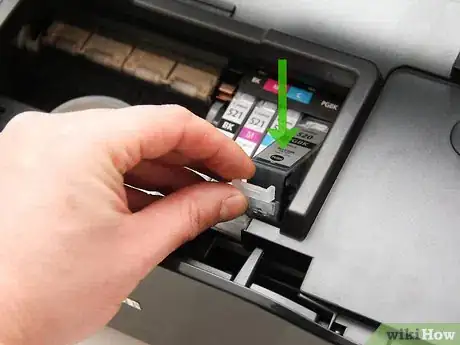
2Remove any existing ink cartridges from the printer. If there are already ink cartridges in your printer, you will have to remove these old ones.
- Press down on the ink cartridge you want to remove. The cartridge lock lever will click, dislodging the cartridge.
- Once you hear the click and see the existing ink cartridge popped out, pull it the rest of the way out.
-
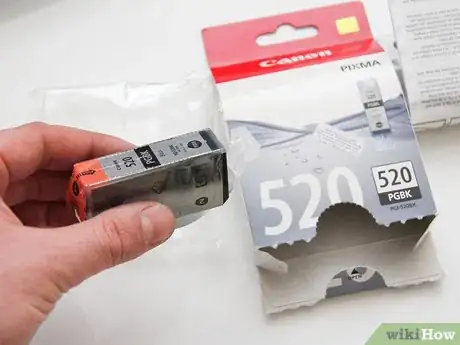
3Remove the new ink cartridge from the packaging. Take the new cartridge from its packaging and remove the protective tape.
- Some Canon printers only use two cartridges, one black, and one tri-color, such as in the MX series. Others like the PIXMA use several cartridges, one for each color. All cartridges will have a protective film over the ink nozzle you need to remove.
- Remove the protective tab on the ink cartridge. This is a plastic film that covers the part of your cartridge which dispels the ink.
- Be careful not to touch the copper-colored area of the cartridge or the ink nozzles. touching this area can cause clogs, ink failure, or a disconnection if your fingerprints smudge the area. Do not shake your cartridges either.
-
4Insert your new ink cartridges. Gently slide the new cartridge into the ink slot.
- Insert your cartridge into the slot with the ink nozzles facing away from you.
- The color cartridge(s) goes on the left side. The black cartridge on the right side. Make sure you hear a click to ensure the cartridge is locked into place.
-
5Close the ink cartridge door. You should feel it click into place.
- Once the door is closed properly you will hear the cartridges slide back into place.
- Finished.
Epson Printer
-
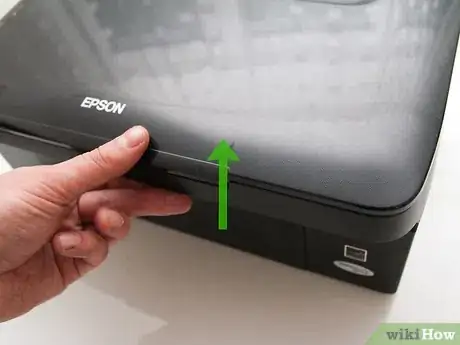
1Lift the printer lid to expose the cartridge carriage. Most Epson printers operate similarly with multiple ink cartridges for every color. [6]
- Open up the printer lid, not just the top lid where the scanner is.
- Make sure that your printer is plugged in and turned on. To change your cartridges, your printer must be powered on.
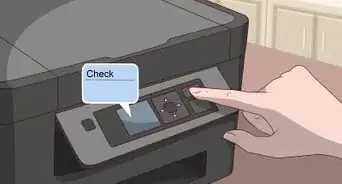
- To access the ink carriage, start at the home screen on your printer. Push the right arrow button until you see the “Setup” option. Press “Ok”. Then press the right arrow until you get to the “Maintenance” option. Press “OK”. Press on your right arrow again and scroll through your options until you see the one for “Ink Carriage Replacement”.
- The ink cartridges will slide to the right side of your open tray. This is the replacement position.
- In some Epson printers, there will be an ink button identified by a small ink drop icon. Press the ink button to move the ink cartridge into the replacement position. You will then see an ink light begin to flash for the corresponding ink cartridge that needs to be removed. [7]
-
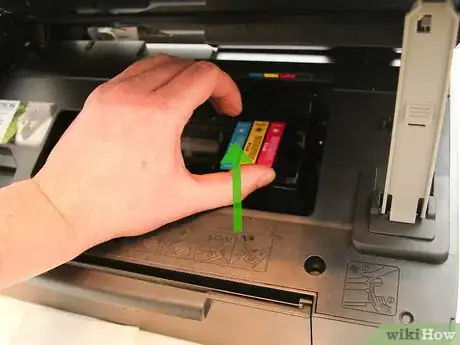
2Remove any existing ink cartridges which need to be changed from the printer. If there are already ink cartridges in your printer, you will have to remove these old ones.
- Pinch the sides of the cartridge you need to replace. Then lift the cartridge out of the printer.
-
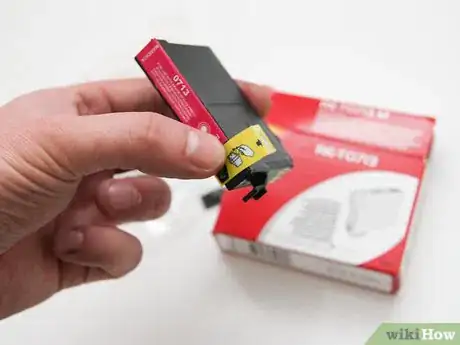
3Remove the new ink cartridge from the packaging. Take the new cartridge from its packaging and remove the protective tape.
- Before removing the cartridge from the packaging, shake it a few times to help prime the ink. Don’t shake the cartridge once it’s out of the packaging as it can leak.
- Remove the protective tab on the ink cartridge. This is a plastic film that covers the part of your cartridge that dispels the ink.
- There may also be a piece of plastic over the ink nozzle, do not remove this tape or plastic.
- Be careful not to break the hooks on the side of the cartridges. There will also be a plastic label on the side of the cartridge. Do not remove this label as it will cause ink to leak and the cartridge to malfunction.
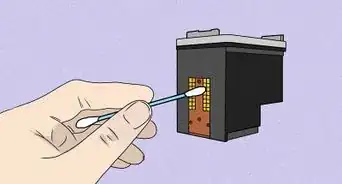
- Be careful not to touch the green IC area of the cartridge or the ink nozzles. touching this area can cause clogs, ink failure, or a disconnection if your fingerprints smudge the area. Do not shake your cartridges either.
-
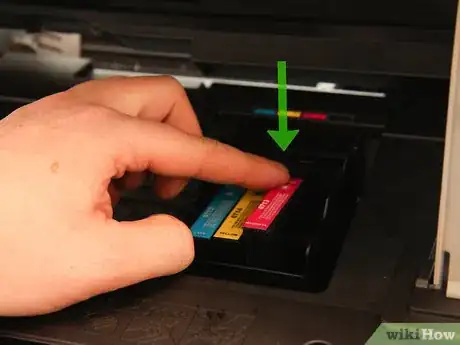
4Insert your new ink cartridges. Gently slide the new cartridge into the ink slot. The tab goes toward the back.
- Insert your cartridge into the slot with the ink nozzles facing away from you.
- The color cartridge(s) go on the left side. The black cartridge on the right side. Make sure you hear a click to ensure the cartridge is locked into place.
- If your Epson printer has an ink button, press it again to allow the printer to charge the ink delivery system. When this is finished, the print head will automatically return to the home position.
-
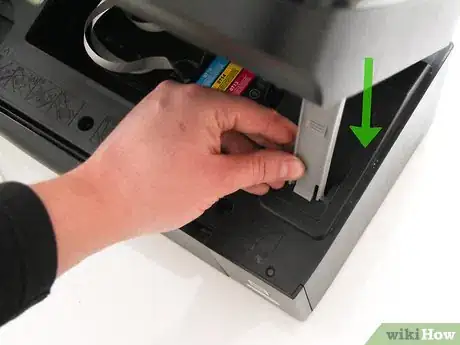
5Close the printer’s lid. Press the start button if your printer has one. This will charge the ink.
- Once the door is closed properly you will hear the cartridges slide back into place.
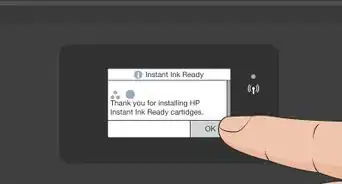
- If prompted, click “OK to proceed”.
- Finished.
Community Q&A
-
QuestionHow many printer cartridges does the HP have?
 Community AnswerIt depends on what printer you have, but most printers have two printer cartridges -- one for color and one for black.
References
- ↑ http://h10032.www1.hp.com/ctg/Manual/bpu72495.pdf
- ↑ https://www.youtube.com/watch?v=wVXUndG-o_Q
- ↑ http://ugp01.c-ij.com/ij/webmanual/Manual/W/MG3500%20series/EN/BG/bg-ink1000.html
- ↑ https://www.youtube.com/watch?v=ASSuJYLA4hM
- ↑ https://www.youtube.com/watch?v=ik5-GN5BOJc
- ↑ https://www.youtube.com/watch?v=THuSSGnZ7Xw
- ↑ https://files.support.epson.com/htmldocs/pho22_/pho22_rf/ink_1.htm
