This article was co-authored by wikiHow staff writer, Darlene Antonelli, MA. Darlene Antonelli is a Technology Writer and Editor for wikiHow. Darlene has experience teaching college courses, writing technology-related articles, and working hands-on in the technology field. She earned an MA in Writing from Rowan University in 2012 and wrote her thesis on online communities and the personalities curated in such communities.
This article has been viewed 12,464 times.
Learn more...
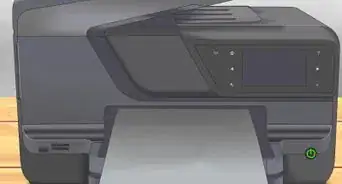
This wikiHow will teach you how to install a new black or color ink cartridge in your HP Envy 5000-series printer.
Steps
-
1Make sure your printer is powered on. The printer will automatically detect when the cartridge door is open, so no parts will move while you are changing the ink.
-
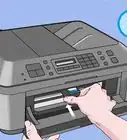
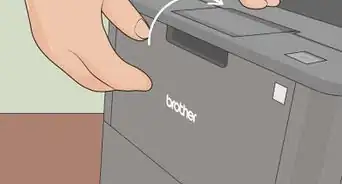
2Lift the ink cartridge access door. This is the lid that you can lift off that's located above the display.
- Wait for the carriage to stop moving before continuing.
Advertisement -
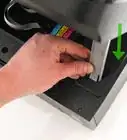
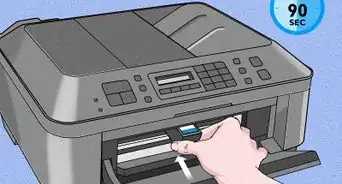
3Remove the ink cartridge from the printer. Lift up the plastic lid holding the cartridge into place, and then gently pull the cartridge up out of the slot. If you're replacing both the black and color ink cartridges, remove both cartridges now.
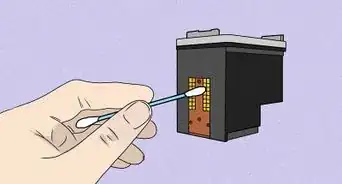
- Be careful not to touch the ink nozzles because you could stain yourself.
- Dots on the cartridge represent the color of the ink, so if you see a black dot, the ink inside is black.
-
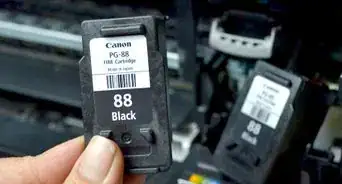
4Remove the new ink from its packaging. When taking the ink out of its packaging, make sure you're only touching the black plastic part of the cartridge.
-
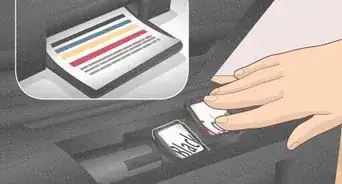
5Hold the new cartridge by its sides and remove the orange sticker. You'll want to avoid touching the copper contacts underneath.
-
6Insert the cartridge in its appropriate slot. You'll see a light purple lid on the left for the tri-colored cartridge, and a black lid to the right for the black cartridge. Make sure the ink nozzle is facing the back of the printer, and gently snap the cartridge into place.
- If you need to, you can lift the colored lid to insert the cartridge, but make sure you close it again when you finish.[1]
-
7Close the ink cartridge access door. This is the main section you lifted up as the first step in this process.
-
8Touch OK on the printer's control panel. The printer will automatically detect that you've replaced the ink cartridges and prompt you to confirm these changes.[2]
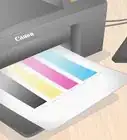
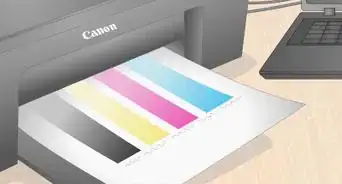
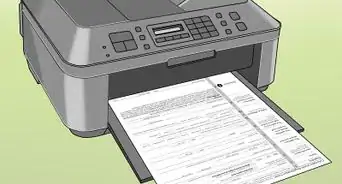
- Once confirmed, your printer will automatically print an alignment page, along with instructions for completing the alignment process. If the printer doesn't have any paper, you'll be prompted to load some now.


About This Article

1. Make sure your printer is powered on.
2. Lift the ink cartridge access door.
3. Remove the ink from the slots in the printer.
4. Remove the new ink from its packaging.
5. Hold the new cartridge by its sides and remove the orange sticker.
6. Insert the cartridge in its appropriate slot.
7. Close the ink cartridge access door.
8. Touch OK on the printer's control panel.