This article was co-authored by wikiHow Staff. Our trained team of editors and researchers validate articles for accuracy and comprehensiveness. wikiHow's Content Management Team carefully monitors the work from our editorial staff to ensure that each article is backed by trusted research and meets our high quality standards.
This article has been viewed 68,550 times.
Learn more...
Making phone calls from Google Chrome is as simple as adding the Google Voice or Google Hangouts extension to your toolbar and following an intuitive, user-friendly procedure. This article will thoroughly explain how to use either Google Voice or Google Hangouts to make or receive phone calls from new or existing numbers. If you have an Internet connection, making a call is pretty straightforward. Setting up and using these extensions only take a few minutes, and you can do so especially easily from your Chrome browser.
Steps
Setting Up the Google Voice Extension
-
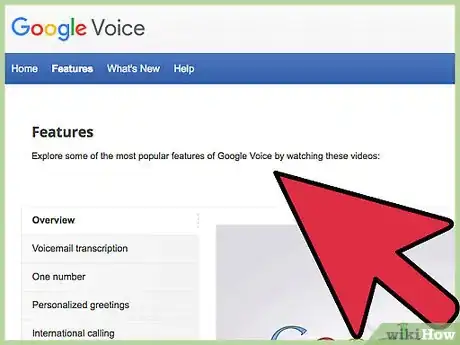
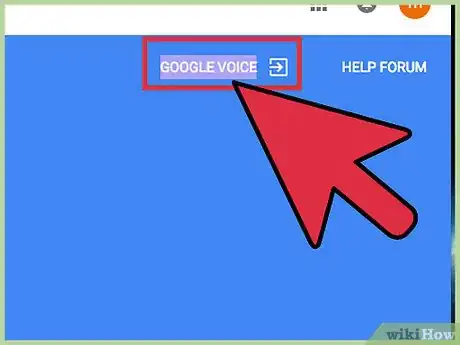
1Sign into Google Voice. If you don't already have one, you'll need to create a Google account. You can perform either of these tasks at Google.com or via Gmail. You may also sign into Google Voice directly at https://www.google.com/voice.
- Google Voice currently only supports phone numbers in the United States, but there are
- While you can use Google Voice from mobile devices, you will need to download and install separate apps rather than using an extension for Chrome. This tutorial only focuses on using Google Voice via Chrome directly on computers or notebooks.
-
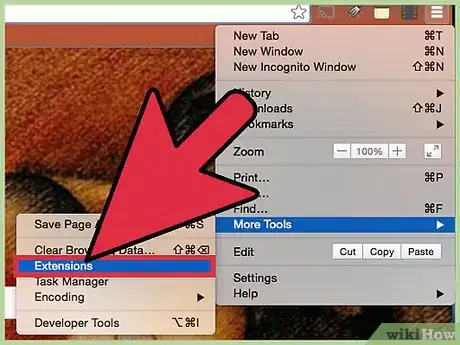
2Access extensions. Begin by clicking on the menu in the top right corner of the Chrome window. It's the one that looks like three horizontal lines (≡). Then select "More Tools" from the dropdown menu that appears after clicking the menu, and then click on Extensions. This will take you to a page featuring a variety of popular Chrome extensions.Advertisement
-
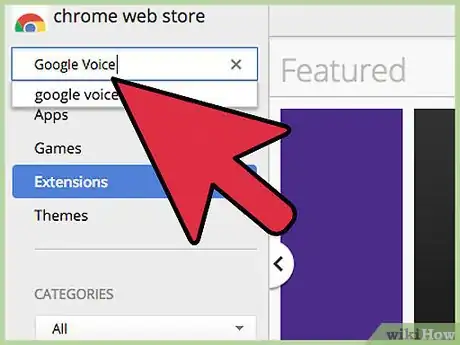
3Find the Google Voice extension. Simply perform a query for "Google Voice" in the search box located on the upper, lefthand side of the page.
-
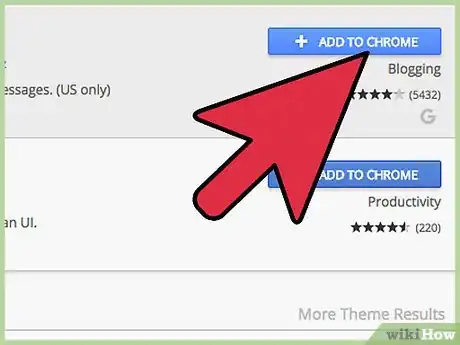
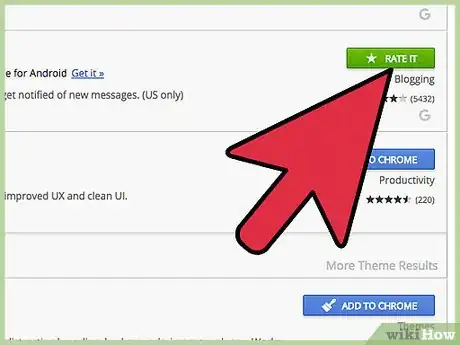
4Add the Google Voice extension. After performing a search, you'll find the "Google Voice (by Google)" option under the Extensions section. Click on the blue "Add to Chrome" button to its right.
-
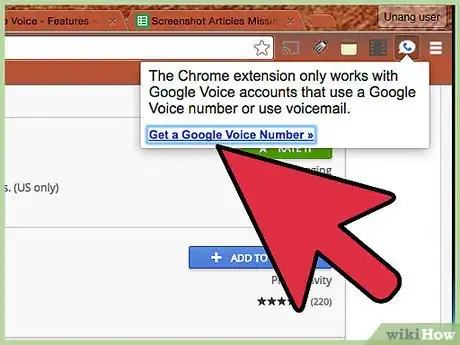
5Click the Google Voice icon on your toolbar. You'll find this icon along with an introductory message added to your toolbar immediately after adding the extension to Chrome. Upon clicking the icon for the first time, you'll be directed to a new tab with a "Getting Started" screen. First accept the Terms and Conditions in order to proceed.
-
6Use your existing number. Note that you may either select "I want a new number" or "I want to use my mobile number." For this step, select the latter, enter your phone number and then click "Check for available options." You'll then see a list of the different kinds of Google Voice accounts that can be linked to your number.
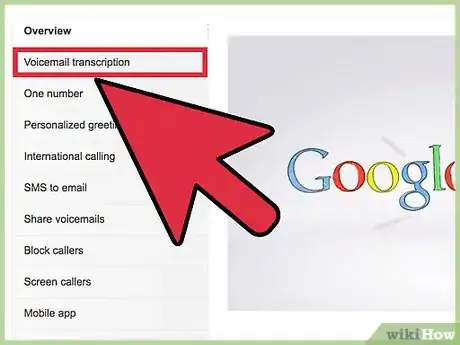
- Note that you must have a mobile phone in order to select this option. Should you do so, you can access additional Google Voice functionality like having voicemail transcribed online and sent to you via email or text. You can learn more about how to set up Google Voice at How to Set Up Google Voice.[1]
- Though only some account types are available to some customers, there are several varieties available in general. They include: Sprint (which uses your Sprint number), Number Porting and Google Voice Lite. You can learn more about their respective functionality at: https://support.google.com/voice/answer/115073?hl=en&ref_topic=3038506&rd=1.
- Porting your number will incur a one-time $20 fee from Google and may also trigger early cancellation fees from your prior carrier.[2]
-
7Set up a new number. Select the "I want a new number" option when prompted. If you decide to create a new number, Google Voice requires that you provide a forwarding number associated with a home, work or mobile phone. This phone will ring via call forwarding when your Google Voice number is called. Add your phone number and allow Google Voice to call the phone so that you can verify it.
Placing Calls Via Google Voice
-
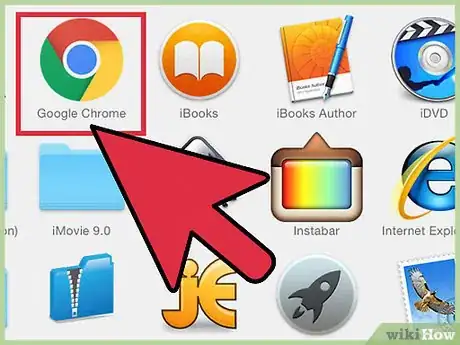
1Open Chrome. You'll likely find Chrome located in your Dock or Taskbar, among your Applications or on your desktop. Simply click the Chrome icon to launch the program.
-
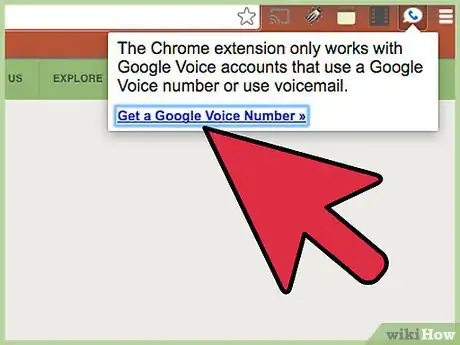
2Open Google Voice. You can launch the extension either by clicking the phone icon on your toolbar or by navigating to https://www.google.com/voice.
-
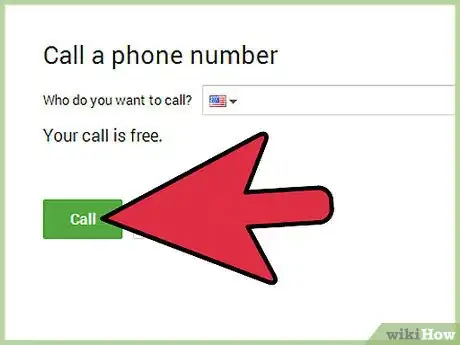
3Click "Call." This button is located at the top, left hand side of your screen. Clicking it will begin the call process and prompt you for the number you wish to dial and the number from which you'll be placing your call.
-
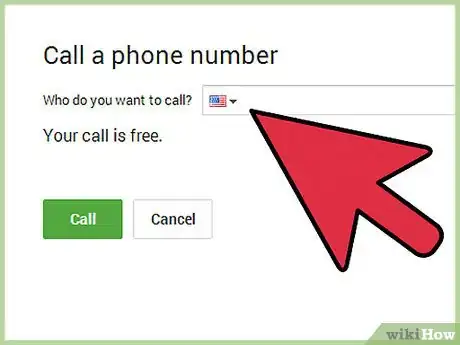
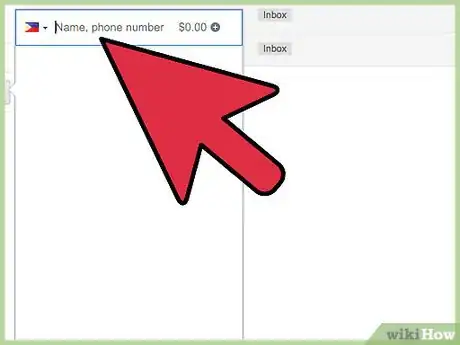
4Enter the number you wish to call. You may type a phone number or contact's name in the "Number to call" box, or you can also click on any number in Chrome that you want to call (e.g. a business for which you've searched).
-
5Enter the number from which you're calling. Just select the dropdown menu next to the "Phone to call with" box and choose your preferred number in the event you have more than one linked to Google Voice. To have Google Voice set this as your default option, check the box next to "Remember my choice."[3]
- You may alternatively direct a call to one of your contacts by clicking on Google Contacts on the left hand side of your Google Voice screen. Then click on one of your saved contacts and hover over his or her phone number. Finally, click the phone icon that appears next to the number.
-
6Make a phone call from Google Voice. Simply click "Connect" to call directly through your phone. Remember that if you're dialing one of your Google Contacts, you need only click the phone icon appearing next to his or her number in order to place the call.
-
7Access voicemail. Click on the phone icon on your Chrome toolbar to listen to recent voicemail, and you can also place calls to those who tried to reach you. Click Call in the top, right hand side to place these calls.
-
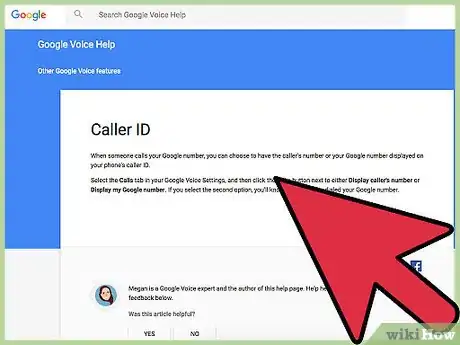
8Use caller ID. You can opt to have either your caller's number or your Google Voice number appear as caller ID when receiving a call (the latter option denoting that someone has dialed your Google Voice number rather than your mobile number). To set your preference, click on the "Calls" tab under "Google Voice Settings." Then click the radio button associated with either "Display caller's number" or "Display my Google number."
-
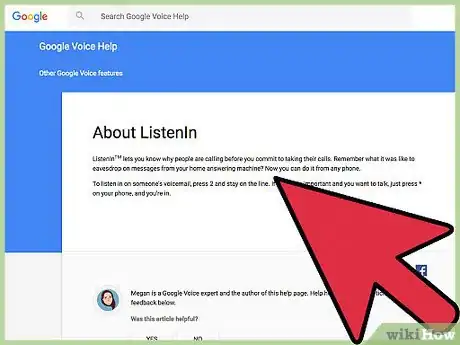
9Use "Listen In" to preview calls. This will enable you to determine whether you wish to take a call depending on the nature of the caller's voicemail. Begin by pressing 2 from your phone when receiving the call and then remain on the line. If you opt to accept the call while listening to the voicemail, simply press * on your phone.
-
10Send all calls to voicemail. Open Google Voice and click the "Settings" (gear icon) at the top, righthand corner of your screen. Select the "Calls" tab under "Settings" and then check the box next to "Do Not Disturb" if you want your calls sent to voicemail. You can also specify an amount of time you for which you want calls sent to voicemail by indicating your preference next to the "Ends in" text.
Troubleshooting Issues With Google Voice
-
1Keep your reclaimed number. If you haven't used your Google Voice account for an extended period, you may receive an email from Google notifying you that the number you created with Google Voice has been "reclaimed." If you'd like to keep that number, sign into Google Voice and select "Get a Google Voice Number" on the lefthand side of your inbox or from the "Phones" tab. Then enter your current Google Voice number and click "Search." Select that number when it appears. You'll have 30 days to complete this process after receiving the reclamation notice.
-
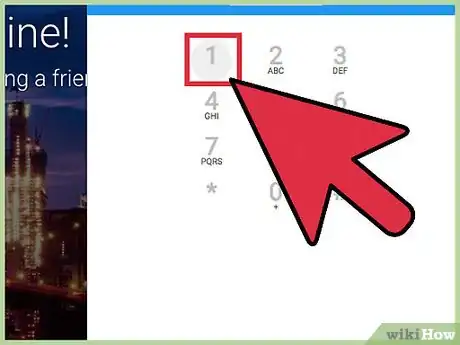
2Address error message callers may receive. When trying to reach your Google Voice number, some callers may receive an error message. They may need to dial "1" before entering the rest of your Google Voice number. If that doesn't solve the problem, double-check that you haven't inadvertently blocked that caller. Finally, the issue may be associated with that caller's carrier, so you may want to determine if there's a consistent problem with callers from that carrier and contact customer service.
-
3Resolve problems leaving voicemail. If you or any of your contacts have had difficulty leaving voicemail when using Google Voice, you may wish to link your account to a different phone and see if the problem persists. If that doesn't solve the problem, you or your contact should try again in an hour. Finally, if all else fails, report the problem to the Google Voice Help Forum.
-
4Improve call quality. Google Voice maintains that its call quality is linked entirely to the phones being used. So if you're noticing issues with call quality (e.g. echoes or static), it's likely related to your phone or carrier. If you believe otherwise, Google Voice encourages you to rate the quality of specific calls located under you "History," "Received," and "Placed" labels. Simply click the "x" box next to the "Call quality?" text located in the bottom, righthand corner of the call listing.
Community Q&A
-
QuestionHow come I have not seen any charges from my calls?
 ChapoosCommunity AnswerThat is because the Google Phone is free in most cases.
Warnings
- Do not give out the credentials of your Google Account to anyone.⧼thumbs_response⧽






-Step-7.webp)


