This article was co-authored by wikiHow Staff. Our trained team of editors and researchers validate articles for accuracy and comprehensiveness. wikiHow's Content Management Team carefully monitors the work from our editorial staff to ensure that each article is backed by trusted research and meets our high quality standards.
The wikiHow Video Team also followed the article's instructions and verified that they work.
This article has been viewed 669,718 times.
Learn more...
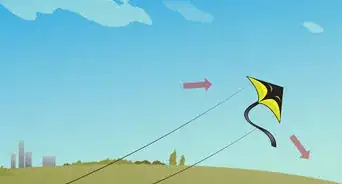
Kites can be a beautiful way to enjoy the outdoors on a breezy day. There are many intricate designs out there for these sailing shapes, but just how do you make one? And with what? It's easy to create your own kite from a couple household materials. This can be a fun project for all ages and is a great way to keep kids entertained and using their imagination.
Steps
Forming the Kite's Frame
-
1Get the dimensions. A measuring tool will help you figure out how long your frame pieces need to be compared to what size plastic bag you have. If it's a grocery bag they tend to be around 11x6 inches. That means creating a cross or 't' frame where one stick is 11 inches long and the other is 6 inches.[1]
- Lay your plastic bag out on a flat surface and cut the sides and handles so it is one sheet of plastic.
- Measure out your kite into the plastic by drawing a diamond shape.
- Do not cut out your kite yet!
- The diamond shape can be made by measuring a lowercase 't' or cross on your plastic and using a straight edge to connect all of the points around the cross.
- The size is up to your plastic bag and your own preference.
-
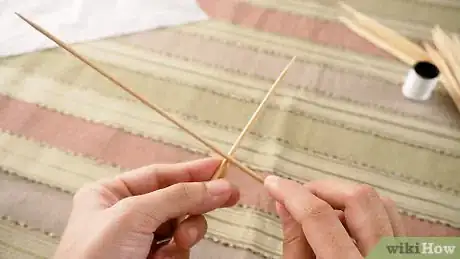
2Create a cross with frame pieces. Bamboo skewers are the best option for the frame due to their size and weight, but straws or other sticks work as well .
- The frame is key in holding the plastic open to keep your kite in the air.
- Measure the length and width of your diamond to find out the sizes of the frame pieces you'll need.
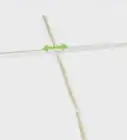
- To make sure the cross is even: mark the shorter of the two frame pieces at its center (½ of its length) and the other, longer frame piece at 1/4th of its length.[2]
- Make a cross or 't' with the sticks so that the two marks are on top of each other.
- Don't forget to double check that your frame and plastic match up.
Advertisement -
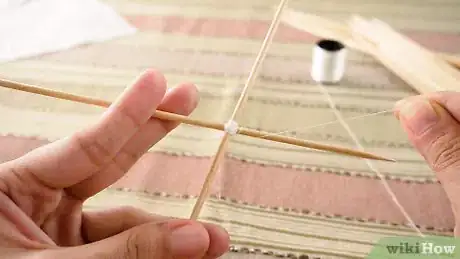
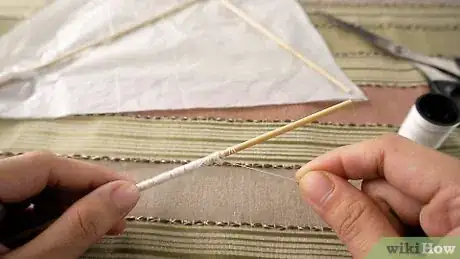
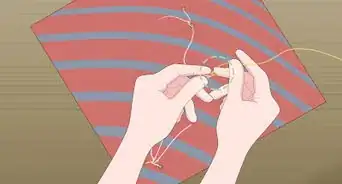
3Tie the frame together. Secure the cross by winding fishing line or string around the joint of the frame and tying it off.[3] Wiggle the frame to test the durability. If it's shaky, or you're not proud of your knot-tying skills, you can use glue at the joint and then wrap and tie string around it after the glue has dried.
Piecing Together Your Kite
-
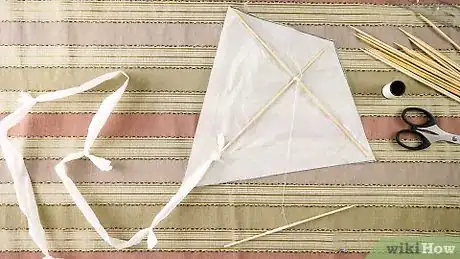
1Attach the body of the kite. Once you have the diamond shape cut out place the frame over the plastic. Secure the frame to the plastic bag by placing tape lengthwise on the end of each frame edge.[4] Then wrap the tape over onto the plastic to secure it.
-
2Attach your kite's bridle. Use a pin to poke two tiny holes through the plastic near the frame joint. It's best to use a needle or something small; a wire twist-tie will work well too. Pull string through one hole and pass it through the other to tie it securely over the joint and make a loop on the frame-side of your kite to have a place to tie the lead string later.[5]
-
3Create your kite tail. Use other plastic bags to cut out long strips of plastic. Tie these together until the tail is around 10x the length of the kite.[6] Tie the tail to the end of the kite frame.
- The kite tail is essential for stability in the air and keeps your kite from nose-diving.
- Some kites have two tails of the same size which are then tied at their ends to create what looks like one large loop. This can look nice and gives the kite even more stability.
- Try out which kite tail you like best.
- For additional flare you can tape or tie accordion-folded tissue paper onto the plastic tail.
Getting Your Kite to Fly
-
1Create your kite's lead. Cut off around 50 feet of string and wind it around a 6 inch piece of light wood or sturdy cardboard.[7] This will be your handle.
-
2Secure the lead. Attach the end of the string or cord to the kite's loop. You can do this by making another loop with your string or by tying a secure knot with the string. And your kite is ready to fly!
-
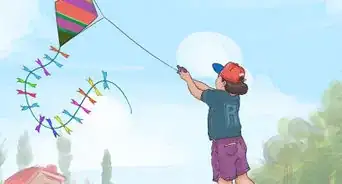
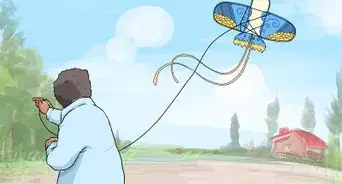
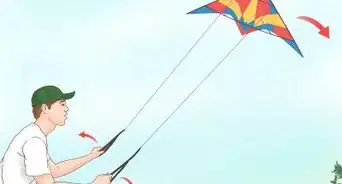
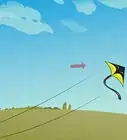
3Fly your kite. It helps to have a friend throw the kite up in the air in addition to having a breeze.
- Only let out about 3-4 feet of string until your kite is up in the air.
- You may need to run to get the kite going.
Community Q&A
-
QuestionDoes this kite actually fly?
 Community AnswerYes. The plastic is almost the same as other kite materials and allows it to fly normally. For best results, try making a bigger one.
 -
QuestionCan you name other materials that could work instead of a plastic bag?
 Community AnswerYou could use newspapers or thin paper bags, anything that restricts airflow and is light enough.
 -
QuestionCan I make a kite out of a colored plastic bag?
 Community AnswerYes. It doesn't matter what color the bag is, as long as it's light and catches air.
Warnings
- Don't fly your kite if the wind is too strong for the kite to handle. It might get destroyed!⧼thumbs_response⧽
- Do not fly near power lines. If the kite gets tangled in an electric wire do not attempt to retrieve it. You could get electrocuted.⧼thumbs_response⧽
- Plastic bags can be dangerous for infants so when making your kite make sure to discard the leftover plastic responsibly and keep an eye on your child at all times so they don't suffocate.⧼thumbs_response⧽
- Beware flying kites around large trees where they may become tangled! It's not safe to climb a tall tree that has 'eaten' your kite.⧼thumbs_response⧽
- Make sure you are not flying your kite in a thunderstorm. You do not want lightning to strike you or your kite!⧼thumbs_response⧽
Things You'll Need
- Plastic bag
- Two light frame pieces - can be straight sticks/straws/skewers
- 50+ feet of string or cord
- Scissors
- Strong, transparent tape
- Extra plastic (for the tail)
References
- ↑ Drake, Jane and Ann Love, The Kids' Summer Handbook, Ticknor & Fields/ Books for Young Readers, New York, 1994. pg 194
- ↑ http://www.my-best-kite.com/kite-for-kids.html
- ↑ Drake, Jane and Ann Love, The Kids' Summer Handbook, Ticknor & Fields/ Books for Young Readers, New York, 1994. pg 194
- ↑ http://www.my-best-kite.com/kite-for-kids.html
- ↑ Drake, Jane and Ann Love, The Kids' Summer Handbook, Ticknor & Fields/ Books for Young Readers, New York, 1994. pg 194
- ↑ http://www.pinkstripeysocks.com/2013/04/make-two-crapty-kites-newspaper-kite.html
- ↑ http://www.pinkstripeysocks.com/2013/04/make-two-crapty-kites-newspaper-kite.html
- ↑ Drake, Jane and Ann Love, The Kids' Summer Handbook, Ticknor & Fields/ Books for Young Readers, New York, 1994. pg 194
- ↑ http://www.pinkstripeysocks.com/2013/04/make-two-crapty-kites-newspaper-kite.html
About This Article
To make a kite out of a plastic bag, create a T-shaped frame by tying together 2 bamboo skewers cut to the height and length of your bag. Cut the bag in a straight line from each point of the frame to the next, so that the bag looks like a diamond, then tape the plastic bag securely to the frame. Once the kite has been assembled, poke 2 tiny holes in the bag and tie your bridle string to the kite, then attach the tail and lead string and take your kite for a spin! To learn how to get your kite off the ground, keep reading!
