X
wikiHow is a “wiki,” similar to Wikipedia, which means that many of our articles are co-written by multiple authors. To create this article, 12 people, some anonymous, worked to edit and improve it over time.
This article has been viewed 21,249 times.
Learn more...
Wondering how to make a croquet mallet yourself at home? Sometimes croquet mallets fall apart from all the abuse they have taken and need to be replaced. This article will walk you through everything you need to know to make your own croquet mallet, including what kind of wood you should use and what size you should make your mallet.
Steps
-
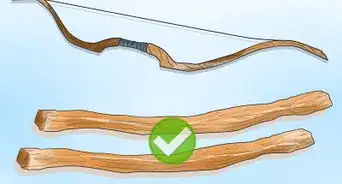
1Construct your mallet head. Find a solid and straight branch and cut a section out to the desired length with your chop saw. If using a handsaw see if you can use a guide to keep the cut flat and true. This will become your mallet head so make sure there are not too many knots in the wood or that it is excessively curved/bent. If you are using 4x4 knots and bends are not as large an issue. Our mallet head was approximately 6 inches (15.2 cm) in length and ranged from 2.5–3 inches (6.3–7.6 cm) in diameter.
-
2Drill a hole for the handle. Place your mallet head in a vice, making sure it is level and that the bottom does not have any knots to catch the ground when you are swinging. Also make sure the top does not have a knot, as this will make drilling excessively hard! Take a drill bit matching the diameter of your broomstick (ours was ¾ inch). Using tape or a marker on the drill bit identify how deep you should drill into the mallet head so that the bit does not go all the way through. We drilled about ¾ down into the mallet head, which was about 2 inches (5 cm) deep on average. We put tape on the 2 inch (5.1 cm) mark on the drill bit so that we knew how far down the bit had gone.Advertisement
-
3Get someone to help you make sure your drill is straight up and down the entire time you are drilling (if your drill doesn’t have a bubble level on it).
-
4
-
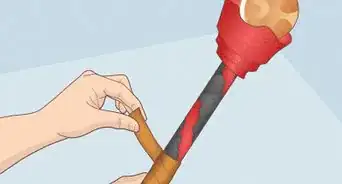
5Insert the shaft. Before the glue dries slide the broomstick into the glued hole. This may require some force to get it all the way in. You can also take a hammer and tap the top of the stick until it becomes apparent the stick has bottomed out.
- Having someone help by twisting the stick will certainly make things easier. If there is play or no friction when inserting the shaft then you may have used a drill bit a size too large.
-
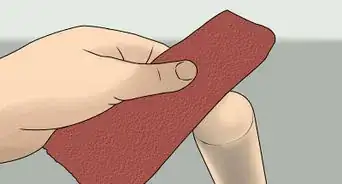
6Predrill a hole for the screw. Take a drill bit that is smaller than the threads of your screw but just as wide as the “body.” Pre-drilling a hole for the screw will prevent cracking in the shaft, but if you predrill too large a hole your screw will be rendered useless. Just like you did with the larger drill bit, mark how long your screw is with tape or a marker on the drill bit. This will prevent you from drilling through the other side of the mallet. Once again, it is useful to have someone help identify if your drill is straight up and down and not tilted while drilling. Drill the hole slightly above center in your mallet head.
-
7Insert screw. Take some glue and apply a generous amount to the end of your screw. Slowly screw the screw most of the way in your pre-drilled hole, but then back it out and let glue at the top of the hole cling to the threads of the screw. Screw it back in all the way either counter sinking the screw head (very slowly) or until the screw head is flush with the surface of the mallet. Use your finger to wipe away excess glue.
-
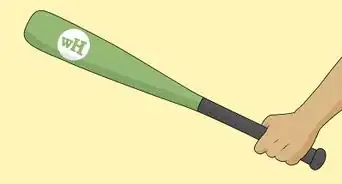
8Christen each mallet you make with unique colors, names or symbols, if desired.
-
9Make more if you need them!


Advertisement
Things You'll Need
- A drill (impactors or electric screwdrivers will also work)
- Drill bits
- 1.5 Inch Screws
- A vice
- A hammer
- Construction Adhesive (or wood glue)
- A saw (a chop saw is preferred, but a hand saw will do just fine)
- Broom sticks (or similar objects resembling a wooden dowel)
- Wooden Branches (or 4x4 wood for those who tend to miss…)
- Tape or marker
- Safety glasses/goggles


About This Article
Advertisement