This article was co-authored by Katie Dunlop. Katie Dunlop is a Certified Personal Trainer, Sports Nutritionist, and the Founder of Love Sweat Fitness. She specializes in helping others with nutrition, fitness, and lifestyle choices. Katie has also developed LSF Nutrition, a nutrition supplement line, and a mobile workout application, Love Sweat Fitness The App. With her platform and tools, she has helped over one million women and has been featured in publications such as Women’s Health, Shape, and Health.
There are 7 references cited in this article, which can be found at the bottom of the page.
This article has been viewed 299,480 times.
A jump box is a simple structure that lets you get a workout without leaving your home. Also known as a plyometric box, a jump box is used for lower-body exercises that are designed to increase your power, explosiveness, and speed. You can order a jump box online, but that will cost you close to $150. Fortunately, you can create a homemade jump box using plywood, wood screws, glue, and some power tools in one afternoon for a fraction of that price!
Steps
Cutting the Wood for the Jump Box
-
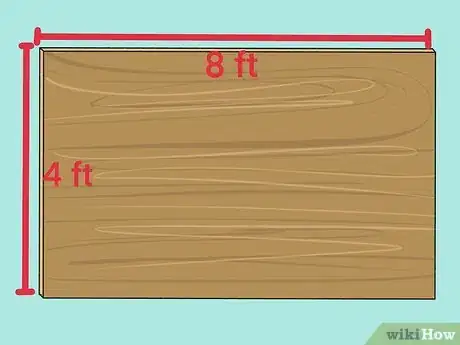
1Purchase an 8 by 4 feet (2.4 by 1.2 m) piece of plywood. This material will become the sides of the jump box. You’ll need to cut 6 rectangles that are 3 different dimensions. You can pick up the plywood at your local home improvement store or order it online.[1]
- If you’re going to the store to pick up the plywood, make sure you take a vehicle that can fit the wood.
-
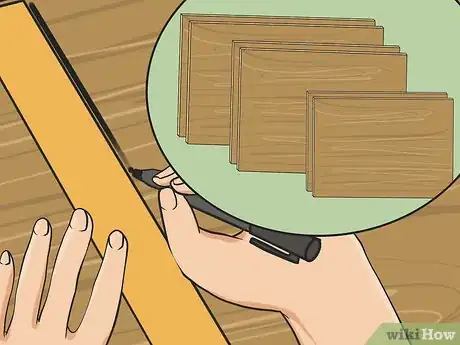
2Measure and mark your plywood pieces. To create a jump box, you’ll need 6 rectangles: 2 that are 28 by 20 inches (71 by 51 cm), 2 that are 28 by 22.5 inches (71 by 57 cm), and 2 that are 22.5 by 18.5 inches (57 by 47 cm). Since your plywood is 8 by 4 feet (2.4 by 1.2 m), you’ll have more than enough material to make these 6 rectangles.
- Use a permanent marker to mark the spots on the plywood where you want to cut.
Tip: Draw each rectangle in full after measuring the dimensions. This way, you’ll have a helpful reference point when you go to cut the plywood.
Advertisement -
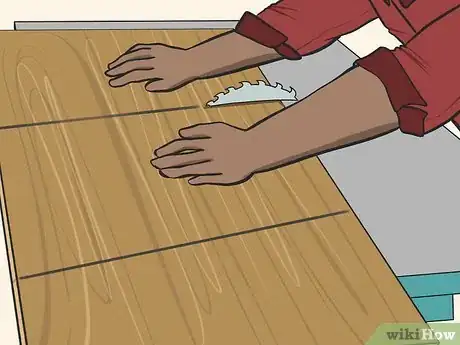
3Cut out the rectangles using a skill saw or table saw if you have one. Run the saw along the pencil markings you made slowly and deliberately. Place one hand on each side of the saw to firmly hold the wood in place. Cut out one rectangle at a time. Once you’ve cut out one rectangle, detach it from the big piece of plywood and put it off to the side. This will make it easier to cut the rest of the rectangles.[2]
- Be sure to wear goggles and gloves to protect your eyes and hands from wood
-
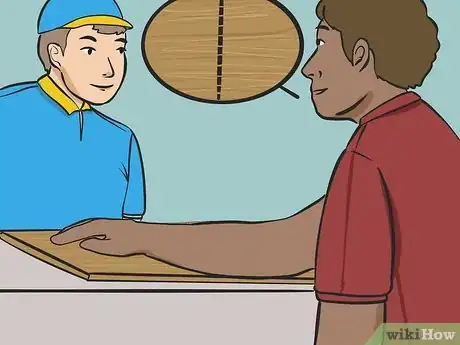
4Ask your local hardware store to cut the wood if you don’t have a saw. If you’re not comfortable using a saw or don’t have one, go to your local hardware store. All you have to do is bring them the wood and the dimensions and they’ll make the cuts.[3]
- If it’s your first time asking a hardware store to cut wood for you, they’ll most likely do it for free. If it’s your second or third time asking, you’ll have to pay a few dollars.
- Call ahead to set up a time for you to go the hardware store. You never know how busy they’ll be.
Assembling Your Jump Box
-
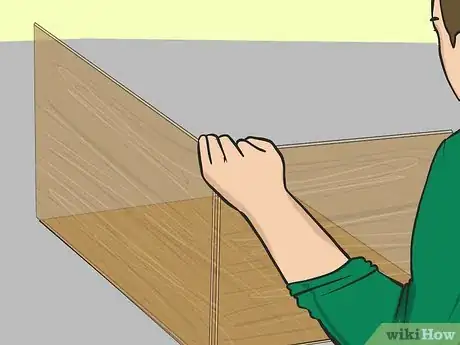
1Put the box together by hand to see if the pieces line up. Take one of the 22.5 by 18.5 in (57 by 47 cm) rectangles and put it on the floor. This will be the base of your jump box. Then, put the 28 by 20 in (71 by 51 cm) pieces on opposite sides of the bottom rectangle with the 28 in (71 cm) sides going upwards and the 20 in (51 cm) sides on the part of the bottom rectangle that’s 18.5 inches (47 cm) long. Add the 28 by 22.5 in (71 by 57 cm) rectangles to the remaining sides of the bottom rectangle, with the 22.5 in (57 cm) side lined up with the 22.5 in (57 cm) edge of the bottom rectangle.[4]
- If the wood doesn’t line up, you’ll have to go back and make cuts to change this.
Warning: If you put the box together without checking to see if everything lines up, you’ll have a wobbly box and won’t be able to use it to workout effectively.
-
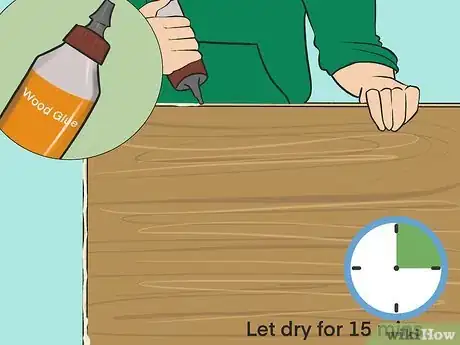
2Apply the glue to every edge that touches a different edge. Apply Gorilla glue in a thick, even coat down the thin sides of the plywood. Work one piece at a time, then press the pieces together. Leave them to dry for 10-15 minutes before moving on to the next piece.[5]
- Wipe off the excess glue that drips down the sides of the plywood as you wait.
-
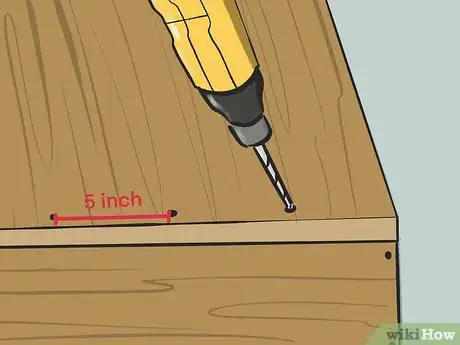
3Drill wood screws into the edges of the rectangles to connect the pieces. Place these wood screws about 5 inches (13 cm) apart and drill them into all 4 sides of the top and bottom piece of plywood. Then, drill wood screws about 5 inches (13 cm) apart along the left and right sides of the 28 by 22.5 in (71 by 57 cm) rectangles.[6]
- The goal is to have screws connecting each piece of plywood to every piece of plywood that it’s touching.
-
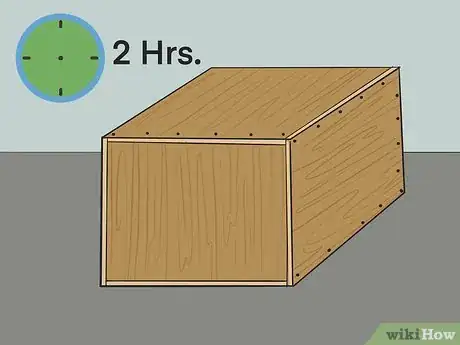
4Let the box sit for 2 hours before testing it. Though the Gorilla glue dried during application, give your box a few hours to fully set. Then, once the box feels sturdy, gently step on it to test it out. If it holds, lightly jump on it to ensure the box is safe, and not wobbly.[7]
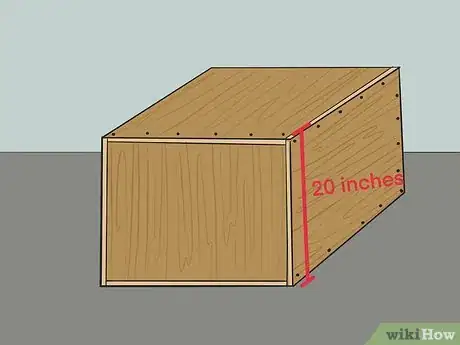
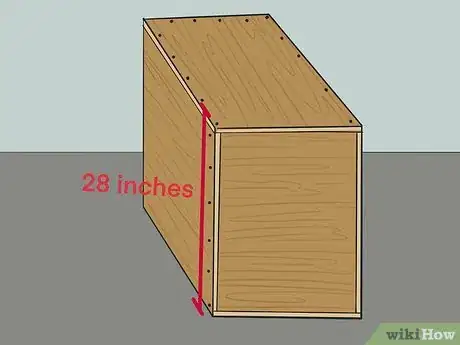
- The beauty of having a 28 by 24 by 20 in (71 by 61 by 51 cm) jump box is that it gives you 3 separate heights with which to work. You can start with 20 in (51 cm) box jumps and work your way up to the bigger heights with time and practice.
-
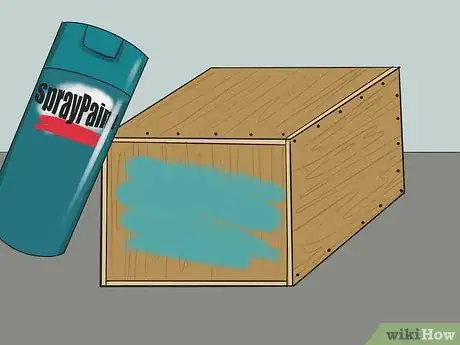
5Spray paint your jump box to decorate it. This is an optional step, but one that give your jump box a professional look. Coat the box with an even spray, using whichever color you’d like. Once you’ve painted each side of the jump box once, add a second coat to each side to give your box a polished finish.[8]
- Work in the garage or outside your home and wear a respirator if you have one. If you’re working in your garage, make sure you open the windows and garage doors to properly ventilate the area.
Using Your Jump Box
-
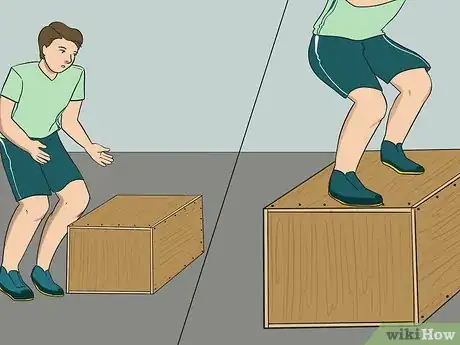
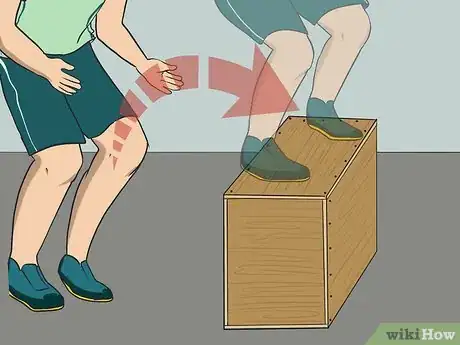
1Focus on your form before doing full exercises. Set the jump box at 20 inches (51 cm) high to practice your form. Stand in front of your jump box and set your feet shoulder-width apart. Squat down and swing your arms backwards. Then, swing your arms forward and jump off the ground. Try to land on the box as softly as possible.[9]
- When you land on the box, you want your feet flat and your knees slightly bent.
Tip: One way to dismount the box is to step down one leg at a time as opposed to jumping off the box. Stepping down one leg at a time allows you to work on your glutes and give your joints a small break.
-
2Keep the jump box 20 inches (51 cm) high to start practicing. To get a feel for your new jump box, position it so that the box is 20 inches (51 cm) high. This way, you can gauge how comfortable you are with the jump box without straining your body. Do 5 jumps, taking a short break in between each jump, to start.[10]
- When you feel like you can consistently make this jump, flip the box over to try a more challenging jump.
-
3Switch your jump box to 24 inches (61 cm) high when you’ve mastered the first height. Start by flipping the box so that the 24 in (61 cm) sides are facing up. Focus on each individual jump to strengthen your body. Do 5 sets of 5 reps apiece and rest for 3-5 minutes in between each set. When you get comfortable with this height, you can switch the box to 28 inches (71 cm) high.[11]
- Stop doing box jumps once your form fails. Wait an extra few minutes, reset yourself mentally and physically, and then start doing box jumps again. Make sure to focus on your form. 5 quality box jumps are better than 15 bad box jumps.
-
4Do a few reps on the 28 in (71 cm) box to build power and speed. To get explosive power in your legs, work on high box jumps. Do 3 sets of 3 jumps each and take a 1-minute break in between each set. Take your time with each jump and focus on nailing the fundamentals as opposed to just getting through the exercise as quickly as possible.
- To improve your endurance and foot speed, flip the box to 20 inches (51 cm) high and do 3-4 sets of 20 reps each. Take a 1-minute break in between each set. This is also a great way to burn fat!
- Alternatively, you can do a dumbbell press on an exercise ball. When you do it, ensure that your feet can touch the ground firmly.
- Keep your core tight and posture tall.
- Start with a weight you are comfortable with for a few reps before increasing to a more challenging weight.
Warnings
- Do not overexert yourself by trying to do high box jumps quickly. Only do box jumps in quick succession if you’re working on the 20 in (51 cm) side.⧼thumbs_response⧽
- If you feel pain in your knees or other parts of your legs, stop doing box jump immediately. Take a few days to recover before getting back to the exercise.⧼thumbs_response⧽
Things You’ll Need
- Skill saw or table saw
- Power drill
- Measuring tape and straight edge
- Permanent marker
- Plywood that’s 8 by 4 feet (2.4 by 1.2 m) and 0.75 inches (1.9 cm) thick
- Box of 2 in (5.1 cm) wood screws
- Gorilla glue
References
- ↑ https://www.youtube.com/watch?time_continue=233&v=TdwG-DAE-M4#t=45s
- ↑ https://www.artofmanliness.com/articles/how-to-make-a-plyometric-box/
- ↑ https://www.artofmanliness.com/articles/how-to-make-a-plyometric-box/
- ↑ https://www.artofmanliness.com/articles/how-to-make-a-plyometric-box/
- ↑ https://www.youtube.com/watch?time_continue=233&v=TdwG-DAE-M4#t=3m33s
- ↑ https://www.youtube.com/watch?time_continue=233&v=TdwG-DAE-M4#t=3m14s
- ↑ http://www.endofthreefitness.com/crossfit-equipment-how-build-plyometric-box/
- ↑ http://www.endofthreefitness.com/crossfit-equipment-how-build-plyometric-box/
- ↑ https://www.coachmag.co.uk/leg-exercises/6458/how-to-do-box-jumps
