X
wikiHow is a “wiki,” similar to Wikipedia, which means that many of our articles are co-written by multiple authors. To create this article, 21 people, some anonymous, worked to edit and improve it over time.
This article has been viewed 170,523 times.
Learn more...
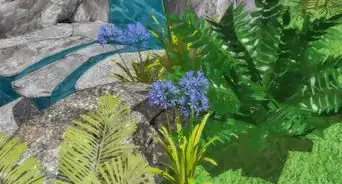
Adding rocks to your pond is beneficial in many ways. However, rocks can be expensive and sometimes hard to obtain. In this situation, why not make your own? This article will show you how to make realistic artificial rocks for your pond.
Steps
-
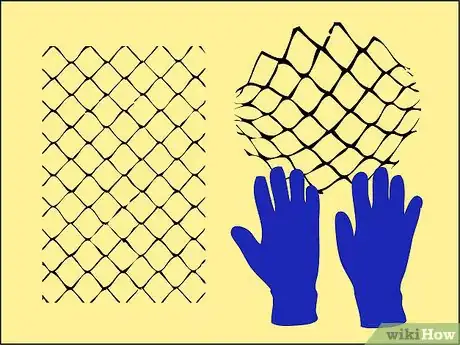
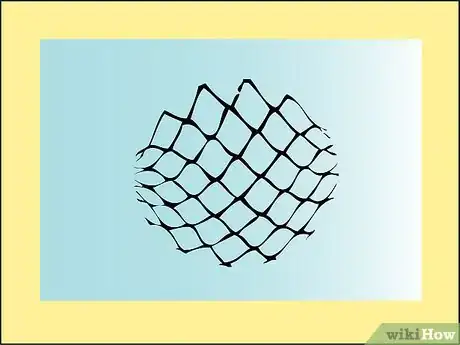
1Bend the chicken wire fencing into the shape that you need. Cut, fold, bend, do whatever you have to do to get it into the shape you want. Be sure to wear leather gloves for this![1]
-
2Set the wire frame down on a piece of plastic. You'll be using the cans of foam insulation for the next step (possibly up to 3 cans).Advertisement
-
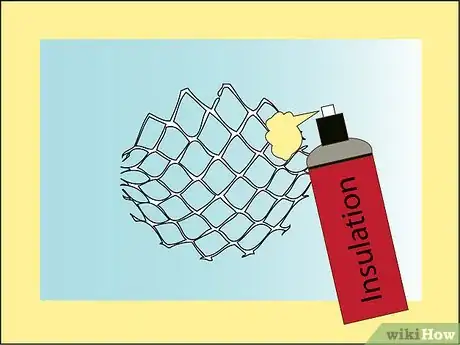
3Spray the cans of insulation onto the wire frame. Don't make too much of a pattern out of it(i.e. doing it all in even rows.) Let the foam grab and "sink" around the wires of the frame. Cover it completely, leaving the inside hollow. Allow to sit for 24 hours.[2]
-
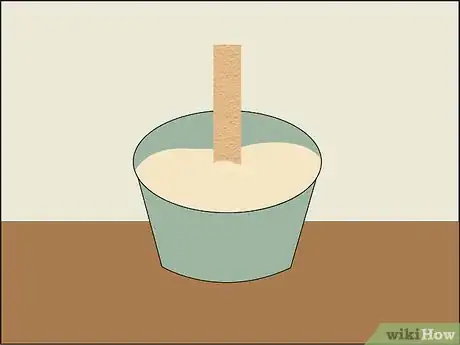
4Add water to your grout mix, making it a little bit thinner than you normally would (about like cake batter). The reason you use grout mix instead of concrete mix is the absence of gravel in the grout mix. How many rocks to you see in nature that have smaller stones sticking out of them?[3]
-
5Take your strips of burlap, and one at a time, dip them in the grout mix. Swirl them around to make sure every bit is covered. As you pull the burlap strips out of the grout mix, pinch your fingers on either side of it, and run them down it to "squeegee" off the excess grout.
-
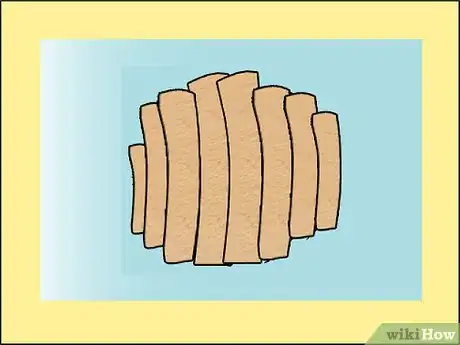
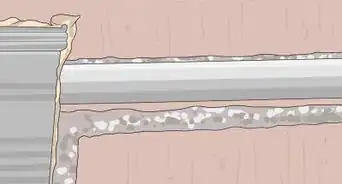
6Lay these strips down on your wire and foam frame. Try not to let them wrinkle anywhere. Try to push them into as many crevices in the foam as you can. As you lay each strip down, overlap it over the previous one just little bit. Use the grout mix to smooth the edges. Cover the entire wire and foam frame with these strip until no foam is showing through. If your frame starts to bend from the weight of the grout, use something to prop up the inside of it such as a stick, to help maintain it's original height. Allow to dry for at least 24 hours. If some of the edges of the burlap are still showing, mix up a small batch of grout, thicker this time, and use your hands to smooth it on over these spots.
-
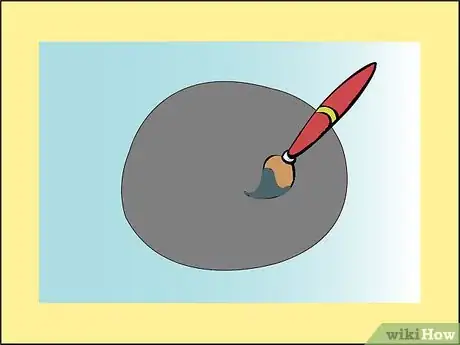
7After all the grout has had time to dry, your rock will have its shape and details, but it will be one solid color. You will need to paint it. You can use whatever colors you want, but use flat paint. If you use glossy paint, it will give your rock a "plastic" fake look.[4]
-
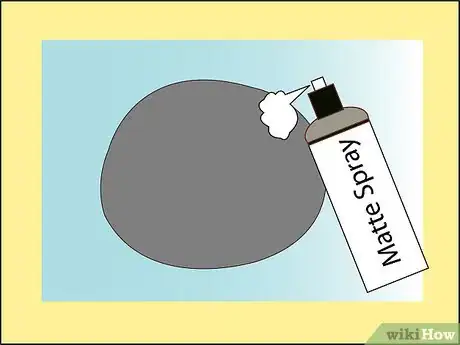
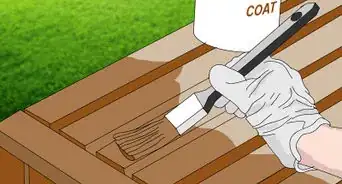
8Use a clear coat matte spray paint to seal it. Use several layers on it, making it thicker in the spots where the water is going to run (if it's going to be under continuous running water). You can also use a lacquer, but make sure that is will hold up under continuous running water and outdoor conditions.[5]
Advertisement
Community Q&A
-
QuestionWhy the foam? Could this be done with just the grout and burlap over the chicken wire?
 Aussie JCommunity AnswerIt depends on the grout. As long as it is watertight and fish safe, it should be fine.
 -
QuestionWhat kind of soil should I use for ponds that won't leave it murky? And can it be purchased?
 Community AnswerFluvial have soil can be used for that. But a cheaper alternative could be sand. You can get the soil from landscaping materials suppliers or large hardware stores that carry such supplies.
Advertisement
Warnings
- Wear leather gloves while handling the chicken wire. The cut edges of it can be sharp, and will cut very easily!⧼thumbs_response⧽
- Wear latex or vinyl gloves while handling and mixing the grout. It can be very hard to scrub off your hands.⧼thumbs_response⧽
Advertisement
Things You'll Need
- Chicken wire
- Expanding foam insulation
- Burlap material cut into strips about 12 inches (30.5 cm) by 2 inches (5.1 cm)
- Grout mix
- Flat spray paint (whatever colors you prefer)
- Clear coat or lacquer
References
- ↑ https://ourpastimes.com/how-to-make-fiberglass-rocks-12135655.html
- ↑ https://reptile-savvy.weebly.com/making-a-fake-rock-interior.html
- ↑ https://reptile-savvy.weebly.com/making-a-fake-rock-interior.html
- ↑ https://familygardentrains.com/primer/rocks_n_cliffs/rocks_n_cliffs.htm
- ↑ https://animals.mom.me/diy-fake-rock-walls-reptiles-5923.html
About This Article
Advertisement
