This article was co-authored by wikiHow Staff. Our trained team of editors and researchers validate articles for accuracy and comprehensiveness. wikiHow's Content Management Team carefully monitors the work from our editorial staff to ensure that each article is backed by trusted research and meets our high quality standards.
There are 16 references cited in this article, which can be found at the bottom of the page.
This article has been viewed 72,151 times.
Learn more...
If your home's main source of water is well water, you probably have a filtration system that your water runs through before it comes out of your faucets. The filter that cleans that water needs to be changed every 30 to 90 days. Make sure you have the correct replacement filter. You'll need to turn off your water before you use a metal filter wrench to remove the old filter. After you put the new filter in, check the o-ring for damage and lubricate it, along with the threads on the filter housing. Once you've replaced the housing, you can turn the water back on!
Steps
Getting the Right Supplies
-
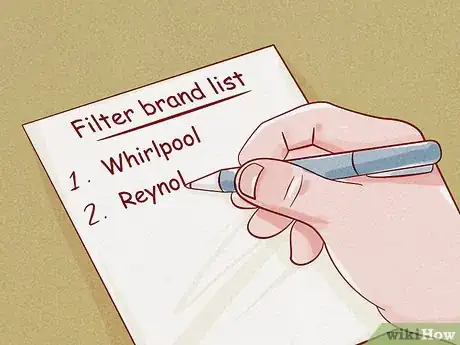
1Note the filter brand. The housing around your well water filter, or the filter itself, lists what brand your system is. If it's not on the housing of the filter, try checking the system itself. You'll need to know the brand name to ensure you get the right filter.[1]
- Some common well water filtration system brands are Whirlpool, Reynolds, and Culligan.
-
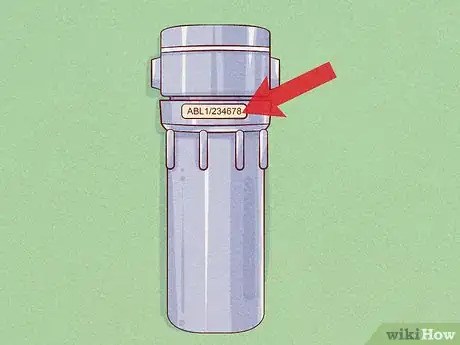
2Check the filter model number. The model number should be listed near the brand name on your filter housing. There might be a label on the housing that lists the model number, or it might be stamped right into the metal or plastic of the housing.[2]Advertisement
-
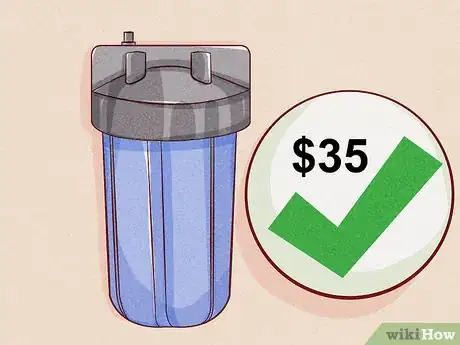
3Purchase a new filter. You can buy well water filters at most home improvement stores, or you can order them through online retailers. You can also check the website for the brand you have; they sometimes sell their filters directly.
- You can expect to spend between 25 and 35 dollars for your replacement filter, depending on the brand and model.
-
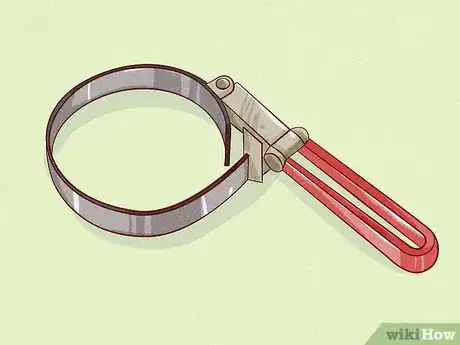
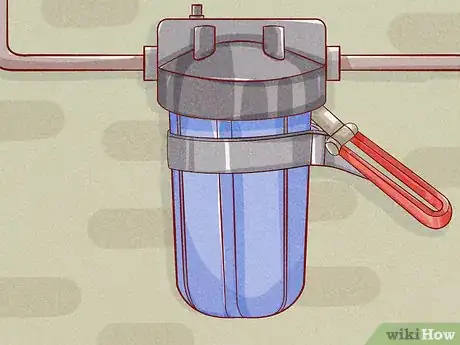
4Get a metal filter wrench. A filter wrench is designed specifically to make removing old filters easy. Metal filter wrenches have a handle, usually coated in plastic or rubber, on one end. On the other, you'll see a large circle made of metal. It will slide over your filter.
- You can purchase a metal filter wrench from most online retailers.
Removing the Old Filter
-
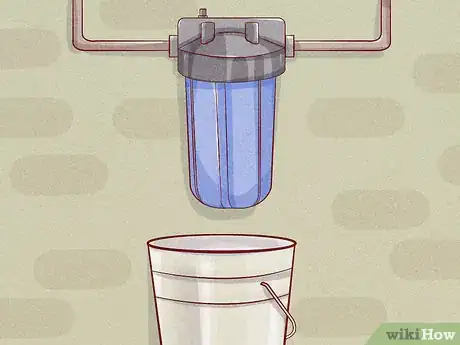
1Place a bucket under your filter. When you remove the filter casing, chances are some water will pour out. Place a bucket directly under your filter to catch this water and prevent anything else from getting wet.
-
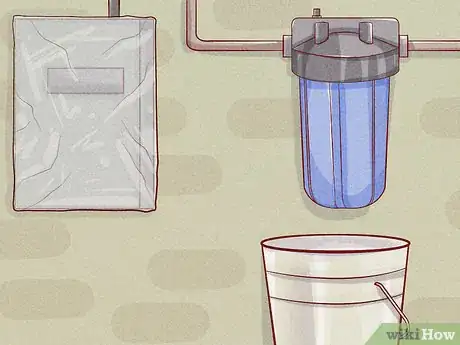
2Cover any nearby electrical panels. Your water filter will likely be located near the electrical unit that controls your filtration system. Cover that unit — and any other nearby electrical panels or outlets — with plastic. Use a plastic grocery bag or plastic sheeting to cover any exposed electrical panels. Just make sure there aren't any gaps where water can get in.[3]
-
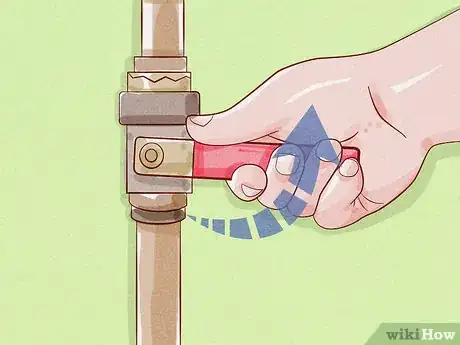
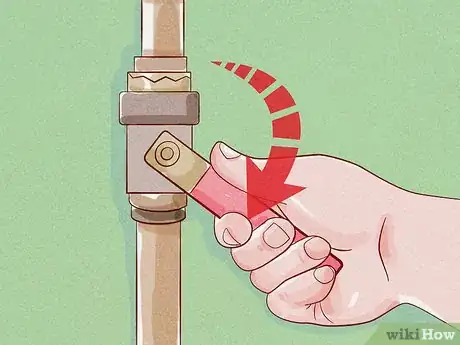
3Turn off your water. The exact location of the water shut-off valve will be different depending on the type of system you have and how your home's plumbing is set up. Look for it near the filter. The shut-off valves might look like knobs that need to be turned either vertically or horizontally, or wheels that need to be spun to the right or left.[4]
- If you're not exactly sure where the shut-off valve is, look up the user or owner manual online. If you're still not sure, you can ask a representative of the company to come out and take a look.
-
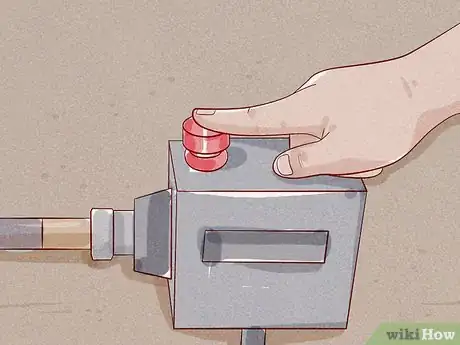
4Press the pressure release. At the top of your filter housing, you should see a small red button. This is the pressure release. In order to change the filter, press the button. When you do, a bit of water may come out. That's normal, and the bucket under your filter should catch anything that drips down.
-
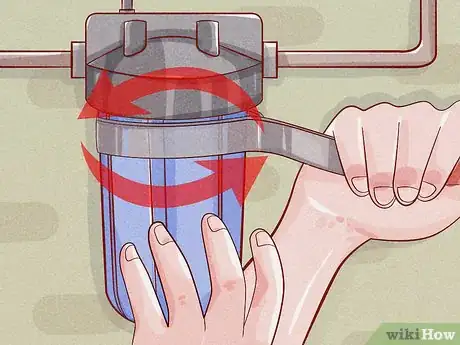
5Slide the filter wrench up over the filter housing. Face the handle of the wrench out to the right, away from the housing. Slide the hoop of the wrench up over the housing until it feels snug.[5]
-
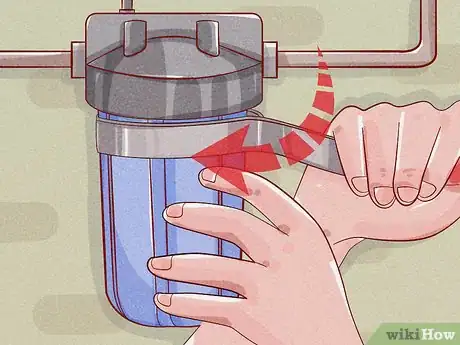
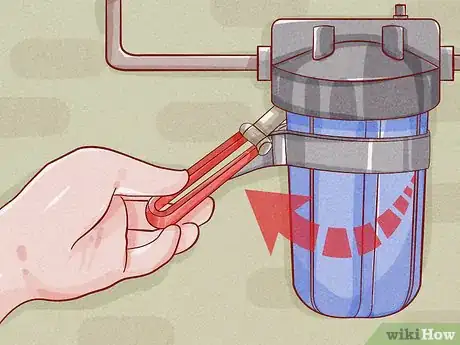
6Turn the wrench from right to left. Grasp the handle of the wrench and turn it clockwise. It might be hard to turn at first. Apply steady, even pressure on the wrench handle until the housing begins to turn.[6]
-
7Reset the wrench and repeat the turn if a wall is in your way. Depending on where your filter is, there might not be enough room behind it to just continuously rotate the wrench until the filter housing comes loose. If that's true, turn the wrench as far as you can, then slide the wrench off the housing, reset it so the handle is on the right side of the housing, and turn it again.[7]
-
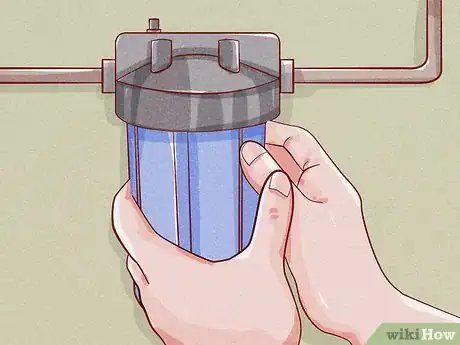
8Use your hand to unscrew the housing once it's loose. After you've rotated the filter wrench a few times, test the housing's looseness. It should be loose enough for you to unscrew it the rest of the way by hand. Once you get to this point, hold the bucket up as close to the housing as possible. Then unscrew the housing the rest of the way with your hand.[8]
- Because the housing will be filled with water, it might be heavier than you expect when it finally comes free of the filtration system. Hold the bucket as close to the housing as possible, so that if you accidentally drop the housing, you won't get water everywhere.
Changing the Filter
-
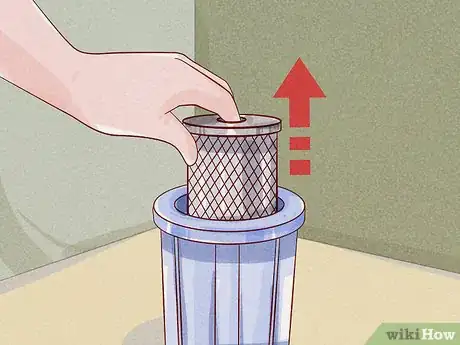
1Remove the old filter from the housing. Well water filers just sit inside of the housing, so there aren't any clamps to unhook. Grasp the top of the filter and pull it straight up to remove it from the housing. Dump any excess water out of the housing after you've removed the filter.[9]
-
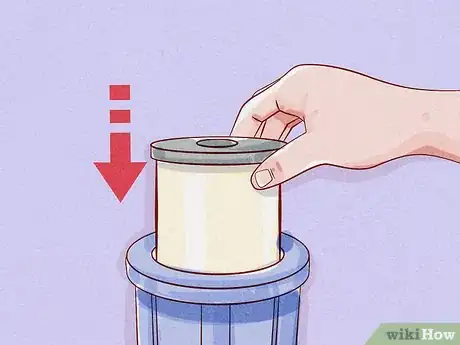
2Insert the new filter. Check the ends of the new filter. If it needs to go in a certain way, one end of the filter will say "top" and the other end will say "bottom." Make sure the end with "bottom" written on it goes into the housing first.[10]
-
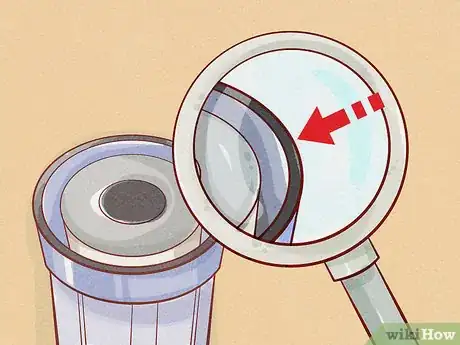
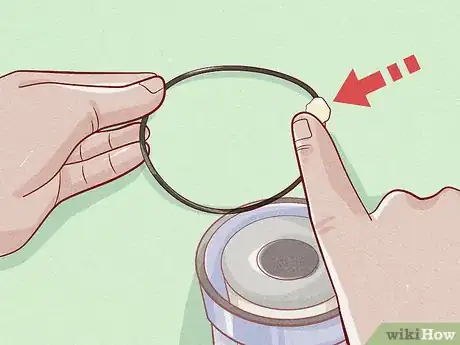
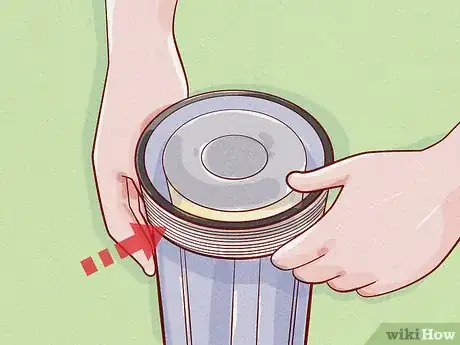
3Check the o-ring. On the top of the housing, you'll see the o-ring, or the round piece of rubber that guarantees a tight seal between the housing and system. Take the o-ring off of the housing and check it for dings, flat-spots, or holes. If you find any, you'll need to order a new o-ring.[11]
- You should be able to get a new o-ring from the same place you purchased your new filter.
-
4Lubricate the o-ring and threads of the housing. Use a food-grade silicon grease to lubricate your o-ring and the o-ring groove in the housing. Squeeze some of the lubricant onto the o-ring and rub it all the way around. Replace the o-ring and then squeeze a bit more lubricant into the o-ring groove in the housing. Rub some silicon around the threads on the housing, too.[12]
- You can find food-grade silicon grease at most home improvement stores or online.
-
5Line up the housing with the system. The top of the housing will have threads at the top, where it will screw into the filtration system. Line the housing up under where it screws into the system.[13]
-
6Screw the housing back into the filtration system. Once you have the housing lined up, begin rotating the housing counterclockwise. As you do so, it will screw into the system until all of the threads on the housing have disappeared and it won't spin anymore. Then use the filter wrench to tighten it some more.[14]
-
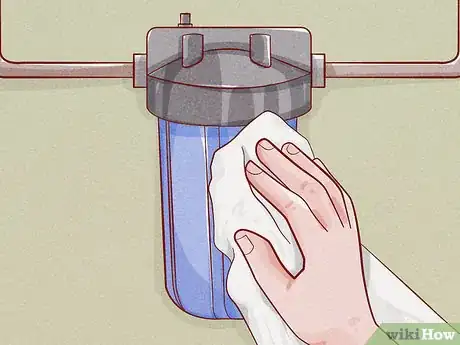
7Wipe down the housing. Chances are the outside of the housing got a little wet while you were changing the filters. Use a soft cloth to wipe down the outside of the housing and remove any excess moisture.[15]
-
8Turn the water back on. Once the filter is changed and the housing is screwed back in, you can turn the water back on. Watch the housing carefully — if water starts to leak out of it, you haven't tightened the housing enough. Turn the water off, tighten the housing, and then turn it back on.[16]
References
- ↑ https://youtu.be/fiH2vY2XNq8?t=21
- ↑ https://youtu.be/fiH2vY2XNq8?t=24
- ↑ https://youtu.be/fiH2vY2XNq8?t=63
- ↑ https://youtu.be/fiH2vY2XNq8?t=72
- ↑ https://youtu.be/fiH2vY2XNq8?t=87
- ↑ https://youtu.be/G6g4h-kxrH0?t=201
- ↑ https://youtu.be/fiH2vY2XNq8?t=99
- ↑ https://youtu.be/G6g4h-kxrH0?t=218
- ↑ https://youtu.be/fiH2vY2XNq8?t=131
