X
wikiHow is a “wiki,” similar to Wikipedia, which means that many of our articles are co-written by multiple authors. To create this article, 13 people, some anonymous, worked to edit and improve it over time.
This article has been viewed 203,566 times.
Learn more...
There are a variety of reasons to want to limit your Facebook profile exposure. You may only want to use Facebook to communicate with a small group of close friends, or you may not want people who aren't your friends to view photos of you or other information about you. You may even want to avoid being found by someone else on Facebook. If you want to know how to limit your Facebook profile exposure, just follow these steps.
Steps
Method 1
Method 1 of 3:
Limit Your Facebook Activity
-
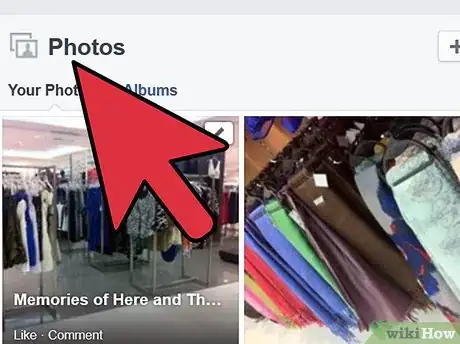
1Limit the amount of photos you post. Though you can set privacy limits to who sees your photos, you can limit your Facebook profile exposure by limiting the amount of photos you post. If you want to share photos with your friends through another method, you can post them on another online photo-sharing website, or email the photos.
-
2Limit your comments. Though you can adjust your privacy settings so that only friends can see your comments, if you really want to limit your Facebook profile exposure, you should send private messages directly to the people you want to communicate with. If you make a post that is visible to even a few people, or to your friends, they will be more likely to remember you and to look at your profile.Advertisement
-
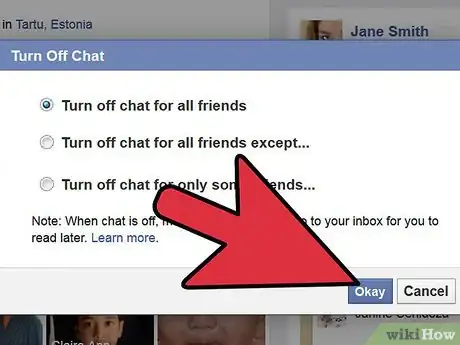
3Limit your use of Facebook chat. If you want to limit your Facebook exposure, then you should avoid popping up on Facebook chat. Any of your Facebook friends will be able to see that you're online if you don't manage your settings, which means that any of your Facebook friends who are also online will be able to message you. Here's how to customize your settings on Facebook chat:
- To turn off your chat completely, just click on the little gear at the bottom of the chat box to the right of your screen and select "Turn off Chat."
- To appear offline to many of your Facebook friends, just click on the little gear at the bottom of the chat box to the right of your screen and select "Advanced Settings." Then, select the second option, "Turn on chat for only some friends..." and type a list of friends who will be able to see you online. You can also create a list of friends who can see you online and add the entire list to this column.
-
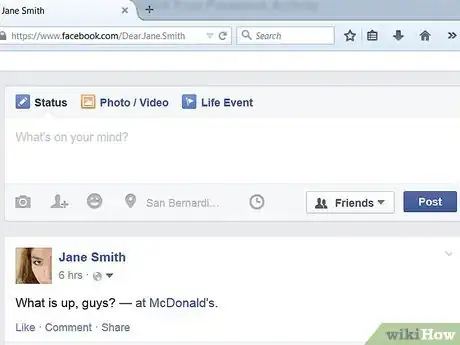
4Limit your posts and status updates. If you post a lot of links or random thoughts from your everyday life, you will be raising your Facebook visibility. If you want to share your ideas with a few people, you can send a group message or send them by email. If you're posting on Facebook a lot, then your friends will be more aware of you and your profile.
-
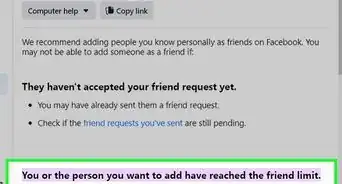
5Make Facebook friends wisely. If you want to limit your Facebook profile exposure, then you shouldn't friend every person who sends you a request. Set ground rules for who you will accept as a friend, whether it's someone you actually know in person or someone you know well -- whatever your rule is, stick to it.
- The amount of random friends you've accumulated over the years can really add up, which can lead to many people having access to your Facebook profile.
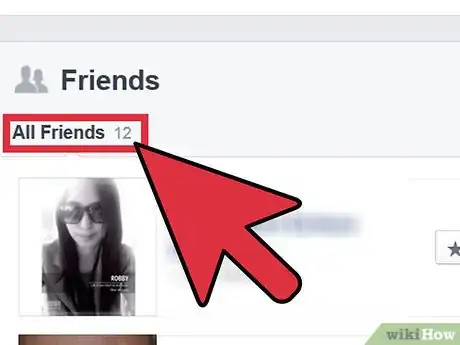
- You can even go through a Facebook friends "spring cleaning." Go through all of your friends and unfriend anyone you haven't communicated with in the last year -- or the last few months. Only keep the people you want to communicate with on Facebook.
Advertisement
Method 2
Method 2 of 3:
Limit Your Facebook Visibility
-
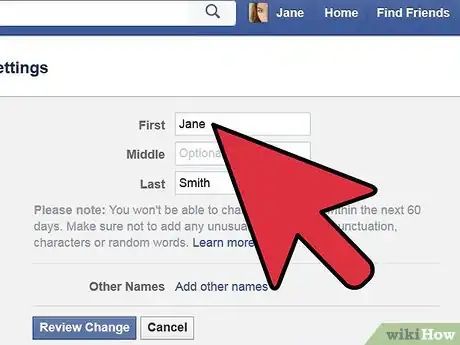
1Change your Facebook name. As of December 2012, Facebook made it impossible to keep your name from being searched on Facebook.[1] This means that anyone who knows your first and last name could try to find you through Facebook's search engine. This will be harder for people to do if you change your name on Facebook. You can change it to something completely different, change it to your first and middle name instead of your first and last name, or even change it to a nickname that is known to only a few close friends. Here's how to do it:[2]
- Click the gear in the upper-right corner of any Facebook page.
- Select "Account Settings."
- Select the "General" option in the left-hand column.
- Click "Edit" on the far right next to the name setting.
- Type in your new name and save your changes.
-
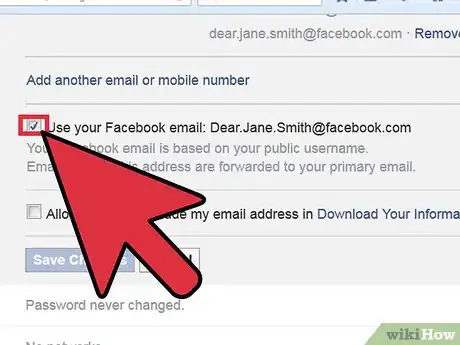
2Change the email address associated with your Facebook account. Someone may be able to search you on Facebook if he only knows your email address even if you've changed your name. To avoid this, you can change the email address associated with your account. You may have to open a new email address that you only use to get messages associated with your Facebook account for this purpose; you can also select an older email that you still use sometimes, such as an old school email. Here's how you do it:
- Click the gear in the upper-right corner of any Facebook page.
- Select "Account Settings."
- Select the "General" option in the left-hand column.
- Click "Edit" on the far right next to the email setting.
- Change your email address and save your changes.
-
3Talk to your friends. Tell your friends that you're serious about limiting your Facebook exposure. Even if you've set your privacy settings to high, talking to your friends can prevent them from trying to tag you in photos or posts, even if they don't succeed. Letting your friends know that you don't want a lot of Facebook exposure can also encourage them to avoid positing photos that include you in the picture, even if you aren't tagged.
-
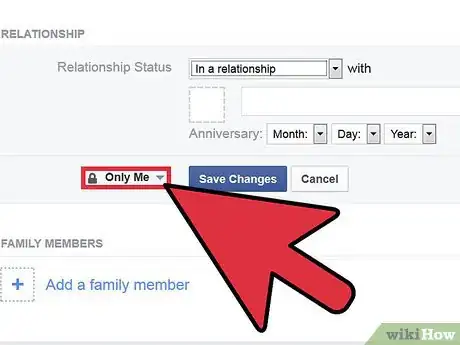
4Don't be in a Facebook relationship. Whether you're listed as married to your significant other or jokingly in a relationship with your best friend, being in a Facebook relationship puts your name out there and lets the friends of the person who is in the relationship with you see your name, which will encourage them to want to see your profile.
-
5Don't have a picture of yourself as your profile picture. Anyone can see your Facebook picture, no matter what your settings are, so if you want to stay private and not let a person who stumbles across your picture know that it's really you, just pick a random photo of something else, like a sunset, and set it as your picture. That way strangers will be none the wiser.
-
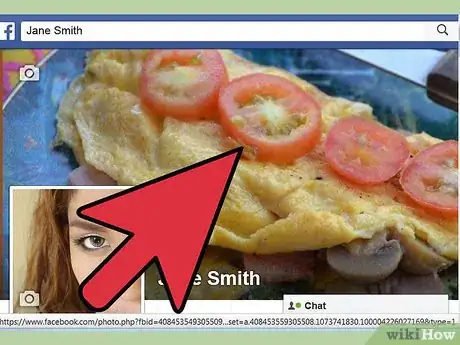
6Don't have a picture of yourself as your cover photo. Anyone who finds you on Facebook will be able to see your cover photo as well as your profile picture, so you can also have a simple cover photo that doesn't reveal who you are and doesn't say much about who you are, either. This will keep random people from seeing who you are on Facebook.
-
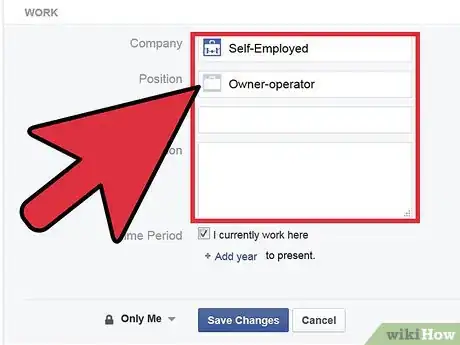
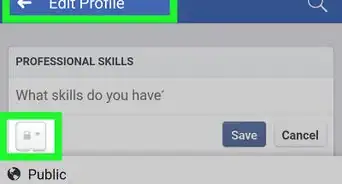
7Limit who can see your work and educational information. Limiting who can see where you work or where you went to school will keep people from stumbling across your profile if they search a certain company or school. To do this, simply click on your profile, and then click on "Update Info" on the top of your Facebook page. Your work and educational information will be listed on the left of the screen.
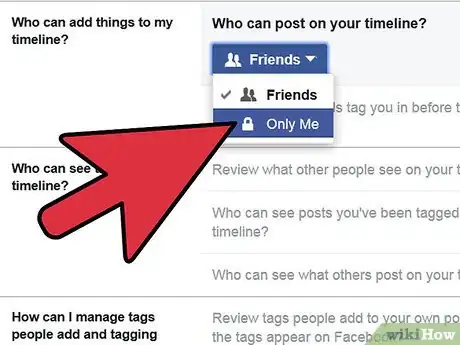
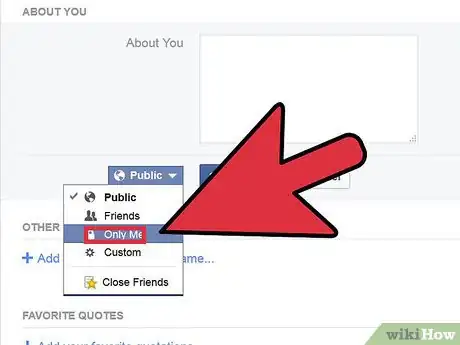
- Just click on the icon that looks like a person or globe to the right of each piece of information and adjust who can see it, whether it's "Friends" or "Only Me."
- You can also select "Custom" and have this information be available to just a few friends.
-
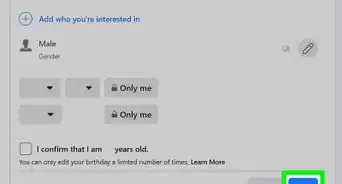
8Limit who can see other basic information about yourself. You can do the same to limit who can see where you were born, where you live, your basic contact information, and any other information you don't want to share with many people. Just click on "Update Info" at the top of your Facebook page and click the "Edit" button to the left of the information you've listed.[3]
- Just click on the icon that looks like a person or globe to the right of each piece of information and adjust who can see it, whether it's "Friends" or "Only Me."
- You can also select "Custom" and have this information be available to just a few friends.
Advertisement
Method 3
Method 3 of 3:
Adjust Your Privacy Settings
-
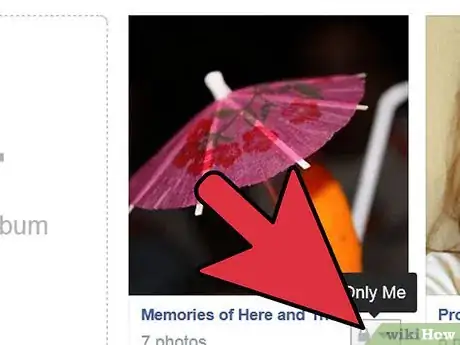
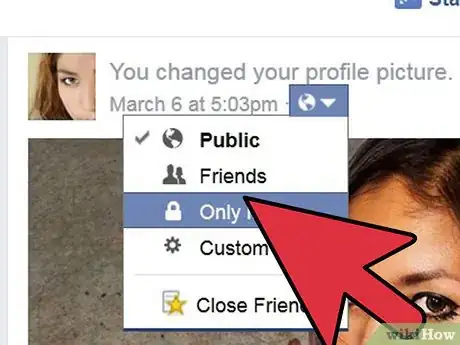
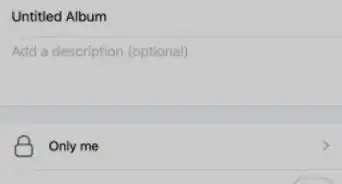
1Adjust the settings on your photo albums. You can limit your Facebook profile exposure by limiting who can see the photo albums you've posted. To do this, go to your profile and click on "Photos" in the top middle of the screen. Then click on "Albums" and scroll through your albums and click on one. Then press the "Edit" button on the top right of the screen and click on the image that looks like a person or globe on the top right of the next window.
- Select whether you want the album to be visible to "Friends" or "Only Me" or if you want to customize who can see the photos.
-
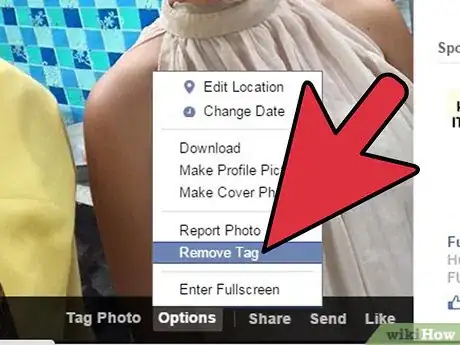
2Adjust the settings for photos you were tagged in. You can also control the settings for photos you were tagged in, even if you didn't take them. Go to your profile and click on "Photos" and then select "Photos of You." Click on any photo that you were tagged in and select the pencil on the top right of the screen.
- Then, select the option on the very bottom: "Report/Remove Tag."
- Select "I want to untag myself" in the window that pops up.
- Press "Continue."
- You can also just select "Hide from Timeline" so that fewer people will see that you were tagged in a photo.
-
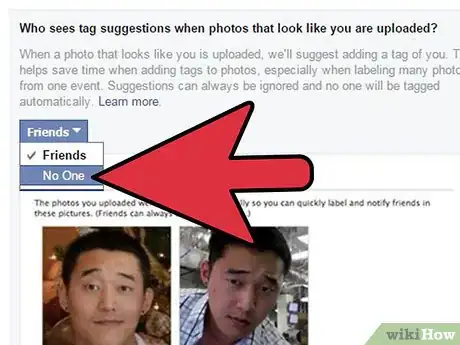
3Adjust the settings for facial recognition. Facebook's handy facial recognition software makes it so that your friends can upload photos, have Facebook recognize your face, and have you be automatically tagged in the photo. This makes it easy for photos of you to come up often -- if you don't allow facial recognition to find you, you'll be less likely to get tagged. Here's how to do it:[4]
- Click on the gear on the top right of your Facebook page.
- Select "Privacy Settings."
- Select "Timeline and Tagging" from the menu on the left of the screen.
- Click on "Edit" to the right of the bottom option, "Who sees tag suggestions when photos that look like you are uploaded?"
- Select "No one."
-
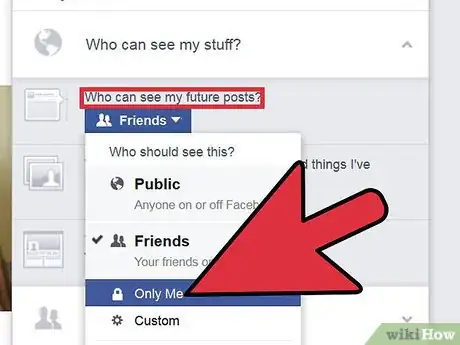
4Limit who can see your future posts. This will help minimize your profile exposure. Just click on the lock button on the top right of your page and select, "Who can see my stuff?" Change the settings under "Who can see my future posts?" to "Friends Only," "Only Me," or a variety of other options.
-
5Limit who can see your past posts. To do this, click on the gear on the top right of your Facebook page and select "Privacy Settings." Under the option, "Limit the audience for posts you've shared with friends of friends or Public?" select "Limit Past Posts." These posts will be removed from Facebook for the people you've blocked.
-
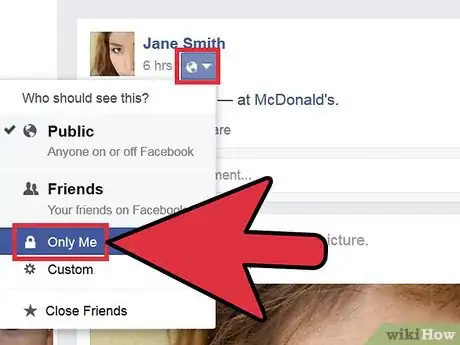
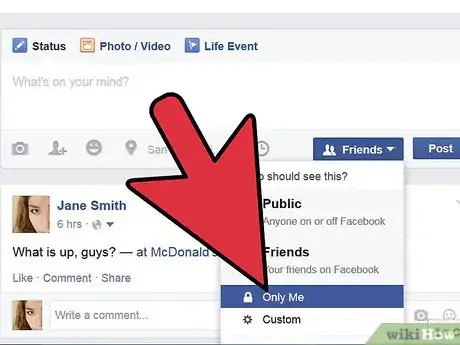
6Limit who sees each of your individual posts. Before you post something on Facebook, just click on the icon next to "Post" on the bottom right, below what you've written. It'll either be set to "Friends" or something else -- adjust the settings to fit whoever you'd like to see the post.
-
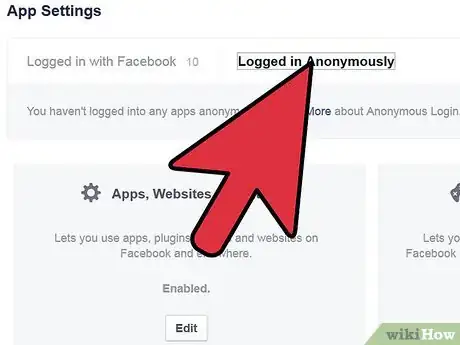
7Limit the information that your friends' apps can provide about you. Your friends may be using apps that can make some of your Facebook information more public. However, you can easily stop this from happening. All you have to do is click on the gear on the top right of your page, click on "Privacy Settings," and select "Apps" on the bottom left of the screen.[5]
- Then, next to "Apps others use," select the "Edit" option and uncheck any information that you don't want these apps to provide about you. Save your changes when you're done.
Advertisement
Community Q&A
-
QuestionCan I limit my Facebook account to a certain area, like a specific county?
 XxOregon GamingxXCommunity AnswerNo, unfortunately you cannot go that specific when limiting your Facebook profile. However, you can block/change restrictions to prevent certain countries from viewing your account.
Advertisement
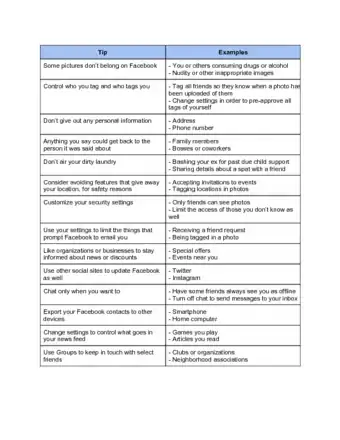
Facebook Tips and Tricks
Warnings
- Even with the utmost precautions, there are still ways for Facebook to access personal information. The best solution to avoid unwanted solicitations and information theft is to avoid having a Facebook account altogether.⧼thumbs_response⧽
Advertisement
References
- ↑ http://arstechnica.com/business/2013/01/on-facebook-users-can-no-longer-hide-from-search-results/
- ↑ https://www.facebook.com/help/173909489329079
- ↑ http://www.consumerreports.org/cro/2012/05/protect-your-privacy-on-facebook/index.htm
- ↑ http://www.consumerreports.org/cro/2012/05/protect-your-privacy-on-facebook/index.htm
- ↑ http://www.consumerreports.org/cro/2012/05/protect-your-privacy-on-facebook/index.htm
About This Article
Advertisement
