This article was co-authored by wikiHow Staff. Our trained team of editors and researchers validate articles for accuracy and comprehensiveness. wikiHow's Content Management Team carefully monitors the work from our editorial staff to ensure that each article is backed by trusted research and meets our high quality standards.
This article has been viewed 63,553 times.
Learn more...
Sweet potatoes make for a nutritious and filling side dish to most meals.[1] As their popularity increases, more and more intrepid gardeners are trying their hand at growing their own. The misconception that sweet potatoes can only be grown in warm countries isn’t entirely true, since they can be grown in containers and kept indoors to keep the soil warm.
Steps
Cultivating Slips
-
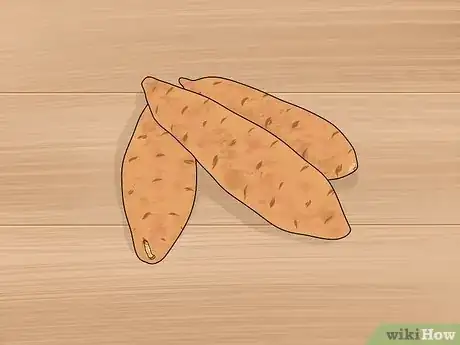
1Buy an untreated sweet potato from a local farmer’s market. To grow sweet potatoes you will cultivate “slips”, which are stems that grow when the potato is submerged in water for an extended period of time. Most sweet potatoes in a traditional grocery store have been chemically treated to prevent sprouts, so opt for a sweet potato from the local farmer’s market instead.[2]
- Supermarket sweet potatoes are often sprayed with a chemical called “BudNip” that stops slips from sprouting.
To double check that the sweet potato is suitable to use, ask the farmer or booth worker if they’ve sprayed the potatoes with BudNip or other sprout inhibitor. If they have, you might be able to ask them where you can get untreated sweet potatoes.
-
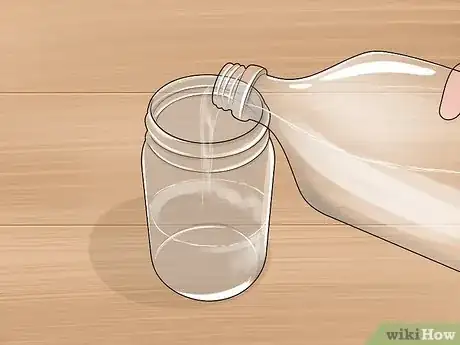
2Find a small jar and fill it with cold water. To grow slips, a sweet potato needs constant hydration. The opening of the jar should be wide enough to submerge the bottom of the potato in water, but narrow enough to keep it from falling in.[3]
- Old jam jars are a perfect size for most potatoes.
Advertisement -
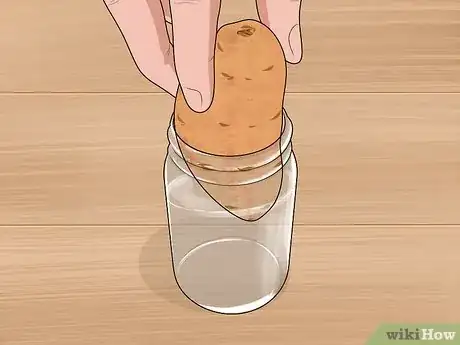
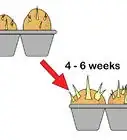
3Put the sweet potato in the jar and wait for 3-4 weeks. Submerge the bottom of the potato in the water. Over 3-4 weeks, slips will grow from the top of the potato, as long as the temperature of the jar never drops below 50 °F (10 °C). Sweet potatoes need heat to grow, so if it's too cold outside, keep the potato indoors.[4]
- To keep the temperature regular, you may need to place the jar in a sunny window and replace cooler water with warm water 2 times every day.
-
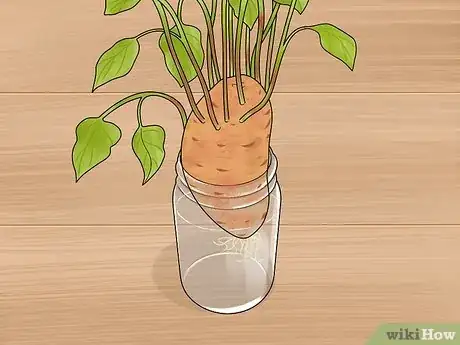
4Check that the slips are leafy and over 3 inches (7.6 cm) tall. After 3-4 weeks, the slips will stretch upwards and grow leaves. The leaves may appear before the slip is at the proper height or vice versa, but don't cut them if both signs of maturity aren't met. Don't worry if you need to extend the growing time. [5]
-
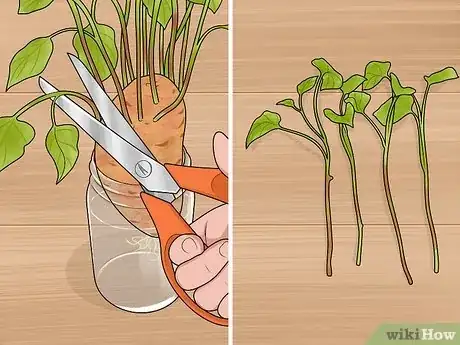
5Use scissors to remove the slips and prune the lower leaves. Cut the slips off of the bottom of the potato, leaving about 1 inch (2.5 cm) of roots attached to the stem. Then, take each slip and trim off all the leaves except for 2-3 smaller ones at the very top of the stem of the slip.[6]
- Be careful not to cut or knick the stem of the slip while you’re trimming the leaves, as this can cause the potato to sprout from an undesirable spot on the slip.
Planting the Slips
-
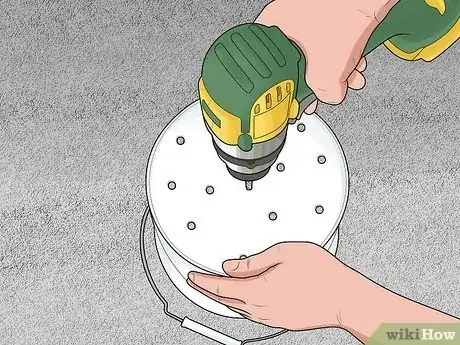
1Find a 20 gallon (76 L) bucket and drill holes in the bottom. To grow a sweet potato in a container, the roots need plenty of space to spread out. Choose a bucket that’s large enough room to plant 6 slips, which would require at least a 20 gallon (76 L) bucket. Drill about 10 evenly spaced holes that are about 1⁄3–1⁄2 inch (0.85–1.27 cm) in diameter along the bottom of the bucket to drain excess water.[7]
- If you don't have a drill, you can use a sharp knife to cut holes into the bottom of the bucket, but be very careful not to cut yourself.
-
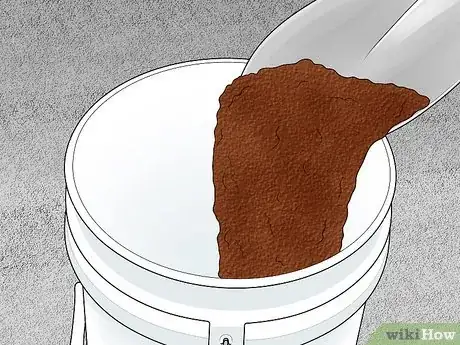
2Fill the bucket 3/4 full with soil. Take a trip to your local gardening center and buy a large bag of soil. Fill the modified 20 gallon (76 L) bucket with soil until it's 3/4 full. Compress the soil by patting it down with your hands, then pour in more soil if needed to reach the 3/4 mark.[8]
- Avoid compost that's rich in nitrogen fertilizer. This type of soil will increase the growth of the leaves, but stunt the growth of the potato.
-
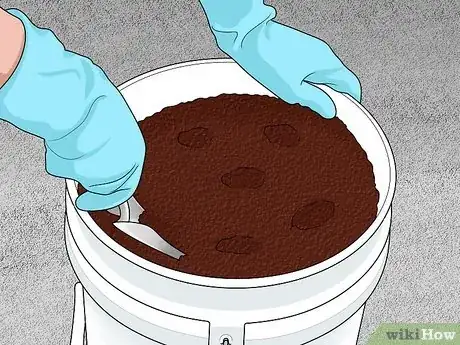
3Dig 6 evenly spaced trenches with your hands. In 6 different spots throughout the soil, dig small trenches that are large enough to fit the root of the slips with some space to add soil around the roots. Make sure each hole is less than 2 inches (5.1 cm) deep.[9]
- If you don't want to use your hand, you can also use a small garden spade to dig the holes.
-
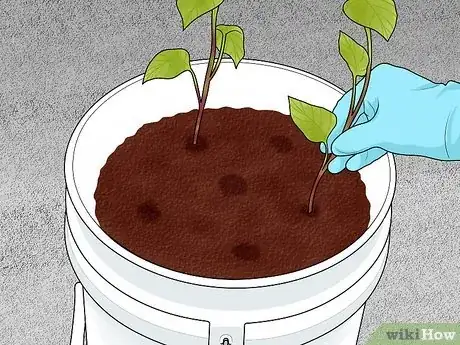
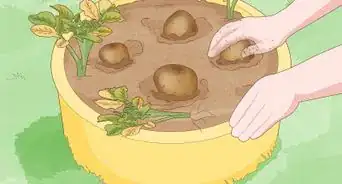
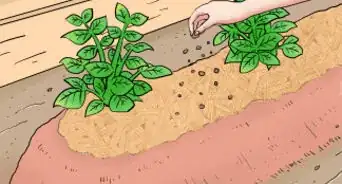
4Plant the slips and re-cover them with soil. Plant the slip at the base of the hole and hold it in position. Use your other hand to scrape in the displaced soil. Cover the entire slip and pat down the soil to keep it compact. Repeat this process for all your slips.[10]
- Use a pair of gardening gloves to avoid getting soil under your fingertips.
Harvesting and Curing Healthy Potatoes
-
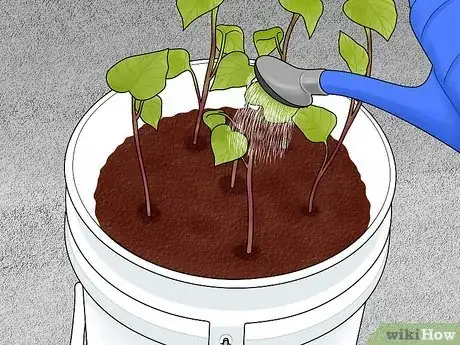
1Water the soil daily and keep the temperature steady for 100 days. Do not allow the soil to drop below 50 °F (10 °C). If you're growing the potatoes in winter, bring the bucket indoors. Keep it somewhere that stays at room temperature. Water the plants until the water level in the pot rises to just above the soil.[11]
- The temperature must stay above {[convert|50|F|C}} if you're leaving the bucket outside. Check with local agricultural groups for their planting calendars to get a good idea when to plant the potato slips.
-
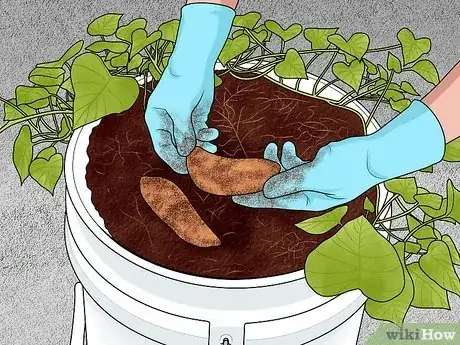
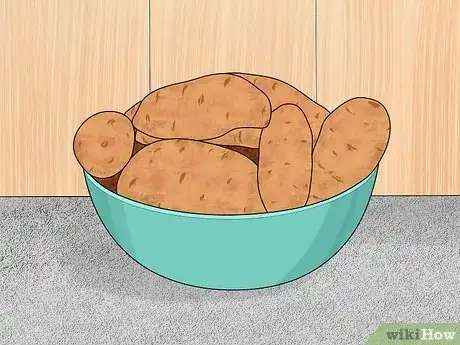
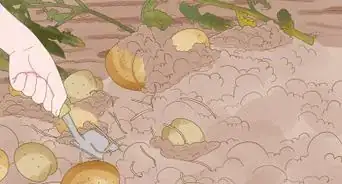
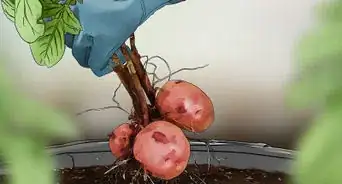
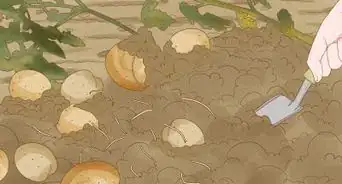
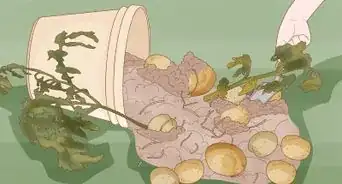
2Harvest the sweet potatoes after 100 days. To harvest, wear your gardening gloves, and hold the stem of the slip as you scrape away the soil from the potato. Then, use your hand to retrieve the grown potato from the dirt. Dust the soil off and place it in a bowl. Do the same for the other 5 potatoes.[12]
- Some potatoes may have grown more than others. This is natural. Sunlight and water are difficult to spread evenly between all 6 of the slips.
-
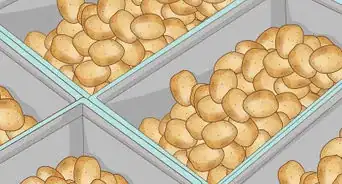
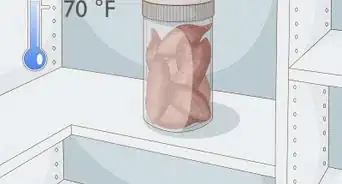
3Cure the sweet potatoes for 2 weeks in a warm, humid environment. If you live in a warm climate, you may be able to leave the sweet potatoes outside as long as the temperature is over 80 °F (27 °C) every day. If you live in a cooler climate, consider transforming your basement or a shed into curing room by running a heater set to 80 °F (27 °C) and a humidifier set to the highest humidity level all day for 2 weeks.[13]
- This process causes a thin protective layer to form on the outer skin of the potato known as suberin
- The sweet potatoes will remain unspoiled at room temperature for up to a year if you've given them time to form a suberin coat.
Things You'll Need
- 1 sweet potato
- 1 small jar
- Ruler
- Drill
- Knife
- Gardening gloves
- Watering can
References
- ↑ https://www.medicaldaily.com/sweet-potato-vs-regular-potato-which-better-your-health-357898
- ↑ http://fivegallonideas.com/growing-sweet-potatoes/
- ↑ https://www.youtube.com/watch?v=k6bxc9dRjqs
- ↑ http://www.southernexposure.com/blog/2014/03/how-to-sprout-sweet-potatoes-for-slips-green-shoots-for-planting/
- ↑ https://youtu.be/k6bxc9dRjqs?t=56
- ↑ https://youtu.be/_txO9rm9jvM?t=152
- ↑ http://fivegallonideas.com/growing-sweet-potatoes/
- ↑ http://fivegallonideas.com/growing-sweet-potatoes/
- ↑ http://fivegallonideas.com/growing-sweet-potatoes/
