wikiHow is a “wiki,” similar to Wikipedia, which means that many of our articles are co-written by multiple authors. To create this article, 17 people, some anonymous, worked to edit and improve it over time.
This article has been viewed 183,946 times.
Learn more...
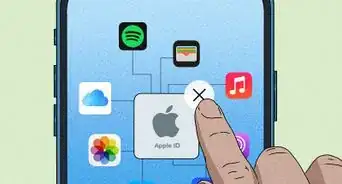
An Apple ID is used to gain access to almost all of Apple's products and services. You need one to make purchases in the iTunes and App Stores, and your Apple ID grants you access to iCloud and backup services for your iDevice. Creating an Apple ID only takes a few minutes, and is completely free. Follow this guide to learn how.
Steps
Using the Website
-
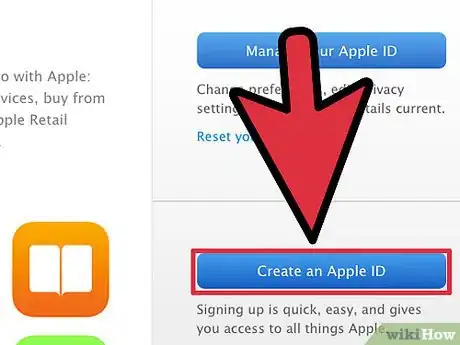
1Navigate to the Apple ID creation page. Creating an Apple ID is free.
-
2Enter your primary email address. To create an Apple ID, you will need to enter a valid email address. This will be used as a contact email, and will also become your Apple ID. When you log into a service that requires Apple ID, you will enter this email address and the password that you create.Advertisement
-
3Create a strong password. Your Apple ID will have your store transactions on it, as well as lots of information about the Apple devices that you use. Make sure that your password is secure, and include numbers and symbols to make it stronger.
-
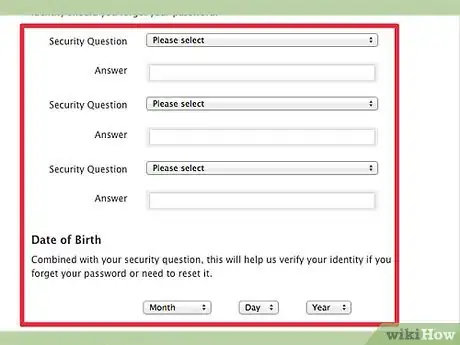
4Enter a security question and your birthday. These will be used in case you forget your password and need to request a new one. Apple will use this information to verify your identity before sending you a new password.
-
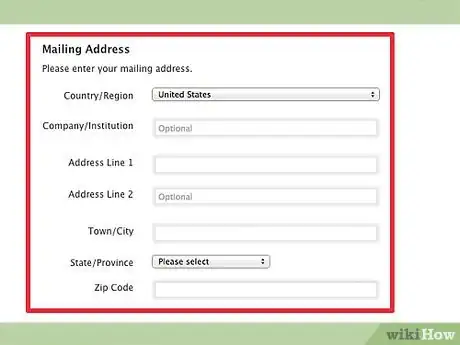
5Enter your name and address. Apple needs this information for any purchases that you may make with this Apple ID. Your mailing address lets them know where people are using their products.
-
6Choose to opt-out of emails. Apple automatically opts you in to receive newsletters and product updates through the email that you provide. If you'd rather not receive these, uncheck the boxes.
-
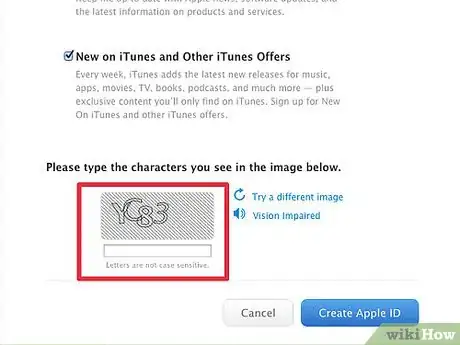
7Enter the CAPTCHA. Type in the characters that appear in the picture. If you can't read them, click the “Try a different image” button to get a new one, or the “Vision Impaired” button to have it read out-loud to you.
-
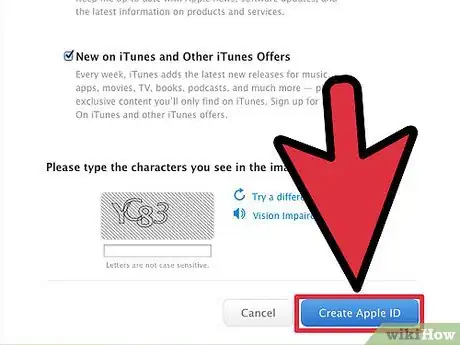
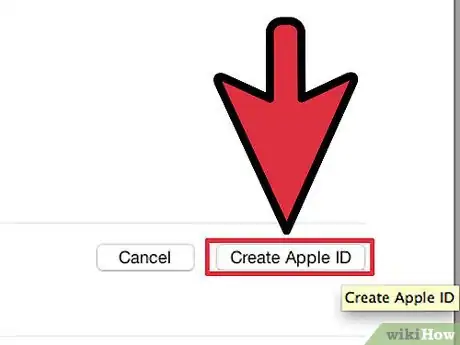
8Read and agree to the terms. Before you can create your ID, you need to indicate that you have read the Terms of Service and Privacy Policy. If you have and you agree to them, check the box. Click the Create Apple ID button. You will receive an email asking you to confirm that you created the Apple ID.
- When creating an Apple ID through the website, you will not need to enter any billing information. Once you log into iTunes with it, however, you will be asked to enter a credit card and billing address.
Using Your iPhone or iPad
-
1Open the Settings app. Scroll down and select iTunes & App Stores. If there is already an Apple ID signed in, tap the Sign Out button.
-
2Tap Create New Apple ID. You will be prompted to select the store that you are creating the ID for. Select the store appropriate for your location. Tap Done to confirm, and then Next.
-
3Read the Terms and Conditions. You can choose to have these emailed to you as well. Do this by entering a valid email and tapping Send by Email. To proceed, tap Agree and then Agree again to confirm.
-
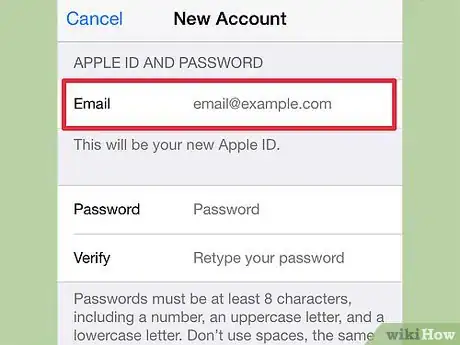
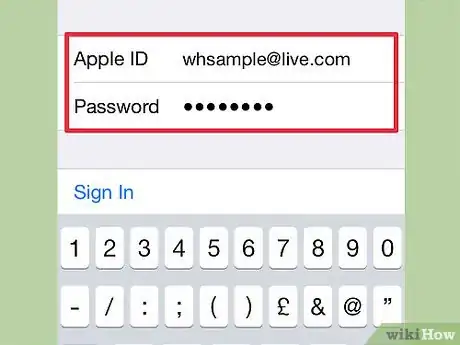
4Provide your email address. This email address will become your Apple ID. You will use this email to log into Apple services that use the Apple ID. Make sure to create a strong password as well, as your Apple ID contains a lot of personal and financial information.
- You will need to create three security questions which will be used in case you forget your password.
-
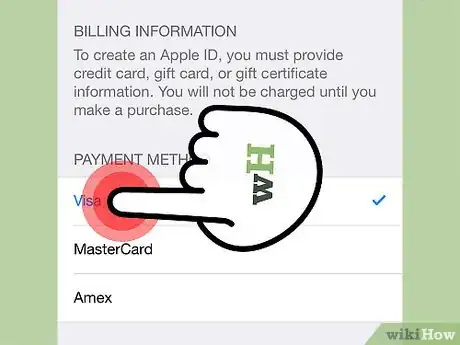
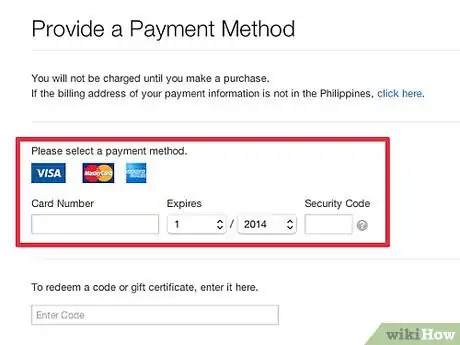
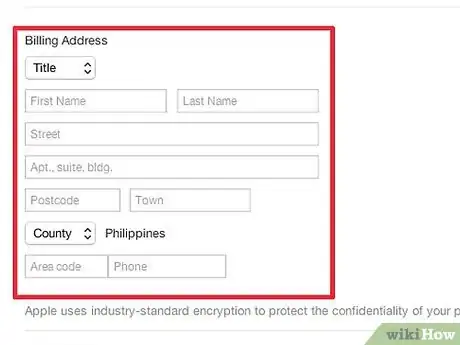
5Enter your billing information. Choose your credit card type and enter the appropriate information. You will need to enter a correct billing address as well.
- If you scroll to the bottom of the credit card list, you can select “None” and bypass the billing section. You will not be able to purchase anything until you enter valid billing info.
-
6Verify your account. After you create your account, a verification email will be sent to the email you designated as your Apple ID. It will contain a link that you must visit in order to activate your account. Click on it, and then enter your new Apple ID and password to activate it.
Using iTunes
-
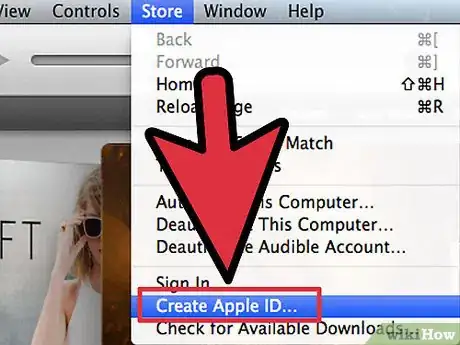
1Open iTunes. Click on the Store menu. Select Create Apple ID from the Store menu. Click Continue in the new window that pops up.
-
2Read and agree to the Terms and Conditions. Once you have read them, check the box and click Agree.
-
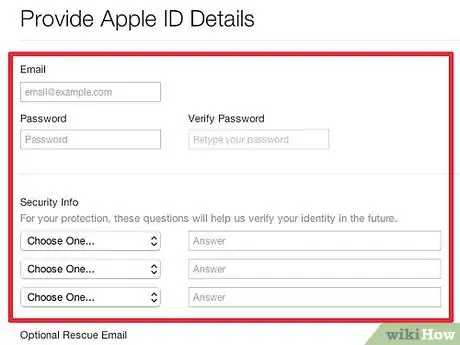
3Enter your information. You will need to enter an email address that will become your Apple ID. You will be entering your Apple ID whenever you need to log into Apple services. You will also need to enter a good, strong password. It must be at least 8 characters long and contain letters and numbers.
- You will also need to create a security question and your birthday to verify your identity if you forget your password.
-
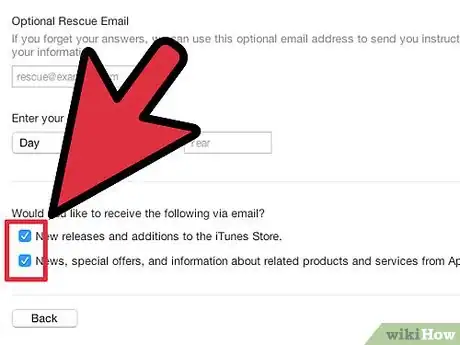
4Decide if you want to opt-out of emails from Apple. There are two check boxes at the bottom of the form. They are checked by default. If you don't want to receive promotional emails and newsletters from Apple, uncheck the boxes.
-
5Enter your billing information. Choose the appropriate card type and enter your credit card details and billing address. If you'd rather not attach a credit card to your account, click the None option. You will need to enter credit card information if you intend on making purchases in iTunes or the App store, but you don't need it for free items.
-
6Verify your account. Click Done to create your Apple ID. You will receive an email containing a link that will verify your account. Once your account is verified, you can log into any Apple product or service using your new Apple ID.[1]
-
7Finished.
Community Q&A
-
QuestionWhat should I do if I don't have a credit card?
 Community AnswerYou can either get one of your own or ask a parent or guardian to link the account to their credit card. You should also be able to select the option that says "None" when your payment information is requested, which will allow you to make an Apple ID without providing a credit card.
 -
QuestionI'm not getting the verification code. Why not?
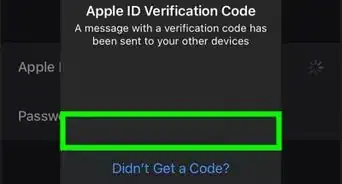
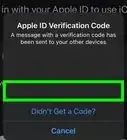
 Community AnswerIf you are using a phone number and receiving a text, make sure your number is correct and check your messages. If you use email, check to make sure your address is spelled correctly and check your spam, trash or junk folders because it may accidentally end up in there.
 -
QuestionCan you use the same email address for two accounts
 OPJustinCommunity AnswerNo, this is not possible, since making an account requires you to have a unique email address.
Warnings
- Creating multiple accounts with false info is grounds for account deletion.⧼thumbs_response⧽
References
About This Article
1. Go to https://appleid.apple.com/account?localang=en_US#!&page=create.
2. Enter your email address.
3. Create a password.
4. Enter the security questions.
5. Provide your birthday.
6. Complete the CAPTCHA.
7. Submit the form.
