This article was co-authored by Zac Churchill. Zac Churchill is from Davidson, North Carolina, and currently attends Tufts University. He has played Minecraft for over eight years and has extensive knowledge on how to play Minecraft and how the game has changed over the different versions. Specifically, Zac has expert experience in survival worlds, large builds on creative mode, and server design/upkeep.
This article has been viewed 43,707 times.
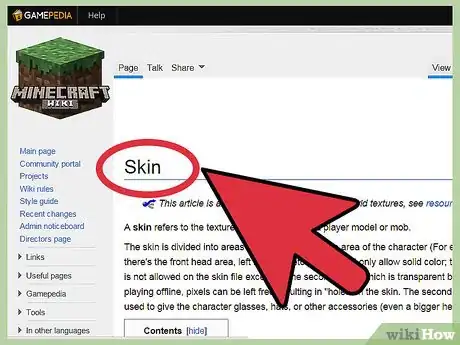
Minecraft is famous for its incredible array of customization. You can build practically anything in Minecraft, from tools and weapons to entire cities. But that customization doesn’t stop with the world around you. A skin is another name for your appearance in Minecraft, and you can get a new one or make your own any time you want.
Steps
Downloading New Skins
-
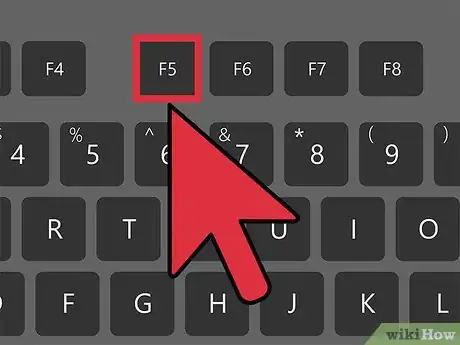
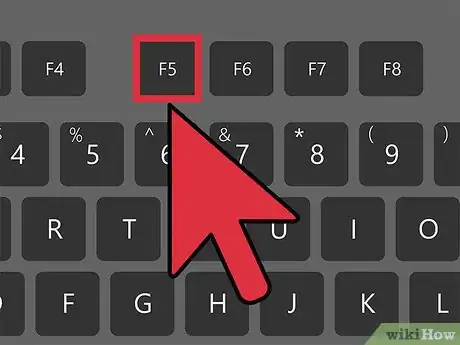
1Press F5 while in Minecraft to see your current skin. Change your point of view with F5 to see your skin, or the appearance of your Minecraft character. This is not only how you see yourself, this is how everyone else in the world of Minecraft sees you too.
- The default skin for all new players is known as “Steve.” There is a second default option, “Alex,” who is slightly smaller.
-
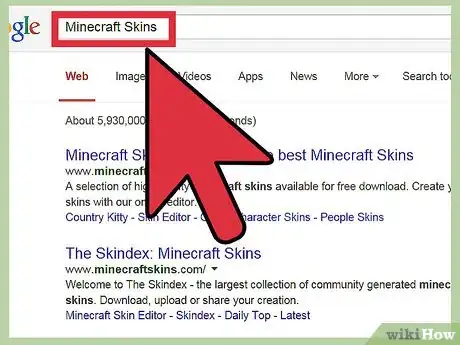
2Browse skins on Minecraft websites. There are many popular sites out there, and you can easily find them through a quick internet search for “Minecraft Skins.” Here you can see the most popular skins, search for characters you know, and find recently created skins.
- Some of the most popular sites include Skindex, Minecraft Skins, and Planet Minecraft.
- Most sites even have the option to create your own skin.
Advertisement -
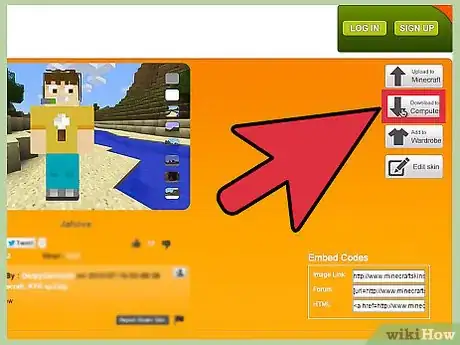
3Download the skin you want from the website. The skin will be a .PNG file, and it will resemble an unassembled paper doll when you open the file. Click on the Download button next to your skin and save it somewhere you will remember it, like your desktop.
-
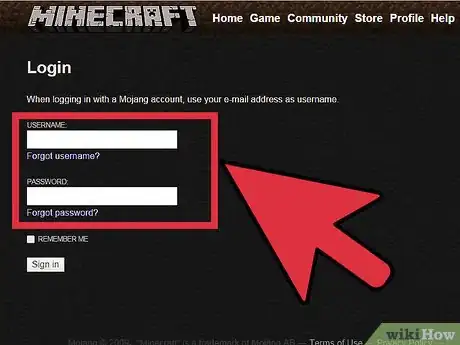
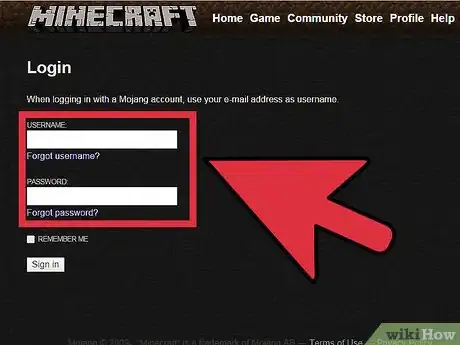
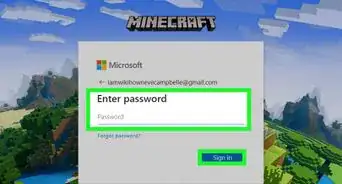
4Log on to Minecraft.net. Log in using the same username and password you used to register for the game.
-
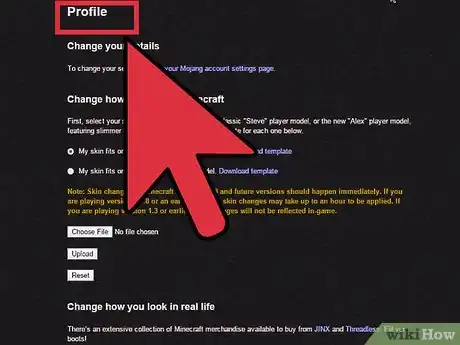
5Navigate to your Profile page. Click the Profile button on the top of the page, or navigate to www.minecraft.net/profile.
-
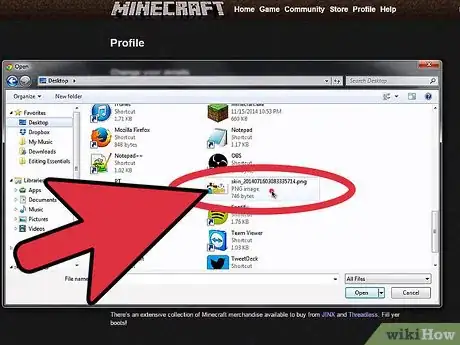
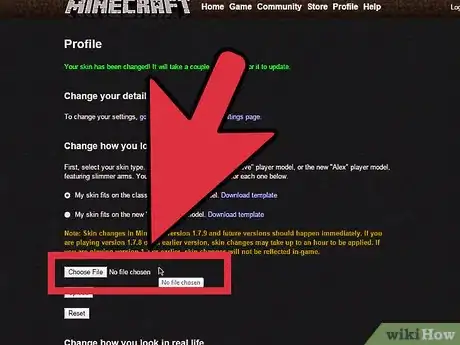
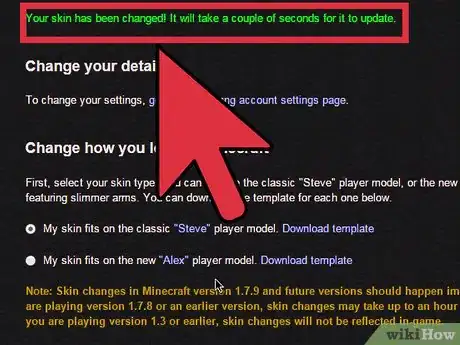
6Click on “Browse” and find your new skin. Search for the skin file you saved and click Upload. Wait for the confirmation message.
- Remember, you're looking for a .png file.
-
7Enter Minecraft to see your new skin. If you already have Minecraft open, restart it to see your new skin. Hit F5 to view your character.
-
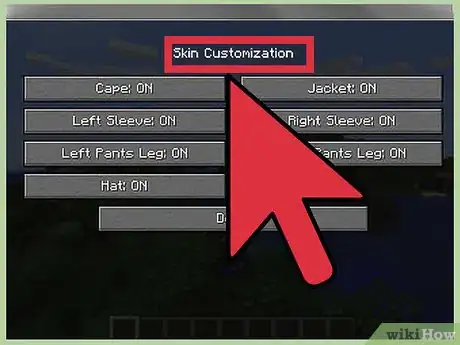
8Tweak your new skin from within Minecraft. Since the update to version 1.8, Minecraft users can now add jackets and hats to their skin without leaving the program. Simply go to Options → Skin Customization to play with sleeves, capes, pants, hats, and jackets.
-
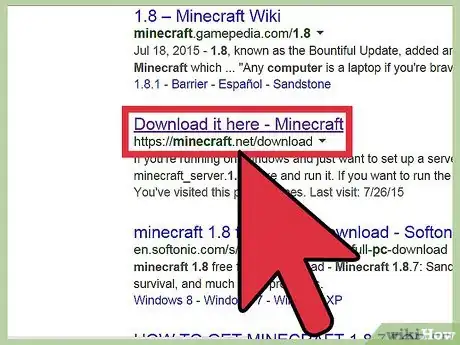
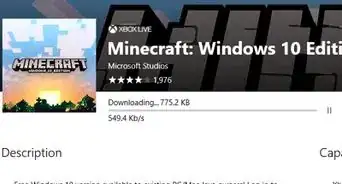
9Know that early versions of Minecraft will not reflect skin changes. If you have not updated Minecraft since version 1.3, you will not see your skin change when you play the game. Update your version of Minecraft to the latest edition to change your skin.
- As of May 27, 2015, Minecraft 1.8 is the newest edition for PC.
Making Your Own Skin
-
1Understand how skins work. In Minecraft, skins are essentially pieces of paper folded around your character to change its appearance. You can edit the color of pixels, or little squares, to make designs, outfits, and costumes. You are limited to editing individual squares, and cannot make complex curves or shapes. Skin editors simplify this process by letting you “paint” your design right onto your character.
-
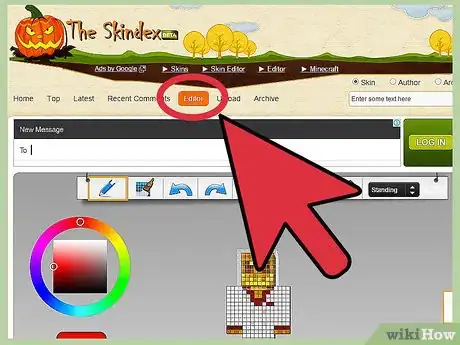
2Navigate to a “skin customizer” online. A quick internet search for “Minecraft Skin Maker” will reveal a host of sites that let you make your own skins.
- Some popular sites include MCSkinner, SkinEdit, Minecraftskins, Novaskin, and Minecraft Skin Editor.
- While very difficult, you can make a custom skin without an editor in Microsoft Paint or Photoshop. This takes careful precision to fit perfectly on your character.
-
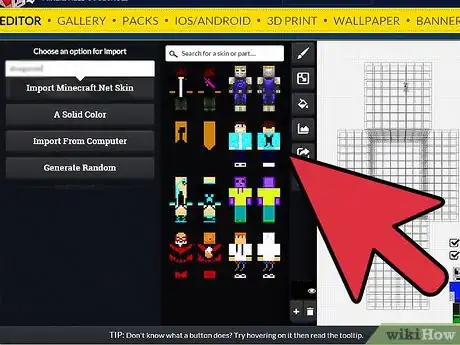
3Use the pre-made colors and accessories to make a custom skin. You can design almost anything, from astronauts, pirates, and monsters to a version of yourself. The editor will automatically turn your image into a skin, so have fun and be creative.
-
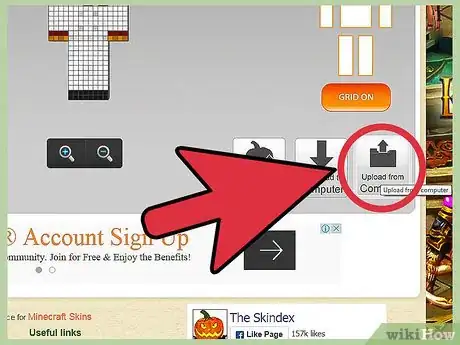
4Save the skin as a .png file. Some sites let your upload your skin directly to Minecraft, but most require that you save the skin and add it to your character yourself.
-
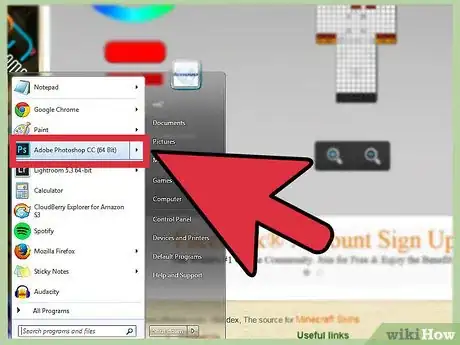
5Alternatively, customize pre-made skins in a photo editor. If you want to tweak someone else’s design, or you want to change your own, open the .png file in a photo editor like Photoshop. Here, you can change the colors or edit the pattern. You must stay within the boundaries of the skin, or the skin will not fit your Minecraft character.
- The site paint.net lets you edit skins with ease.
-
6Log on at Minecraft.net. Use the same username and password you used to register for the game to log onto the website.
-
7Click on the “Profile” tab at the top of the page. This is your personalized page where you can edit your account. You can navigate directly to www.minecraft.net/profile instead.
-
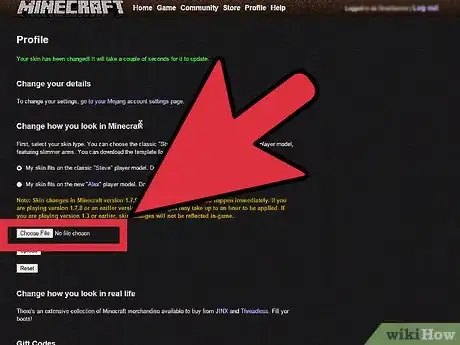
8Click on “Browse” and select your skin. Click on your homemade skin and press “Upload.” Wait for a confirmation message before continuing.[1]
-
9Start Minecraft to see your new skin. If you already have Minecraft open, restart it. Don’t forget to hit F5 to change your view and see your skin.
-
10Remember that the earliest versions of Minecraft do not allow skin changes. If you have not updated Minecraft since version 1.3, you will not see your new skin. Update your version of Minecraft to the latest edition to make sure you can see the fruits of your labor.
- As of May 27, 2015, the newest edition of Minecraft for PC is 1.8.
Community Q&A
-
QuestionDo I need to exit the minecraft.net??
 Community AnswerOnce you upload the skin into the servers of Minecraft, you may log out and close minecraft.net.
Warning
- Rude, offensive, or vulgar skins can get you temporarily banned from Minecraft.
