This article was co-authored by wikiHow staff writer, Nicole Levine, MFA. Nicole Levine is a Technology Writer and Editor for wikiHow. She has more than 20 years of experience creating technical documentation and leading support teams at major web hosting and software companies. Nicole also holds an MFA in Creative Writing from Portland State University and teaches composition, fiction-writing, and zine-making at various institutions.
There are 8 references cited in this article, which can be found at the bottom of the page.
This article has been viewed 448,166 times.
Learn more...
You can export an HD-quality iMovie video to either a file on your device or a service like YouTube. As long as you start with a high quality video, you'll be able to choose from three HD resolutions so your movie looks exactly how you want.
Steps
macOS
-
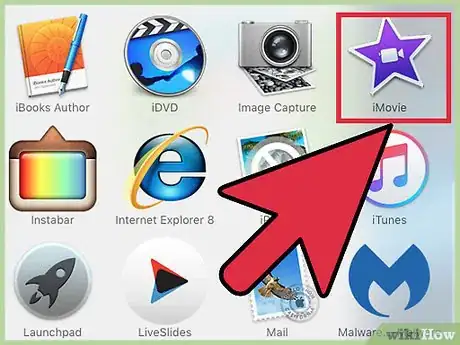
1Open iMovie. Use this method if you want to export an HD video to a folder on your Mac. Once the video is exported, you can view and share it as you wish.
-
2Click the movie you want to export in the “Libraries” pane.Advertisement
-
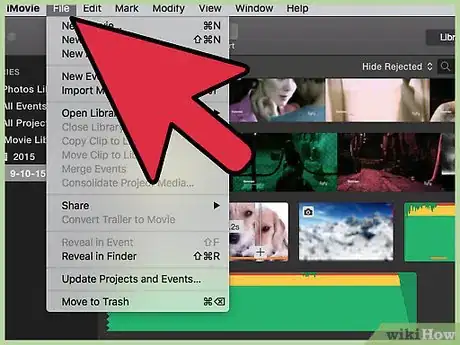
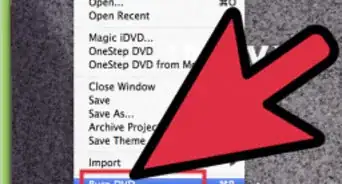
3Click the File menu at the top of the screen.
-
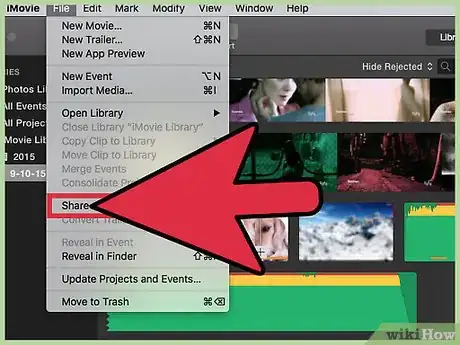
4Click Share.[1]
-
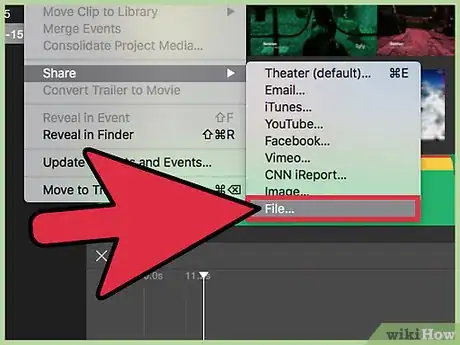
5Select File… in the Share menu.
- If you want to share your video directly to a website, click the name of that website (Facebook, YouTube, Vimeo, etc) instead.[2]
-
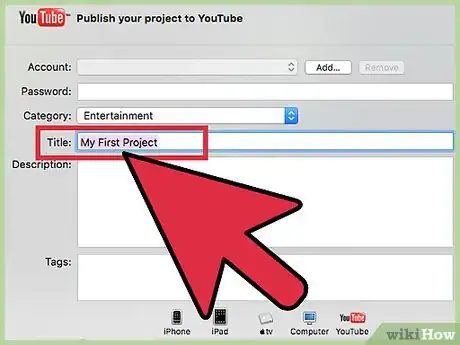
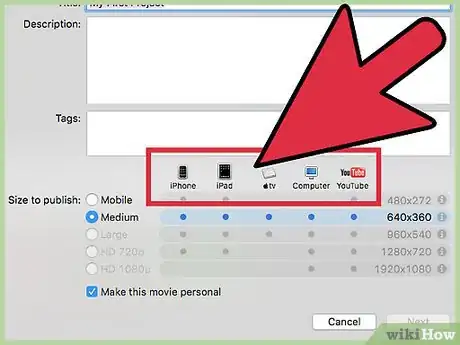
6Type a name for your movie in the text box.
- If you're sharing the video to a website, this text will become the title of the movie.
-
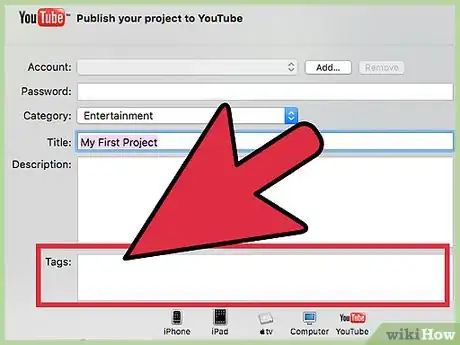
7Type some tags into the “Tags” box. This is helpful if you're sharing to YouTube or Vimeo and want to make it easy for others to find your video.
-
8Click the “Resolution” menu to pick a resolution. Choose 720p, 1080p, or 4k for HD. Not all options will be available for all movies as you can't turn low quality video into HD.[3]
- 720p is HD at 1280 x 720 resolution. Choose this for a high quality file that uploads quickly and doesn't take up much hard drive space.
- 1080p is HD at 1920 x 1080 resolution—5 times the quality of 720p. You'll have a bigger file and longer upload than with 720p.
- 4k is Ultra High Definition (UHD), which is 4096 x 2160 resolution. This is 4 times the quality of 1080p, so expect a large file with a lengthy upload time.
-
9Set other parameters if you're sharing your video to a website. If you're exporting to a file, you can skip this step.
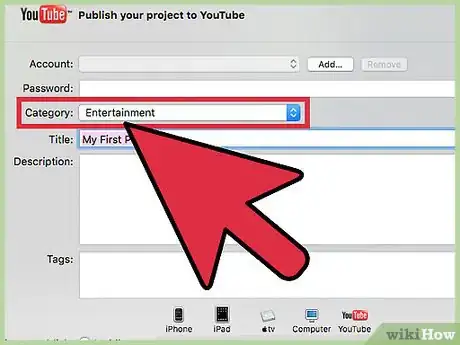
- Click the “Categories” menu to choose a YouTube category.
- Click the “Viewable to” or “Privacy” menu to set the privacy.
-
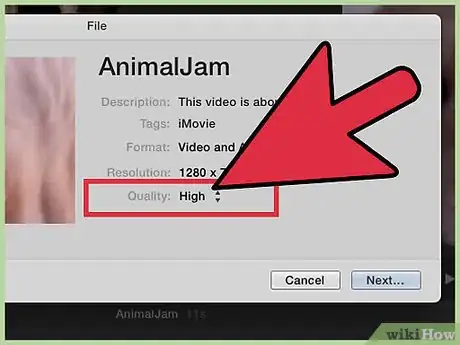
10Click the “Quality” menu to set your video quality. You won't see this if you're sharing to a website. To get an idea of how each setting affects the file size, click an option to see the file size beneath the preview.[4]
- Choosing “High” will give you the best results without making the file too large.
- Choosing “Best” will use ProRes, which is professional quality. The size will be very large.
-
11Click the “Compress” menu to choose your compression rate. This option is only visible if you're exporting to a file.
- Choose “Faster” if you're worried about file size. The quality won't be as good, but it should still be better than SD (standard).
- Choose “Better Quality” if you prefer the clearest possible audio and video and don't care about file size, this is the option for you.
-
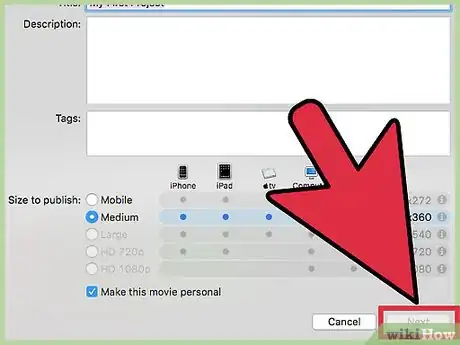
12Click Next.
- If you're sharing to a website, you'll be prompted to enter your account information for that site. Follow the prompts to sign in and complete the upload. When the upload is complete, you'll see “Share Successful.”
-
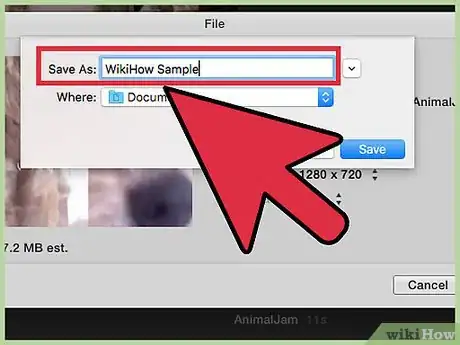
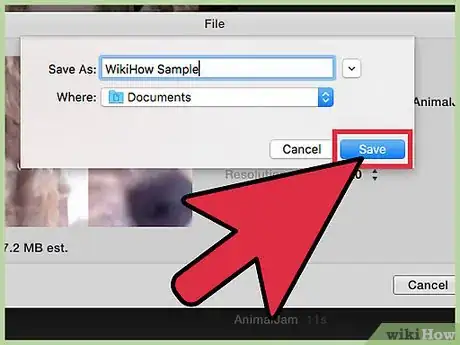
13Type a name for the video into the “Save As” field.
-
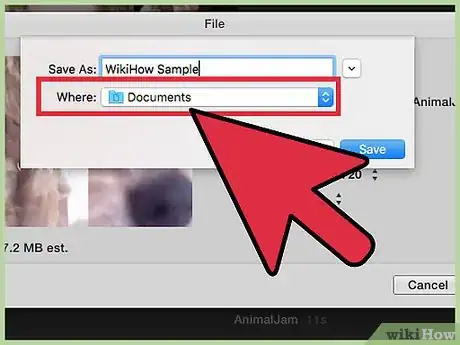
14Navigate to the folder where you want to save the file. Save the file to a folder you'll remember, like Documents or Desktop, so it's easy to access when you want to upload it to YouTube, burn it to DVD, etc.
-
15Click Save. After a few moments, you'll be able to find the HD version of your movie in the folder you chose.[5]
- Now that the video is saved as an HD file on your computer, you can upload it to sites like Facebook, LinkedIn, Google Drive, Dropbox, and any other site that accepts high-quality video.
iOS
-
1Open the iMovie app on your iPhone or iPad.
- If you're currently editing a project, tap Done at the top left corner. and then skip to step 4.[6]
-
2Tap Videos at the top of the screen.[7]
-
3Tap the video you want to share.
-
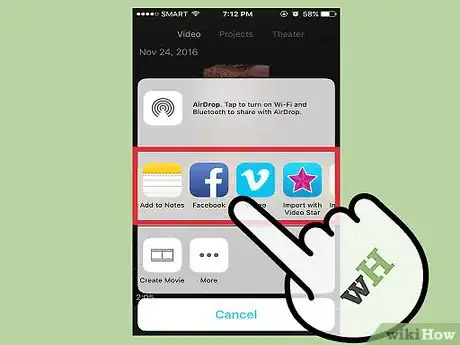
4Tap the Share icon. It's at the bottom of the screen and looks like a square with an upward-pointing arrow.
-
5Tap a sharing method. You can choose an app with which to share your video, or a location where you'd it to be saved.
- For example, tap the Facebook icon if you want to share the video on Facebook.
- If you want to save the video as a file to your iPhone or iPad (you can always share it later), choose “Save Video.”
-
6Follow the prompts to sign in. If sharing on an app like Facebook or YouTube, enter your sign-in information as stated in the on-screen instructions.
-
7Select your desired HD resolution. Choose from 4k (Ultra HD), 1080p (HD), or 720p (HD). Note that not all apps or services support larger HD files, so you may not see all of these options.[8]
- 720p is 1280 x 720 resolution. The file size will stay small despite the video being HD-quality.
- 1080p is HD at 1920 x 1080 resolution—5 times the quality of 720p. The save or upload will take longer than 720p.
- 4k is 4096 x 2160 resolution, which is 4 times the quality of 1080p. Expect a large file with a lengthy upload time.
-
8Follow the prompts to export the video.
- If using YouTube or Facebook, you may have to use the app or website to set up tags and descriptions.
Community Q&A
-
QuestionIf I customize my video to the highest level quality, attaining a maximum file size of 3.35 GB, will it result in good clarity?
 Liza GaylordCommunity AnswerDepending on the quality of the source material, it should be good quality. iMovie can only promise quality up to that level. (If you give it a poor quality video clip taken from a phone, for instance, it cannot make the quality better.)
References
- ↑ https://support.apple.com/en-us/ht205345
- ↑ https://help.apple.com/imovie/mac/10.1/#/move0470816c
- ↑ https://recombu.com/digital/article/what-is-hd-the-difference-720p-1080i-and-1080p_M10888.html
- ↑ https://www.youtube.com/watch?v=29lM28FYy6g
- ↑ https://support.apple.com/kb/ph2285?locale=en_US
- ↑ https://help.apple.com/imovie/iphone/2.2/#/knaf4167c109
- ↑ https://help.apple.com/imovie/iphone/2.2/#/knaf4167c109
- ↑ https://support.apple.com/en-us/HT205345
About This Article
1. Click File and select Share.
2. Click File....
3. Enter a name for the movie.
4. Select a resolution and quality.
5. Click Next.
6. Name the file.
7. Click Save.
