X
wikiHow is a “wiki,” similar to Wikipedia, which means that many of our articles are co-written by multiple authors. To create this article, 15 people, some anonymous, worked to edit and improve it over time.
This article has been viewed 157,290 times.
Learn more...
Apple's iMovie is a program that allows you to create and edit digital movies or videos. To make a DVD out of video footage from iMovie, you need to open your iMovie project in another Mac program called iDVD. Once your iMovie file is in iDVD, you can customize your DVD menu(s) and burn your movie onto a DVD. Try these steps to create a DVD with iMovie.
Steps
-
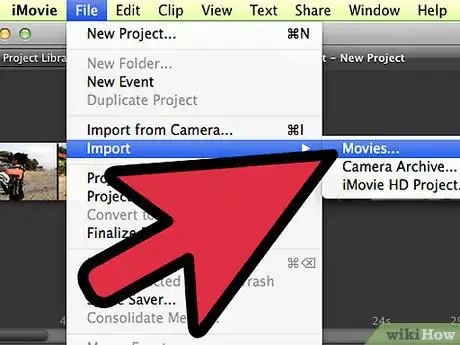
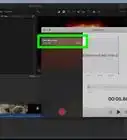
1Transfer video clips to iMovie. Open iMovie on your Mac.
- Connect a camcorder or other video recording device to your computer. If importing high-definition (HD) video, choose which resolution you want for the video (full-size or large) if asked.
- A window may automatically open, showing you thumbnail images of all the video clips on your recording device. To import all the videos, click the "Import All" button.
- For importing selected clips, move a slider control in the bottom left corner of the window from "Automatic" to "Manual." Uncheck the boxes by clips you do not want to import to iMovie. Click the "Import Checked" button.
- Choose where to save your video clips, such as on your computer's hard drive or an external drive. Give a name for your clips, which will be saved under a new or existing "Event."
- Decide if you want iMovie to import video with "Stabilization" to help improve any shaky video and/or identify people in your video. This can considerably lengthen the importing process and is an optional choice that can be done later.
- Click "Import" when ready to add your video clips to iMovie. Find your imported video under its saved name in the "Event Library" in iMovie.
-
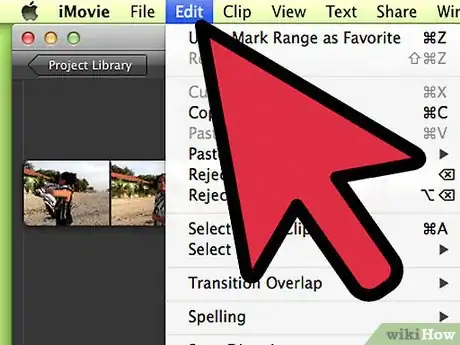
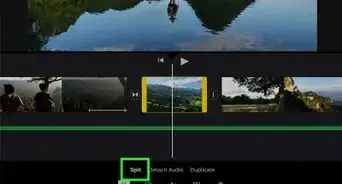
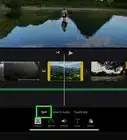
2Edit your video project in iMovie. Use features such as cutting portions of clips, adding transitions, and more to make your movie.
- Open an existing, finished iMovie project if applicable. Click on the project in IMovie's "Project Library" in the program's left window pane.
Advertisement -
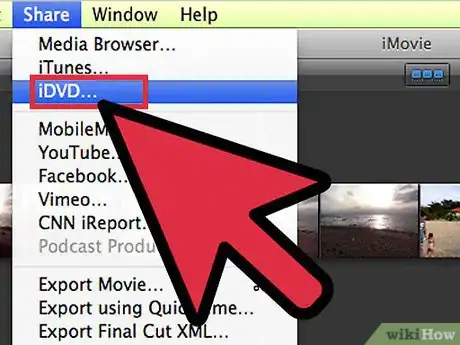
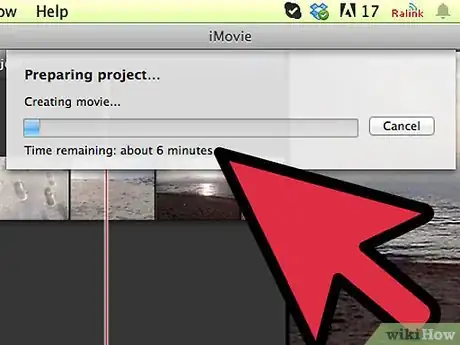
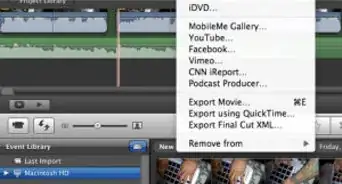
3Go to "Share" from iMovie's top menu bar. Choose "iDVD". A progress bar may appear as iMovie prepares your project to open in iDVD. This process may take a few minutes.
-
4Wait for iDVD to open with your movie project in it as a new file. Type in a name for your iMovie DVD.
-
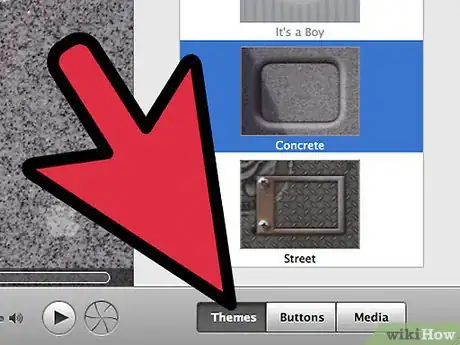
5Choose a DVD theme from iDVD's available options. This will allow you to customize the look of your DVD's menu(s). The themes can be seen in the right window pane in iDVD.
-
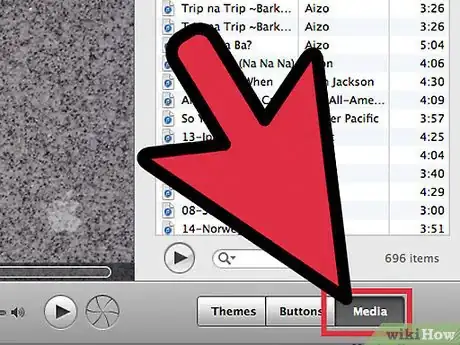
6Add more media to your DVD movie if desired. Click "Media" in the bottom right area of the iDVD window.
- Click on the "Movies" or "Photos" tab. Choose a file categorized under the desired tab. Try dragging and dropping your file onto your DVD movie, shown in iDVD's left window pane.
- If you add pictures to your DVD, they may be added as a slideshow. If you add another movie, it may be shown as a separate video from your initial iMovie project.
-
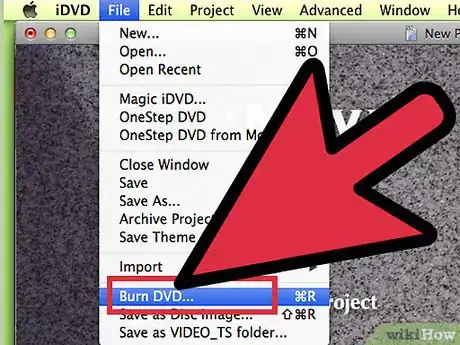
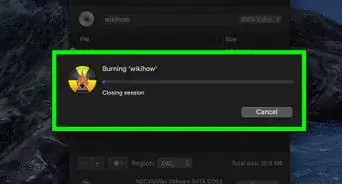
7Burn your movie onto a DVD when finished. Insert a blank DVD into your Mac's CD-ROM/DVD drive. Click the "Burn" icon in iDVD to transfer your movie to the blank disc.
Advertisement
Warnings
- The instructions above may differ depending on which version of iMovie you have.⧼thumbs_response⧽
- Newer versions of iMovie do not contain iDVD. You will not be able to burn a DvD to play on a regular dvd player. You may be able to save the movie in mp4 format and burn to a dvd.⧼thumbs_response⧽
Advertisement
Things You'll Need
- Video recording device
- Cable(s) to connect video device to computer
- Finished iMovie project
- iDVD program
- Other media
- Blank DVD
About This Article
Advertisement
