X
wikiHow is a “wiki,” similar to Wikipedia, which means that many of our articles are co-written by multiple authors. To create this article, 13 people, some anonymous, worked to edit and improve it over time.
This article has been viewed 67,692 times.
Learn more...
Some people with free wikis on FANDOM prefer to have a custom theme, rather than sticking with the default theme. Well, Wikia's theme designer allows you to change the design of your current theme, and 'jazz it up.'
Steps
Part 1
Part 1 of 2:
Getting to the Theme Designer Page
-
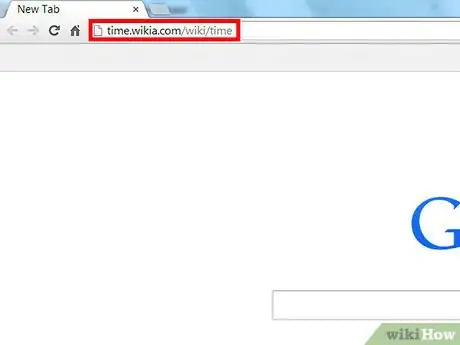
1Go to your wiki's home page. It can be accessed by the URL for your wiki, if you remember what it is.
-
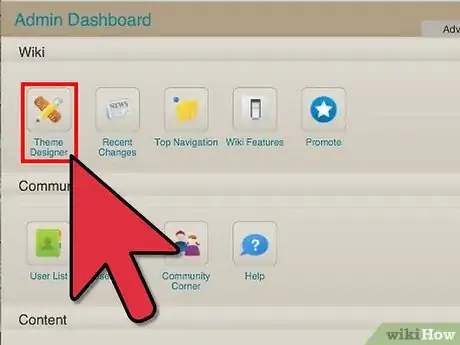
2Go to your admin dashboard. This is where you'll find the page where you can make your custom theme, and it can be accessed at YOUR WIKI NAME.fandom.com/wiki/Special:AdminDashboard.Advertisement
-
3Look for the "Theme Designer" button and click on it. Clicking on that button will take you to the page where you can design your theme.
Advertisement
Part 2
Part 2 of 2:
Designing the Theme
-
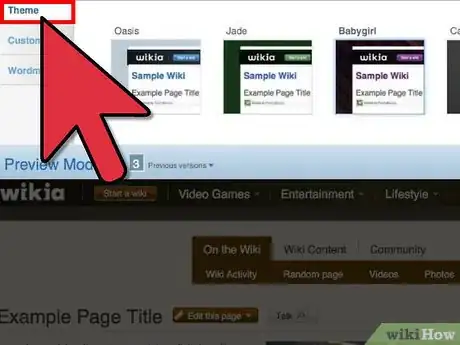
1Choose a new wiki theme if you want one. Look at the different themes under the "Theme" option and click on the new theme of your choice.
- Keep in mind that you're only in Preview Mode, and your theme is not saved yet.
-
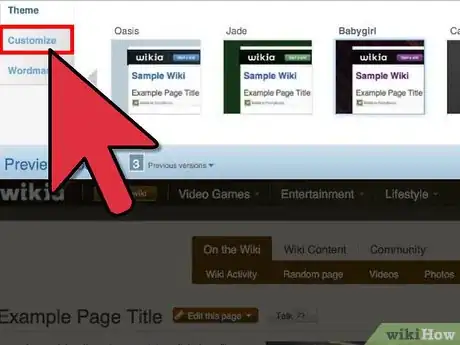
2Click on the "Customize" option. It allows you to customize your theme, hence the name.
Advertisement
Choosing the Colors and Graphic Image
-
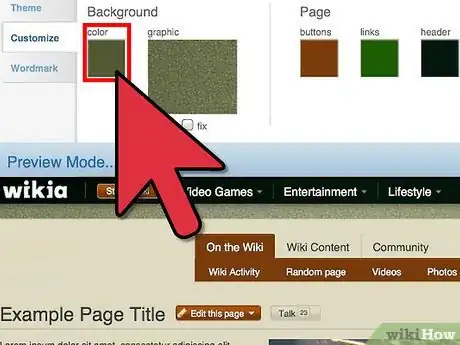
1Choose the color of your theme. Click on the current color under "color," and you'll see a box of colors. When you find a color that you like, click on it. You can also enter your own color name or HTML color code.
-
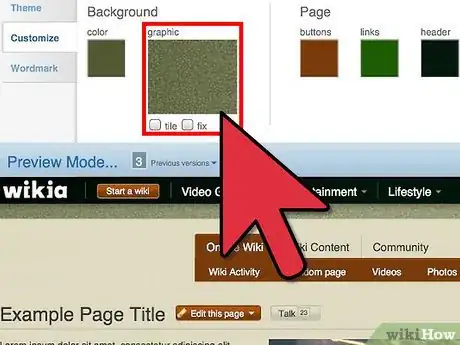
2Choose a graphic image. Click on the current graphic image under "graphic," and you'll see a box of different graphic images. Find one that you like, and click on it.
- Alternatively, you can upload your own graphic image by clicking on "Browse" (if on a computer), or "Choose File" (if on a mobile device). Keep in mind that you can only upload JPG, GIF and PNG files.
- Choose the colors for the buttons, links, headers and color. Just click on the current color under each word ("buttons," "links," "headers," and "color.") and you'll see a box of colors. Find the color that you want, and click on it. You can also enter your own color name or HTML color code.
Advertisement
Customizing the Wordmark
-
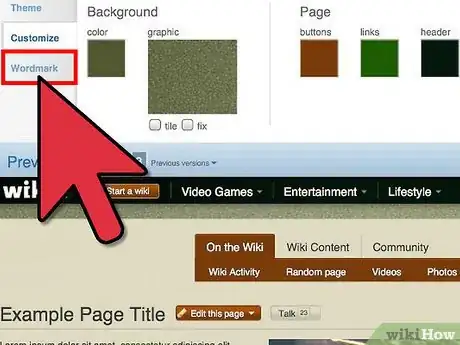
1Click on "wordmark" to customize the wordmark. Here are the options for customizing the wordmark:
-
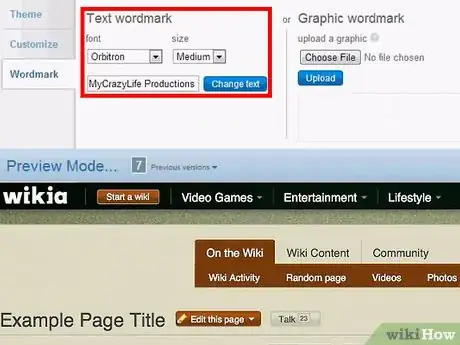
2Customize the text. You can change the font by clicking on the "font" drop-down menu and selecting a font, change the size by clicking on the "size" drop-down menu and selecting a size, and change the text if you'd like by entering new text in the proper field and clicking on "Change text."
-
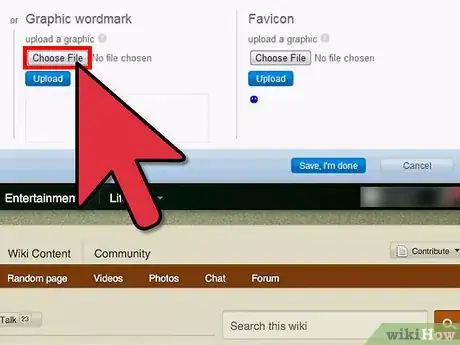
3Upload a graphic wordmark. Click on "Browse" (if on a regular computer), or "Choose File" on a mobile device, and follow the uploading instructions.
-
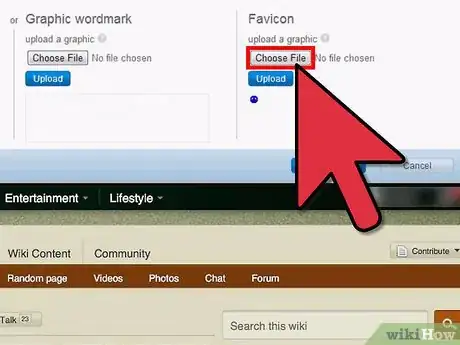
4Upload a favicon. Click on "Browse" (if on a regular computer), or "Choose File" on a mobile device, and follow the uploading instructions.
-
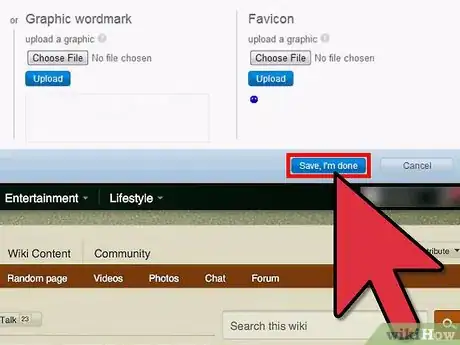
5Click on "Save, I'm done" when you're done.
Advertisement
About This Article
Advertisement
