X
wikiHow is a “wiki,” similar to Wikipedia, which means that many of our articles are co-written by multiple authors. To create this article, volunteer authors worked to edit and improve it over time.
This article has been viewed 47,216 times.
Learn more...
Ever wonder about having own wiki like Wikipedia or wikiHow? Wikis can be great for storing personal information, keeping records and notes, tracking family or medical history, or just brainstorming. If you want to set up your own, personal offline wiki using MediaWiki software, get started with step 1 below.
Steps
-
1Download the components.
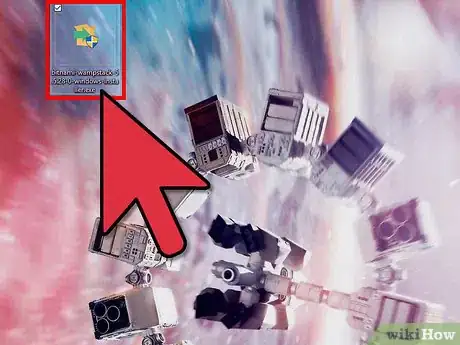
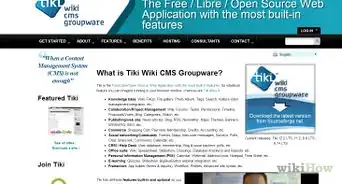
- You need a virtual server to run the MediaWiki package. Go to this link and download the recommended version of WAMP Stack.
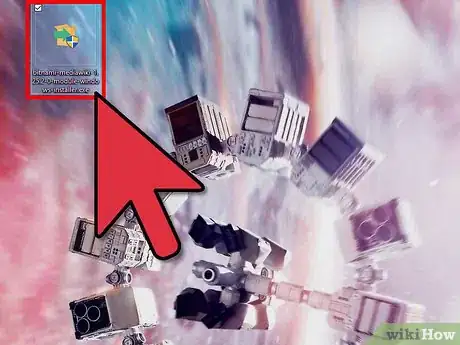
- Download the Mediawiki Module for WAMP Stack. Scroll down for 'MediaWiki' and download latest available version.
-
2Install WAMP Stack.
- Double click on the downloaded WAMP installer to open it. Click Next.
- This will show a bunch of components to be installed. To avoid ending up missing component just leave them as they are. Click Next.
- It will ask where to install WAMP. To keep data safe, choose other partition rather than C:\ drive. Because if your PC crashes or do not starts properly, data may be irrecoverable and lost. So use any other drive. For example: D:\My wiki\
- Click Next. A dialogue box will ask for database (MySQL) password. This is for securing database from unauthorized access. Choose a good password.
- Upon clicking next installation will begin. After completion click Finish.
Advertisement -
3Install the Mediawiki module. This module will only work with WAMP Stack from Bitnami (the software installed before).
- Double click to run the Mediawiki module.
- Choose Language and click Next.
- It will ask for WAMP Stack folder location. Browse to where WAMP stack software was installed. Click Next.
- Fill in the details:
- Login name - This will be used to log into the wiki (default password will be database password)
- Real name - not necessary
- Email address - not necessary when using offline and personal purpose
- Password for MySQL - which is database password, given earlier when installing WAMP software.
- Upon clicking Next, give your wiki a great name.
- Click Next and press the Finish button. That's it! Your wiki is installed, and the basic settings will be automatically configured.
-
4Start your WAMP Control Center.
- Go to the WAMP installed folder location.
- Find a Folder name bitnamiwamp. Open it.
- Now look for manager-windows file.
- Right click on it, select send to option then select Desktop (create shortcut)
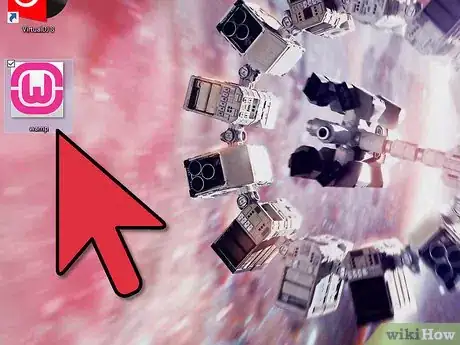
- Come back to desktop and double click on the shortcut. This will open up Bitnami WAMP Stack Control center.
-
5Access your wiki.
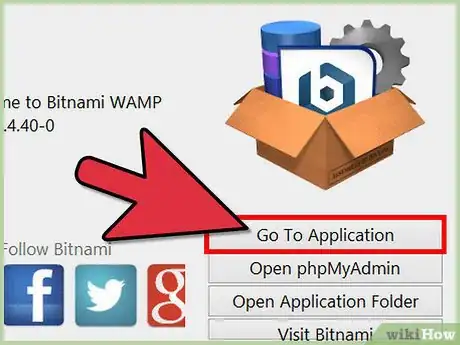
- Click on "Go to Application" button; the browser will open with Bitnami welcome screen.
- On the welcome screen, Click the "Applications" button
- The next screen will show what application is installed. Look for "Bitnami MediaWiki Module"
- Click on "Access" link under "Bitnami MediaWiki Module."
- The wiki main page will come up. Make a bookmark of it. Put it in browser bookmark toolbar for easy access.
Advertisement
Warnings
- If you want to create wiki for online publication this is not the proper guide for your purpose. But the basic things that need to be done before publishing wiki online may be similar to some extent!⧼thumbs_response⧽
Advertisement
Things You'll Need
- A virtual server platform
- Mediawiki bundle
About This Article
Advertisement

