X
wikiHow is a “wiki,” similar to Wikipedia, which means that many of our articles are co-written by multiple authors. To create this article, 13 people, some anonymous, worked to edit and improve it over time.
This article has been viewed 156,977 times.
Learn more...
MP4 files usually contain both video and audio content. This wikiHow article will teach you how to extract just the audio from an MP4 file and save it in the MP3 format.
Steps
Method 1
Method 1 of 2:
Avidemux (MP4 Video)
-
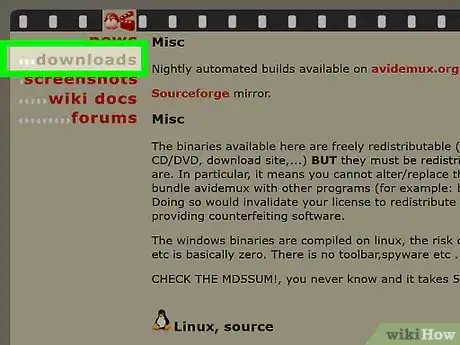
1Download and install Avidemux. This is a free, open-source video editor that can quickly extract the audio from any MP4 file and convert it to MP3. It doesn't include any adware or toolbars It is available for Windows, Mac, and Linux.
- You can download Avidemux from fixounet.free.fr/avidemux/download.html. Make sure to download the correct version for your operating system. If you aren't sure whether your copy of Windows is 32-bit or 64-bit, click here.
- Avidemux is a small download and will result in a converted file much quicker than an online conversion service.
-
2Open the MP4 file in Avidemux. Click "File" → "Open" and then browse for the MP4 file.Advertisement
-
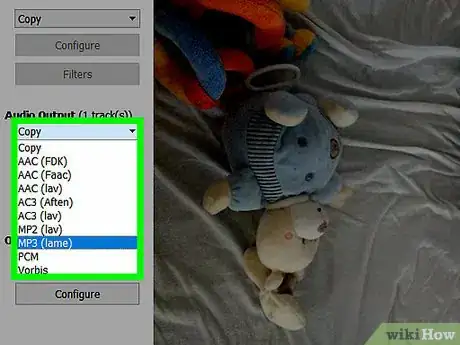
3Click the drop-down menu in the "Audio Output" section and select "MP3 (lame)". The drop-down menu will usually say "Copy" by default. "lame" is the audio encoder that will be used to convert the audio to MP3 format.
-
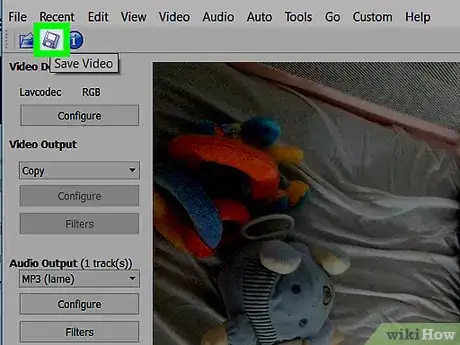
4Click the "Audio" menu and select "Save audio". Choose the location that you want to save the new MP3 to. Your original MP4 file will remain in its original location.
- If the MP4 file has multiple audio tracks, you can select the one you want from the "Audio" menu.
-
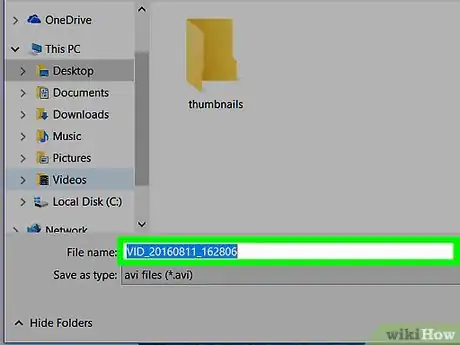
5Type a name for the file. Make sure to include the ".mp3" extension. Avidemux will not include the .mp3 extension automatically. You'll need to make sure you add it to the end of the new file's name. You can also rename the file later and add the ".mp3" to the end.
-
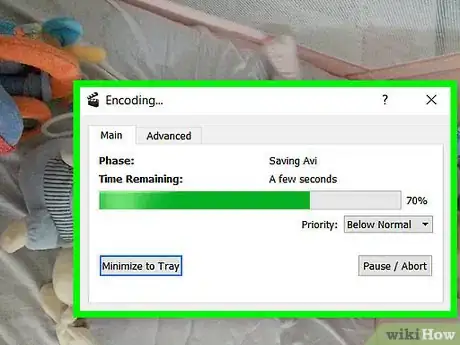
6Wait for the file to be created. Avidemux will begin converting the audio track to MP3 format. Once the process is complete, the file will appear at the location you set.
- If the file is not in MP3 format, right-click on it, select "Rename", and add ".mp3" to the end.
Advertisement
Method 2
Method 2 of 2:
iTunes (MP4 Audio)
-
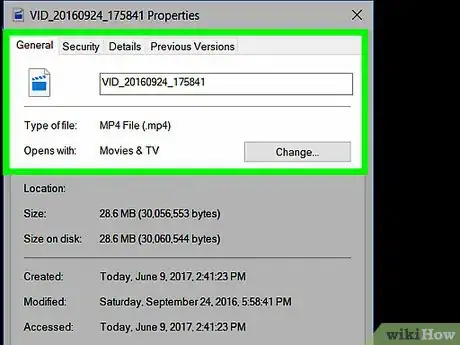
1Know the different types of MP4 audio files. Apple has created several MP4-variants, including M4A, M4P, M4B, and M4R. These files can all be played in iTunes, but you can use iTunes to convert them to MP3 format as well.
- You cannot use iTunes to convert an MP4 video file into an MP3 audio file. Use Avidemux to convert your video files to MP3 audio.
-
2Download and install iTunes. You can download and install iTunes for free from apple.com/itunes/download/.
-
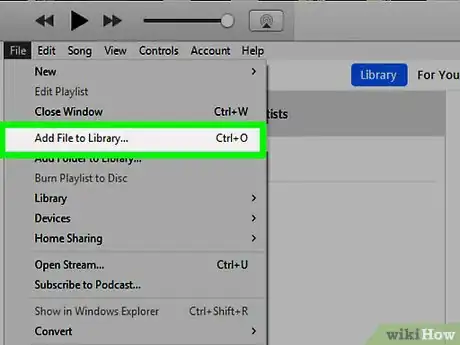
3Add the files that you want to convert to the iTunes library. Click the "File" or "iTunes" menu and select "Add to Library". Browse for the files you want to add.
-
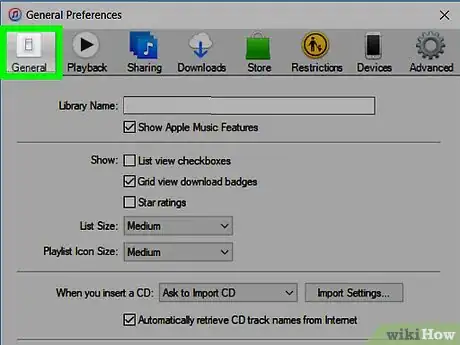
4Click the "Edit" or "iTunes" menu and select "Preferences". Click the "General" tab if it isn't opened automatically.
-
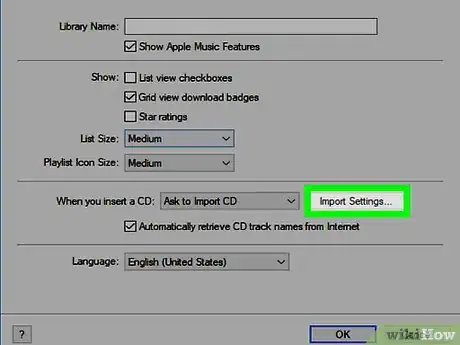
5Click the .Import Settings... button. In the "Import Using" menu, select "MP3 Encoder".
-
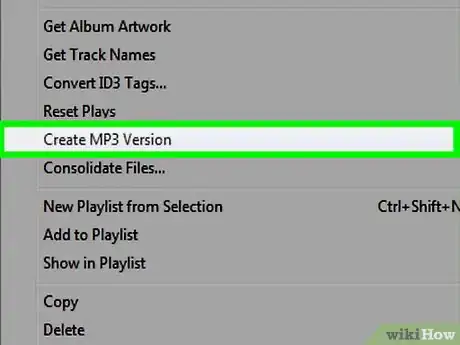
6Right-click on the file you want to convert in iTunes. Select "Create MP3 Version" from the menu that appears. The new MP3 version will be created and placed in the same location as the original file.[1]
- You can right-click the file and select "Show in Windows Explorer" or "Show in Finder" to open the folder containing the file.
Advertisement
About This Article
Advertisement
