This article was co-authored by wikiHow staff writer, Darlene Antonelli, MA. Darlene Antonelli is a Technology Writer and Editor for wikiHow. Darlene has experience teaching college courses, writing technology-related articles, and working hands-on in the technology field. She earned an MA in Writing from Rowan University in 2012 and wrote her thesis on online communities and the personalities curated in such communities.
This article has been viewed 52,279 times.
Learn more...
There are two ways you can connect your controller to your Xbox: wirelessly or wired via a USB to Micro-USB cable. This wikiHow will teach you how to connect your Xbox Controller to your Xbox One using both methods.
Steps
Connecting Wirelessly
-
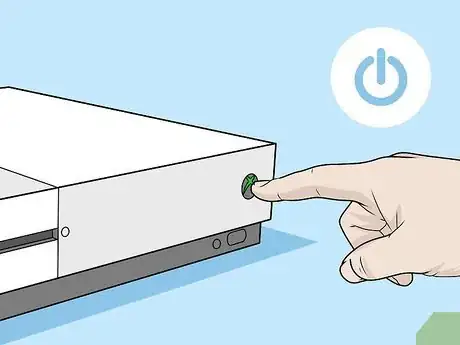
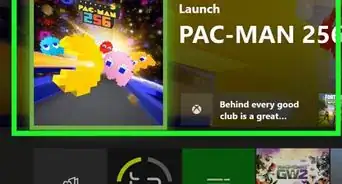
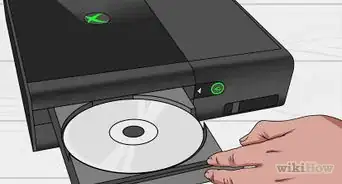
1Turn on your Xbox One console. You'll see the power button on the right side of the unit if you have it positioned horizontally.
-
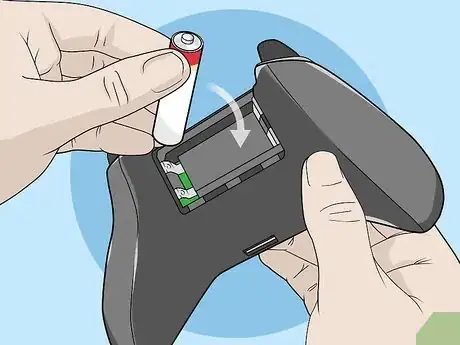
2Insert batteries into your controller. Some models of the Xbox remote, like the Xbox Elite Wireless Controller Series 2 and the Xbox Adaptive Controller have built-in batteries and come with a USB-C cable for charging. Other models of Xbox controllers require AA batteries or rechargeable batteries to work.[1]
- You can get an Xbox One Play & Charge Kit that comes with a rechargeable battery and charging cable.[2]
Advertisement -
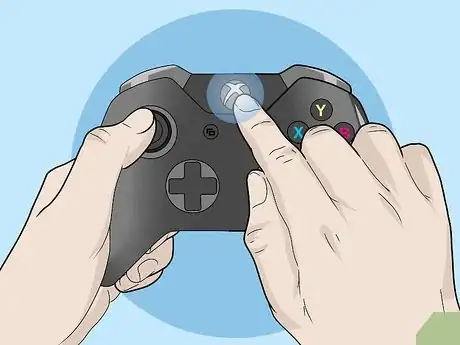
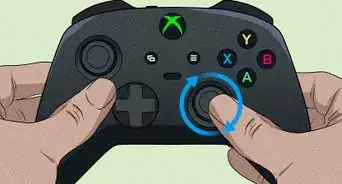
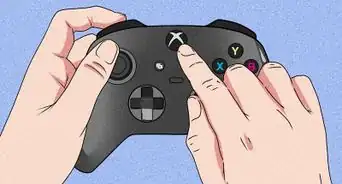
3Press and hold the Xbox button on your controller. This is the large circular button centered in your controller with the Xbox logo.
- The button should flash to indicate that it's unpaired and looking for something to connect with.
- You can release the Xbox button on your controller when the button is flashing.
-
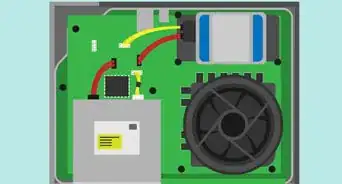
4Press the bind button on the console. If your Xbox One X or Xbox One S is horizontally positioned, you'll see this button on the right side of the unit's face, below the power button.
- If you have an original Xbox One, the bind button is a circular button on the side, around the edge of the unit from the disc tray.
-
5Press and hold the controller's bind/sync button. This is the circular button on top of the controller (not the Xbox button).
- Release this button when you see the Xbox button flash a few more times.
- When the Xbox button remains lit, your controller is connected to your console.[3]
Connecting via a USB to Micro-USB Cable
-
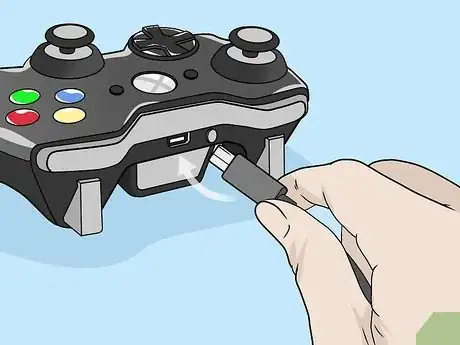
1Connect the micro-USB end of the cable into your remote. If you have an Xbox Elite Wireless Controller Series 2 or an Xbox Adaptive Controller, plug the USB-C end of the cable into your controller.
- The controller does not need batteries if you use a cable.
-
2Connect the other end of the cable to your console. You will either find USB ports on the front or sides of your Xbox console.
-
3Turn on your Xbox. You can either use the Xbox button on the controller or press the power button on the console to turn it on.
- The Xbox button on your controller should light up and remain lit to indicate it is connected to a console.[4]
References
- ↑ https://beta.support.xbox.com/help/hardware-network/controller/using-batteries-in-xbox-wireless-controller
- ↑ https://beta.support.xbox.com/help/hardware-network/accessories/setup-troubleshoot-play-and-charge-kit
- ↑ https://beta.support.xbox.com/help/hardware-network/controller/connect-a-wireless-controller
- ↑ https://youtu.be/2KiZdZW9F9A?t=49
About This Article
1. Turn on your Xbox One console.
2. Insert batteries into your controller.
3. Press and hold the Xbox button on your controller.
4. Press the bind button on the console.
5. Press and hold the controller's bind/sync button.
