This article was co-authored by wikiHow staff writer, Travis Boylls. Travis Boylls is a Technology Writer and Editor for wikiHow. Travis has experience writing technology-related articles, providing software customer service, and in graphic design. He specializes in Windows, macOS, Android, iOS, and Linux platforms. He studied graphic design at Pikes Peak Community College.
This article has been viewed 15,570 times.
Learn more...
Are you receiving a "NAT type unavailable" error on your Xbox One? This can be incredibly frustrating when you're trying to play online multiplayer games. This is a type of network error that happens when your Xbox is unable to generate a proper IP address (called a "Teredo IP address"), which is needed to determine where to send information during a multiplayer game. There are a number of things that can cause this error. This wikiHow article teaches you some things you can do to troubleshoot and fix a "NAT type unavailable" error on Xbox One.
Steps
Basic Troubleshooting
-
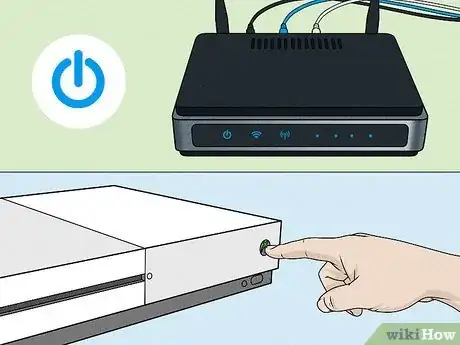
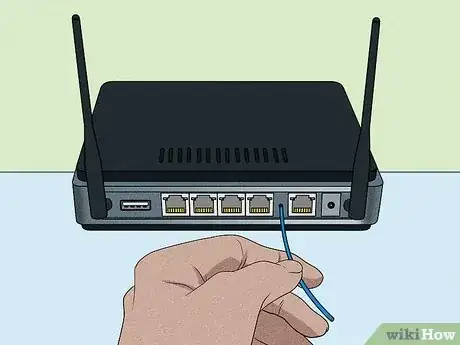
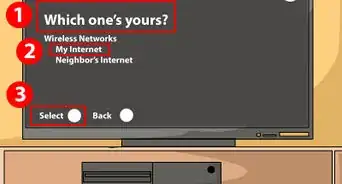
1Restart your router and Xbox One. The first thing you should do when you get any type of NAT error is to power-cycle your Xbox and your router. Start by powering off your Xbox One for a few seconds. Then unplug your router for about 20 seconds and plug it back in. Wait a few minutes for it to boot back up and then power your Xbox One back on. Check to see if you are still getting the error.
-
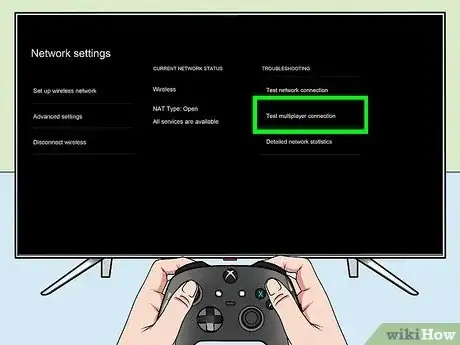
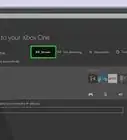
2Check your connection status on your Xbox One. After doing each one of the troubleshooting steps in this guide, you will want to use the following steps to check your connection status on your XBox One. Your NAT type should read as "Open." If it reads "Moderate", "Strict", "Unavailable" or "Can’t get a Teredo IP address", you will need to do some further troubleshooting. Use the following steps to check your connection status on your XBox One:[1]
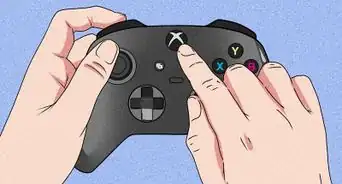
- Press the Xbox button on your controller.
- Select Profile & system.
- Select Settings.
- Select General.
- Select Network settings.
- Select Test multiplayer connection.
Advertisement -
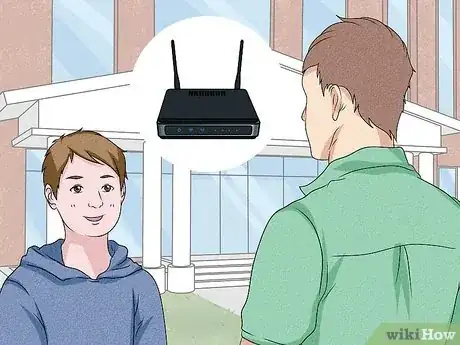
3Check with your network administrator. If you are using a work or school internet connection, the network administrator may have certain internet ports blocked which prevent you from connecting your Xbox One to the internet. Contact your network administrator for assistance. Many colleges and universities have instructions on how to connect your game consoles to the internet on their student web page.[2]
-
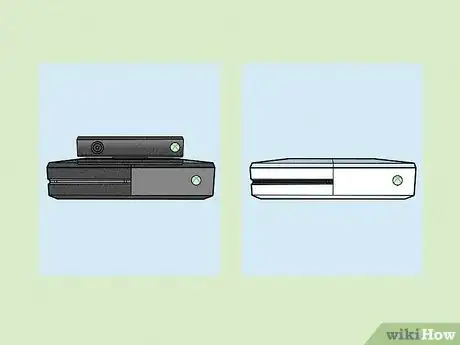
4Check if you are using multiple consoles. Not all routers allow you to use multiple Xbox One consoles on the same network. If you have multiple Xbox One consoles and your router doesn't allow you to use multiple consoles, you will either need to use only one console at a time, or you will need to upgrade to a new router that allows you to connect multiple Xbox One consoles.
-
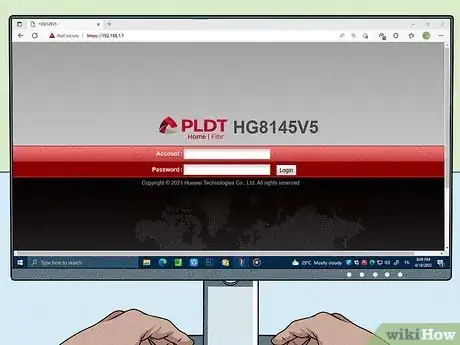
5Log in to your router's user interface. Any further troubleshooting will need to be done on your router's user interface. To open your router's user interface, open a web browser on your computer and enter your router's local IP address in the address bar. Then you will need to enter the administrator's username and password to log in. You can find all this information in your router's user manual or on the manufacturer's web page.
- Common local IP addresses used to open your router's user interface include: "192.168.0.1," "192.168.1.1," "192.168.2.1," "192.168.8", and "10.0.0.1"
- Common administrator usernames and passwords include: "admin," "12345", or simply left blank.
- Your router may have a sticker on the back or bottom that instructions on how to log in to the user interface. This should contain the local IP address as well as the default username and password.
-
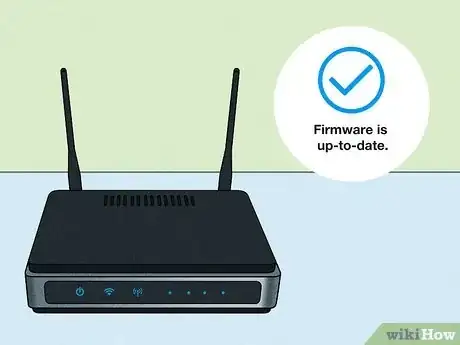
6Make sure your router's firmware is up-to-date. The user interface for each router model is different. Locate the option to update your router and click it. Follow the instructions and allow your router to check for updates and install any new firmware updates that are available. Once it is done, restart your router and log in to your Xbox one and check your connection status.
-
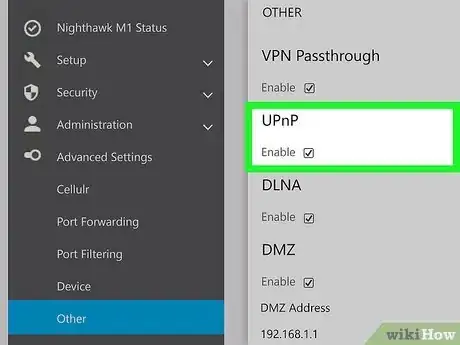
7Enable Universal Plug and Play on your router. If your router's firmware is up-to-date, and you are still experiencing NAT errors on your Xbox One, log in to your router's user interface and check to see if it has a Universal Plug and Play (UPnP) mode. Enable this setting if it is available on your router's user interface. Save your router settings and restart your router. Then check your connection status on your Xbox One.
-
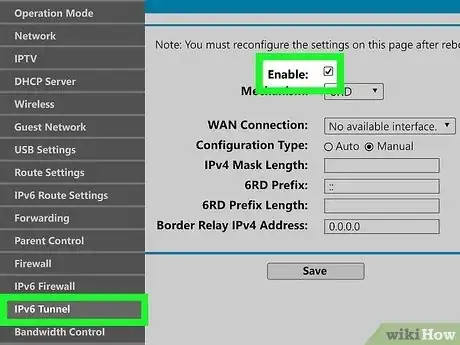
8Enable Teredo and/or IPv6 Tunneling. If you are still having NAT connection problems with your Xbox One, log in to your router's user interface and check for the option to enable Teredo Tunneling, and/or IPv6 Tunneling. Enable this option and save your router's settings. Restart your router and check your connection status on your Xbox One.
Setting Up Port Forwarding
-
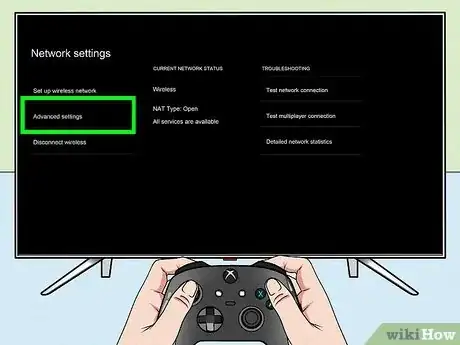
1Set up DHCP reservation on your router (if available). DHCP reservation is not available on all routers. If it is available on your router, you will need to log in to your router's user interface and locate the DHCP reservation settings and add your Xbox One's MAC address. Consult your router's user's manual or manufacturer's web page to learn how to set up DHCP reservation. Use the following steps to find the MAC address on your Xbox One:[3]
- Press the Xbox button on your controller.
- Select Profile & system.
- Select Settings.
- Select Network.
- Select Advanced Settings
- Note your Wireless MAC address.
-
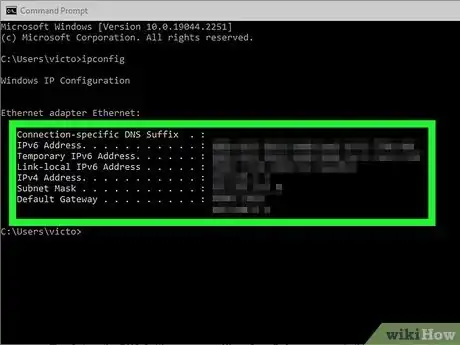
2Get your network information. If your router does not allow you to enable DCHP reservation, you will need to set up port forwarding on your router. Before you can do that, you need to get some information about your network. You need to find out your computer's primary IP address, subnet mask, default gateway, primary and secondary (if available) DNS server. Use the following steps to find that information on your computer:
- Windows: Click the Windows Start menu and type "cmd". Open the Command Prompt. Then type "ipconfig" and press Enter. Locate the information for your wireless network adapter. Write down the information needed.
- Mac: Click the Apple Icon in the menu bar and click System Preferences. Click Network and click the Advanced button. Click the TCP/IP tab and write down the information needed.
-
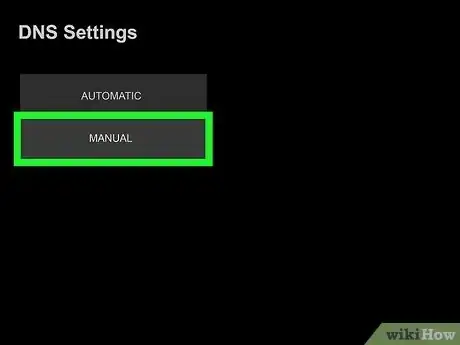
3Set up the DNS Settings on your Xbox One. Before you can do this, you will need to come up with a unique IP address for your Xbox One console (i.e. "192.168.1.14"). This IP address cannot be shared by any other devices on your wireless network. Then use the following steps to set up your DNS settings on your Xbox One console:
- Press the Xbox button on your controller.
- Select Profile & system.
- Select Settings.
- Select Network.
- Select Advanced Settings
- Select IP Settings.
- Select Manual.
- Enter the unique IP address you came up with for your console and press Enter.
- Enter the subnet mask you got from your computer and press Enter.
- Enter the default gateway you got from your computer and press Enter.
- Select DNS Settings.
- Select Manual.
- Enter your primary DNS server and press Enter.
- Enter your secondary DNS server (if there is one), and press Enter.
-
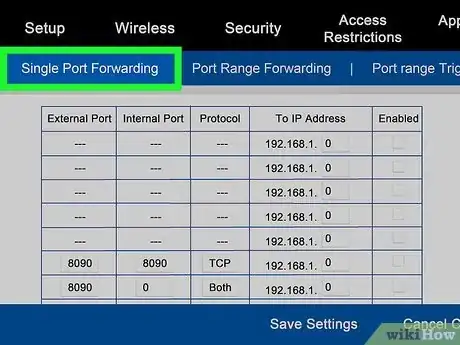
4Add port forwarding to your router. If you are still having NAT connection issues on your Xbox One, there may be a firewall on your router. If you are on a school or work network, you'll need to contact the administrator. If you have your own personal router, you will need to use port forwarding on your router and make sure your Xbox One's MAC address and unique IP address are able to access the following ports:[4]
- Port 88 (UDP)
- Port 3074 (UDP and TCP)
- Port 53 (UDP and TCP)
- Port 80 (TCP
- Port 500 (UDP)
- Port 3544 (UDP)
- Port UDP 4500 (UDP)
Resetting Your Devices
-
1Factory reset your router. If you've tried everything and your Xbox One still is having NAT connection issues, you may need to factory reset your router. This will erase all settings on your router. Check the user's manual or manufacturer's web page to learn how to reset your router to it's default factory settings.
-
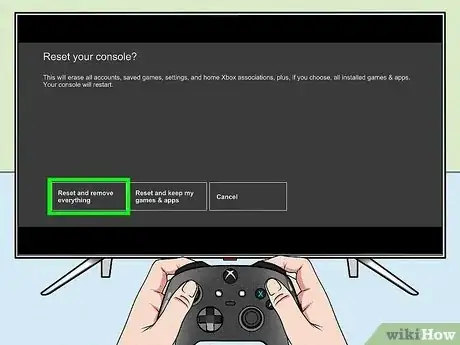
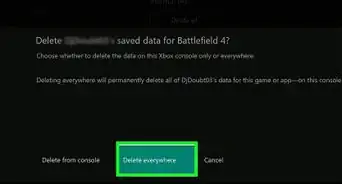
2Factory reset your Xbox One. If all else has failed, the last thing you can try is to factory reset your Xbox One. Make sure your save data is backed up before factory resetting your game console. Use the following steps to factory reset your Xbox One:
- Press the Xbox button on your controller.
- Select Profile & system.
- Select Settings.
- Select System.
- Select Console info
- Select Reset console.
- Select Reset and keep my games and apps. If this option doesn't work, repeat and select Reset and remove everything.
References
- ↑ https://support.xbox.com/en-US/help/hardware-network/connect-network/nat-type-unavailable-in-network-setting
- ↑ https://studenttech.berkeley.edu/faq/how-find-your-mac-address
- ↑ https://studenttech.berkeley.edu/faq/how-find-your-mac-address
- ↑ https://support.xbox.com/en-US/help/Hardware-Network/connect-network/xbox-one-nat-error
