This article was co-authored by wikiHow staff writer, Travis Boylls. Travis Boylls is a Technology Writer and Editor for wikiHow. Travis has experience writing technology-related articles, providing software customer service, and in graphic design. He specializes in Windows, macOS, Android, iOS, and Linux platforms. He studied graphic design at Pikes Peak Community College.
The wikiHow Tech Team also followed the article's instructions and verified that they work.
This article has been viewed 81,446 times.
Learn more...
This wikiHow teaches you how to connect and set up the AirPort Time Capsule to a Mac computer. The Time Capsule is a two-in-one device that acts as a Wi-Fi router and an external hard drive which automatically backs up all the computers on your wireless network.[1] Once you connect Time Capsule to your broadband modem, you can set it up to act as a wireless router for your home network.
Steps
Connecting to the Modem
-
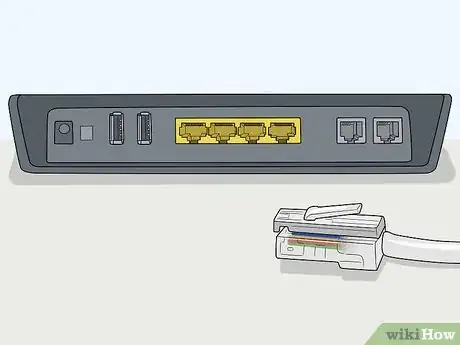
1Connect an Ethernet cable to the Time Capsule. Use the provided Ethernet cable to connect to the WAN port on the Time Capsule.
-
2Connect the Ethernet cable to the broadband modem or router. A typical broadband modem has four WAN ports on the back that you can connect an Ethernet cable too. Connect the other end of the Ethernet cable connected to your Time Capsule to the broadband modem.[2]Advertisement
-
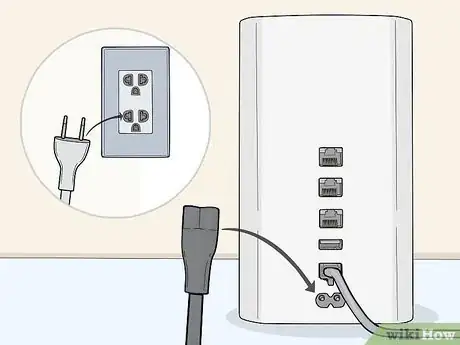
3Plug the Time Capsule into a power outlet. Use the AC adapter to plug the Time Capsule into an open power outlet on the wall. Make sure you have a free outlet near your broadband modem to connect your Time Capsule.
- It's recommended that you plug the Time Capsule (and all your valued electronics) into a surge protector to prevent any damage in the event of an electrical surge.
Setting Up the Wireless Network
-
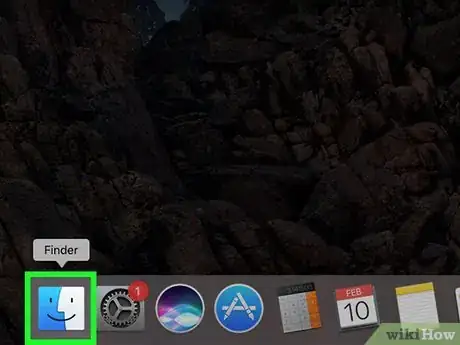
1
-
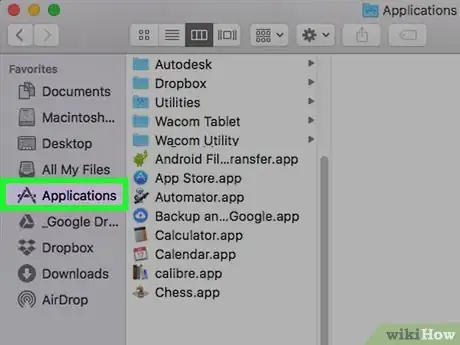
2Click Applications. It's in the sidebar to the left in the Finder. This will display all the applications installed on your Mac.
-
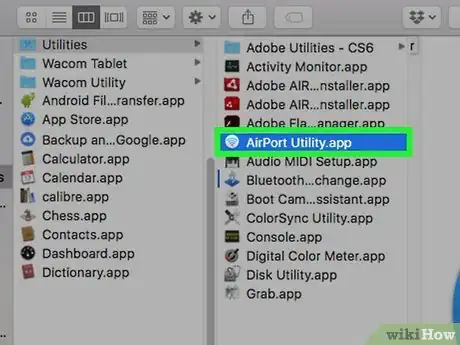
3Double-click the Utilities folder. It's the blue folder with the icon of a wrench and screwdriver on it at the bottom of the page. This is where all your Mac's system applications are stored.
-
4Double-click AirPort Utility. It's the app with a blue Wi-Fi symbol on a white background. It's located near the top of the page when displayed alphabetically.
-
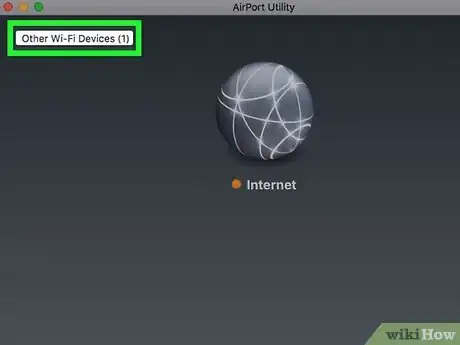
5Click Other wireless devices. It's in the upper-left corner of the AirPort Utility app.
-
6Click AirPort Time Capsule. It's in the menu for Other wireless devices in AirPort Time Capsule. You may see six letters and numbers after "AirPort Time Capsule" like "fea88c" or something similar.
-
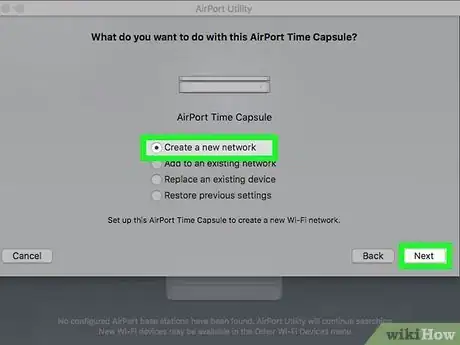
7Select Create New Network and click Next. You will see a list of options when you click on the Time Capsule in AirPort Utility. Click the radial button next to "Create New Network" at the top of the list of options. Click "Next" when you are done.
-
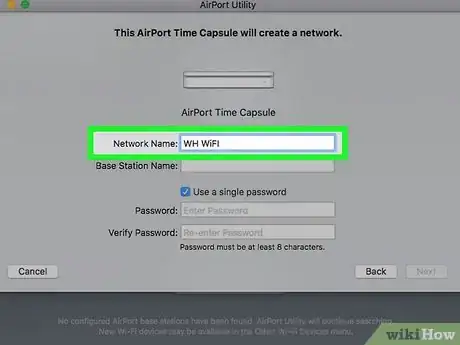
8Name the network. Click the text box next to "Network Name" and type a name for the network. You can name the network anything you want. You can name it your last name, or something clever.
-
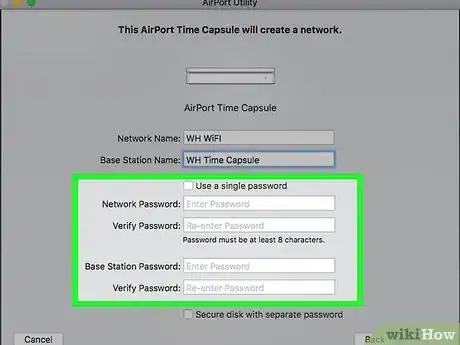
9Name the base station. Click the box next to "Base Station Name" and type a name. The base station is the name for the Time Capsule. Having a separate name for the Time Capsule is useful if you ever get another Time Capsule to expand your network.
-
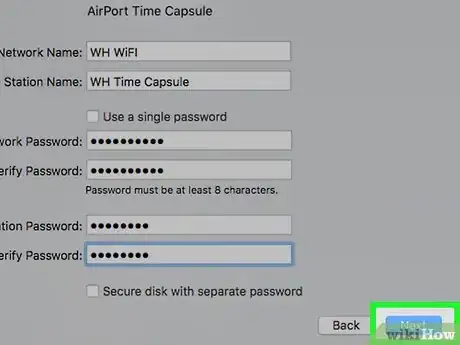
10Create a password. Use the text boxes next to "Network Password" and "Verify Password" to create a password. Make sure the password is identical for both boxes.
- To create a separate password for the Time Capsule, uncheck "Use a single password" This will give you two more boxes to create a password for the individual Time Capsule. This is useful if you have more than one Time Capsule and you want to create a password for a guest house or guest room.
-
11Click Next. It's in the lower-right corner of the AirPort Utility app.
-
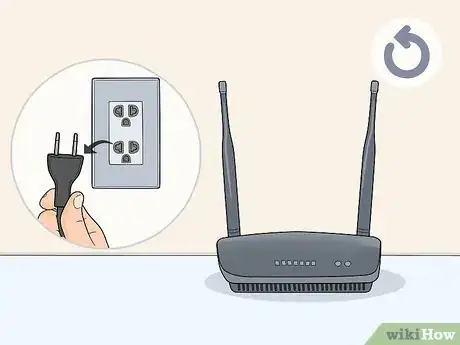
12Restart your modem. Now you will be asked to reboot your modem. Unplug it for about a minute and plug it back in and wait for it to fully restart.
-
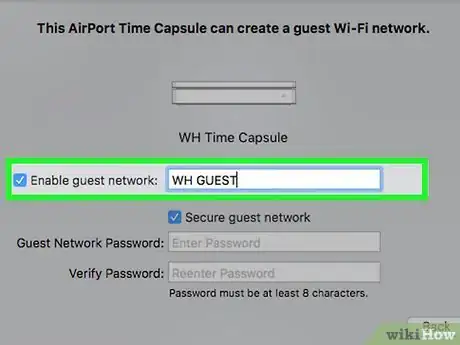
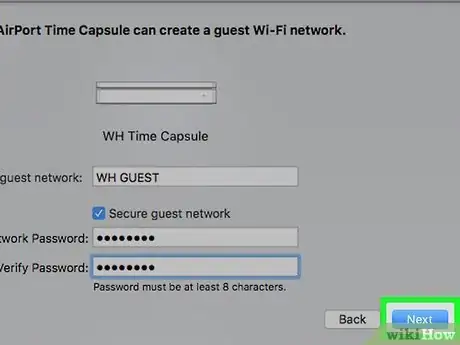
13Create a guest network (optional). If you wish to enable a guest network, check the checkbox next to "Enable guest network" and then type a name for the guest network. This allows guests to be able to access your network without being able to access all the computers on the network. If you don't want to have a guest network, don't click the checkbox.
-
14Click Next. It's in the lower-right corner of the AirPort Utility app.
-
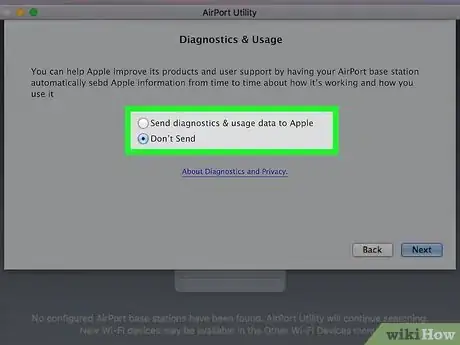
15Enable diagnostics & usage data to be sent to Apple (optional). If you want your Time Capsule to send diagnostics and usage data to Apple, click the radial button next to "Send diagnostics & usage data to Apple". All data sent to Apple is anonymous. If you don't wish to send diagnostics and usage data to Apple, click the radial button next to "Don't Send".
-
16Click Next. It's in the lower-right corner of the AirPort Utility app. AirPort Utility will now configure your network.
-
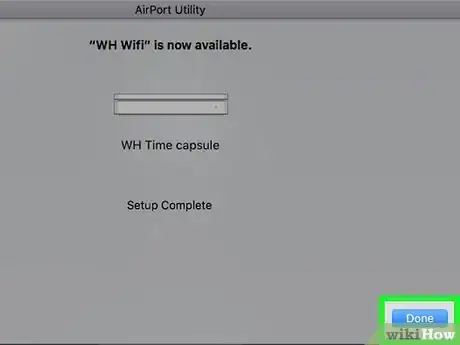
17Click Done. You network setup is now complete.
Accessing the Data
-
1
-
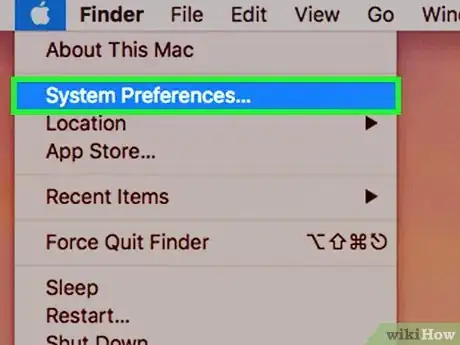
2Click System Preferences…. This is where you access your system preferences applications.
-
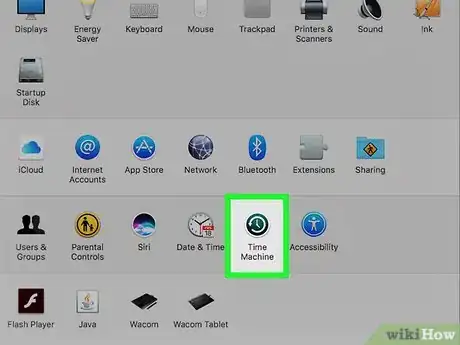
3Open Time Machine. Time Machine is the app that has a green icon that resembles a clock.
-
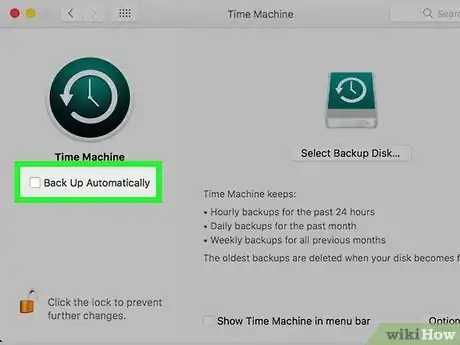
4Check the checkbox for "Back Up Automatically". Click the checkbox next to "Back Up Automatically". This will ensure that your computer is backed up automatically so that you don't forget to backup your system.
-
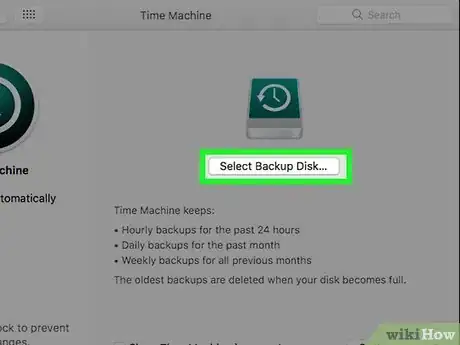
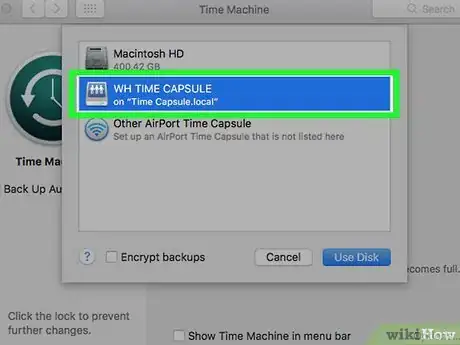
5Click Select Backup Disk. You will see a popup menu with all the Time Capsules connected to your network.
-
6Select the Time Capsule. This will select the Time Capsule as your backup disk, and allow access the data portion of your Time Capsule.
Community Q&A
-
QuestionWhy does an Apple Capsule have an orange light?
 Peter MissickCommunity AnswerTo find out why your base station's status LED is flashing amber: Open AirPort Utility, click on the AirPort base station and look for a status setting in the small window that appears. Note: Status only appears if there is an issue or notification. Click on the small amber dot there and another window will open to explain what the "issue" might be.
 -
QuestionDo you need to attach it to a modem?
 Peter MissickCommunity AnswerThe Time Capsule needs to connect to your modem/router using a wired Ethernet cable connection, assuming that you want to have access to the Internet using the Time Capsule.
 -
QuestionWhy is the connection to my time capsule so slow?
 Jonathannnnn YaCommunity AnswerCancel the Time Machine backup, do something else (make sure the device is not locked) and then try backing it up again. It should work better.












-Step-6.webp)


