This article was co-authored by wikiHow staff writer, Nicole Levine, MFA. Nicole Levine is a Technology Writer and Editor for wikiHow. She has more than 20 years of experience creating technical documentation and leading support teams at major web hosting and software companies. Nicole also holds an MFA in Creative Writing from Portland State University and teaches composition, fiction-writing, and zine-making at various institutions.
This article has been viewed 101,667 times.
Learn more...
Microsoft Word's Quick Parts allows you to store pieces of content that you can reuse in any document you open in Word. If you'd like to save a chunk of text and/or images that you can easily insert into any document, such as a disclaimer, privacy notice, or blurb, just add it to your AutoText Gallery. This wikiHow teaches you how to add content to your AutoText Gallery, as well as how to insert it into other documents.
Steps
Adding AutoText to the Gallery
-
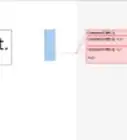
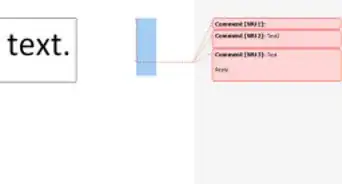
1Highlight the content that you want to make an AutoText entry. This can be text-only or text and photos.
- If you're using Microsoft Word 2010 or earlier, you'll need to add the AutoText Gallery to the Quick Access Toolbar. Here's how:
- Click the Office button in the upper left corner of the Word window and select Word Options.
- Click Customize.
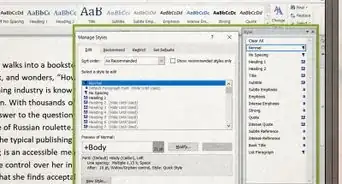
- Select All Commands in the left dropdown selection box.
- Scroll down to the "AutoText entry" and double-click to move it to the right pane.
- Click OK to close the options window.
- If you're using Microsoft Word 2010 or earlier, you'll need to add the AutoText Gallery to the Quick Access Toolbar. Here's how:
-
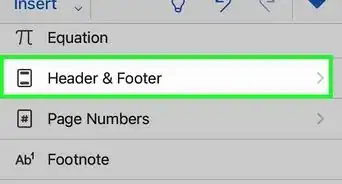
2Click the Insert tab. It's at the top of Word.Advertisement
-
3Click the Quick Parts menu. It's in the toolbar that runs along the top of the screen. A menu will expand.
-
4Click the AutoText menu. This opens your AutoText Gallery, which is where you'll find your AutoText in the future.[1]
-
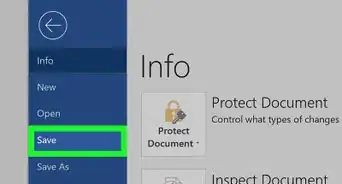
5Click Save Selection to AutoText Gallery. It's at the bottom of the list. This opens a form.
-
6Fill out your AutoText preferences and click OK. You can give the AutoText snippet a name, description, and other information to make it easy to identify when inserting text. This saves the selected snippet to your AutoText Gallery for later use.


Inserting AutoText into a Document
-
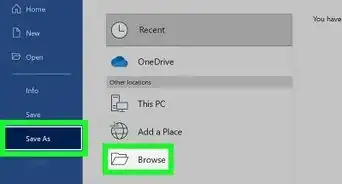
1Open the document in which you want to insert AutoText. It can be any document; not just the one you used to create the AutoText.
-
2Click the location where you want to insert AutoText. This places the cursor at the location.
-
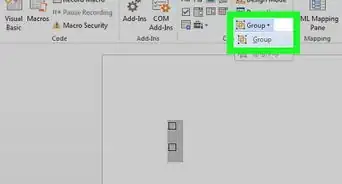
3Click the Insert tab. It's at the top of Word.
-
4Click Quick Parts. It's in the toolbar that runs along the top of the screen. A menu will expand.
-
5Select AutoText on the menu. This opens the AutoText Gallery.
-
6Click the AutoText you'd like to insert. This inserts the AutoText selection where you placed the cursor.


Community Q&A
-
QuestionHow do I remove an autotext?
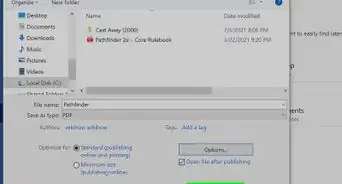
 Community AnswerClick the Insert tab of the ribbon. Click the Quick Parts tool in the Text group. Choose Building Blocks Organizer. Select the name of your autotext entry from the name list. Click on the Delete button, and your entry vanishes after you confirm you want to delete it.


-Step-4Bullet1.webp)


References
About This Article

1. Highlight some text and/or photos.
2. Click the Insert tab.
3. Click Quick Parts.
4. Click AutoText.
5. Click Save Selection to AutoText Gallery.
6. Fill out the form and click OK.