X
wikiHow is a “wiki,” similar to Wikipedia, which means that many of our articles are co-written by multiple authors. To create this article, volunteer authors worked to edit and improve it over time.
This article has been viewed 124,304 times.
Learn more...
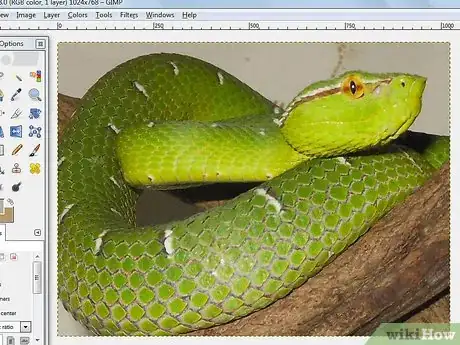
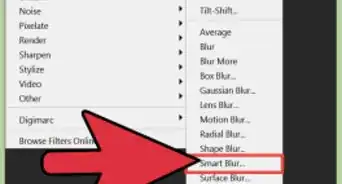
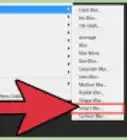
Sometimes, you have a great shot...well, part of it is great...but the background kinda...bites. There are different things that you can do...you can blur the background or remove it entirely. That can also be done a variety of ways. This article will show you those ways using Gimp.
Steps
-
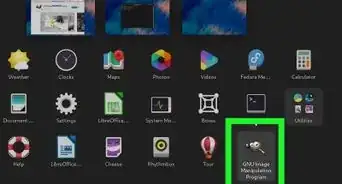
1Select your image. You will usually choose the type of 'background removal' after you pick the image.
-
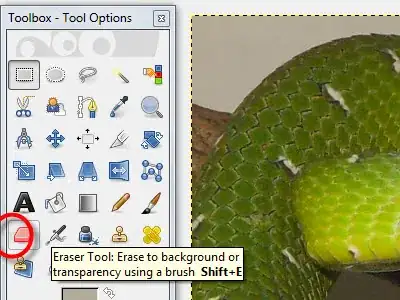
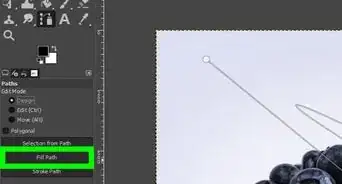
2Decide whether you will use the eraser tool or by creating a path around your image and removing it that way.Advertisement
-
3
-
4
-
5
-
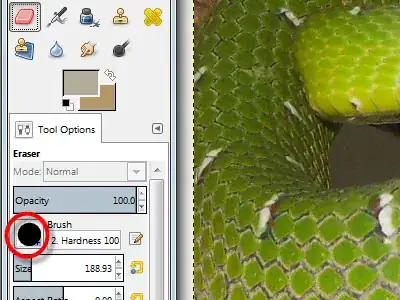
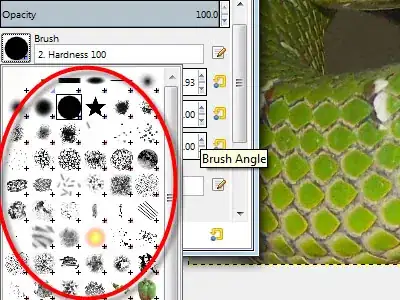
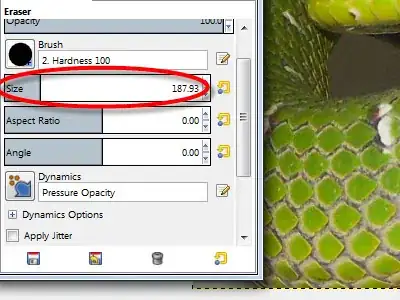
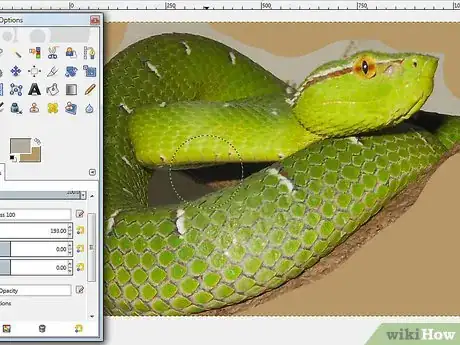
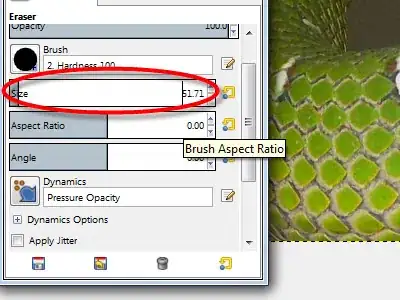
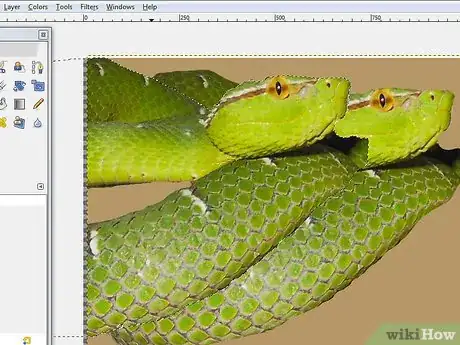
6Remove the majority of the background. This one was used with a brush at the scale of 10.
-
7
-
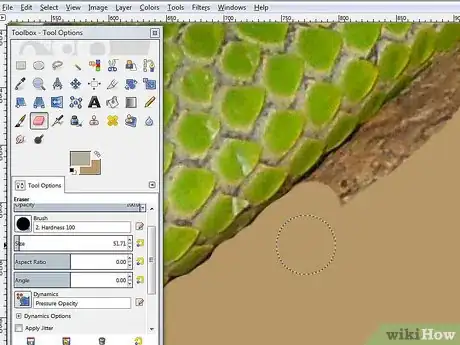
8Start zooming into your photo. As your brush gets smaller and your residual background gets less, you will need to zoom into your photo.
-
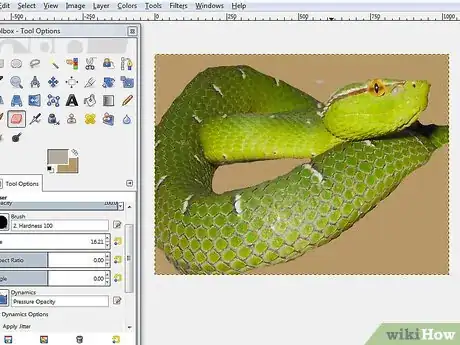
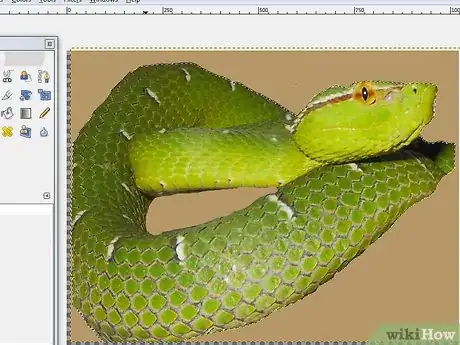
9Zoom out. It may appear that you are done, but there are probably some minuscule pieces of background that you have missed.
-
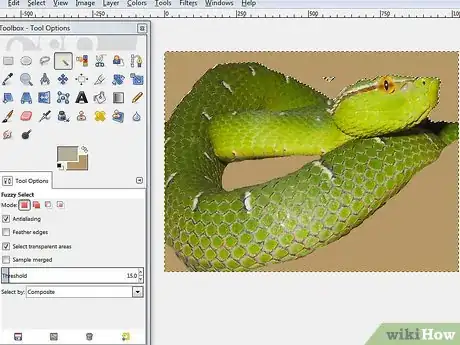
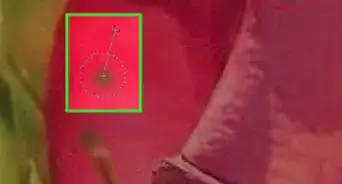
10Look closely at the small dark spots. Those were 'discovered' by clicking on the 'fuzzy select' (magic wand) tool and click on the white area.
-
11
-
12
-
13
-
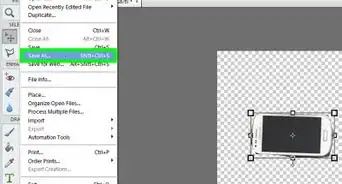
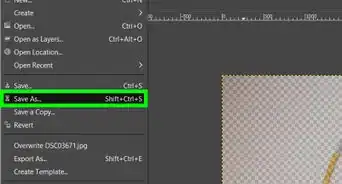
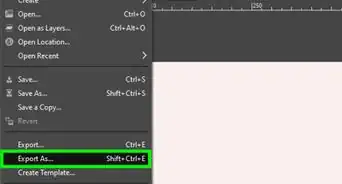
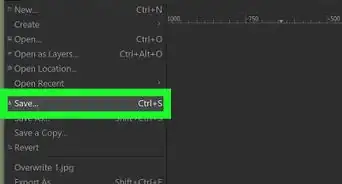
14Paste as a new image. To copy the image, click on CTRL C and then SHIFT CTRL V. This will paste your picture as a new image with a transparent background.
-
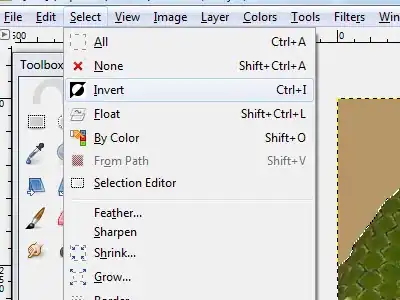
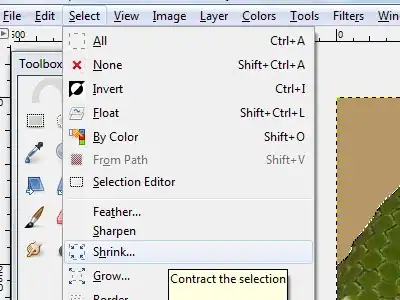
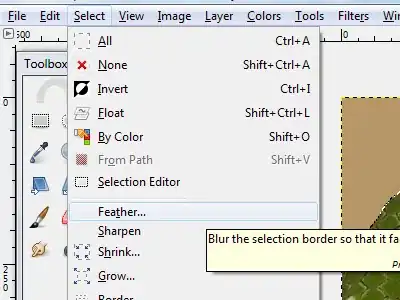
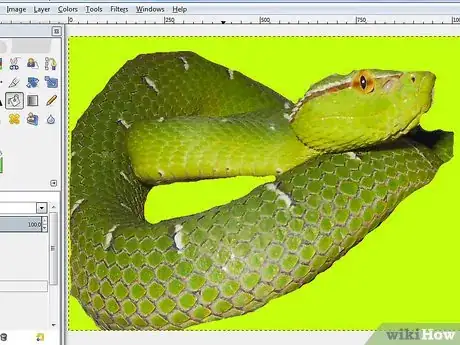
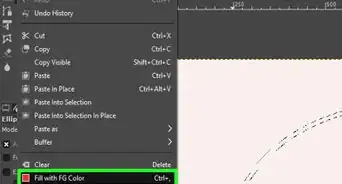
15Prepare to add the new background. Again select where the background was. Click on Select and grow. This will help to be sure there are no blank spots.
-
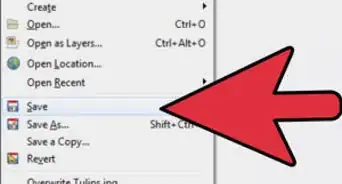
16The best non destructible way of background removal of images is by using layer masks.
Advertisement
About This Article
Advertisement
-Step-29.webp)
-Step-9-Version-2.webp)


-Step-29.webp)

-Step-9-Version-2.webp)


