This article was co-authored by wikiHow staff writer, Jack Lloyd. Jack Lloyd is a Technology Writer and Editor for wikiHow. He has over two years of experience writing and editing technology-related articles. He is technology enthusiast and an English teacher.
The wikiHow Tech Team also followed the article's instructions and verified that they work.
This article has been viewed 532,322 times.
Learn more...
This wikiHow teaches you how to unlock the volume limit on any non-touch iPod such as the iPod Classic, iPod Nano, or iPod Shuffle. Keep in mind that some iPods, such as the ones produced in Europe, may have a manufacturer-imposed limit on the output volume; if so, you won't be able to unlock your iPod's volume limit.
Steps
Setting the Maximum Volume on Most iPods
-
1Pause the current song if necessary. If you're currently listening to a song, press the Pause button to pause it.
-
2Press Menu if needed. If the main menu doesn't open when you pause the song, you'll press the Menu button to open it.Advertisement
-
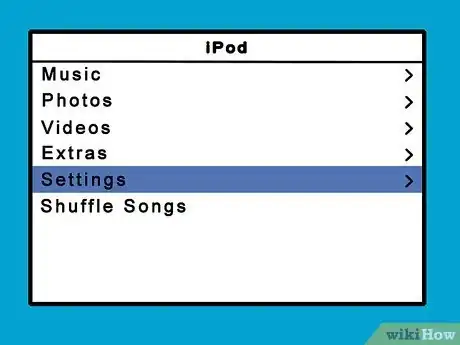
3Select Settings. Use the iPod's wheel to scroll down to highlight the Settings option, then press the center button to open it.
-
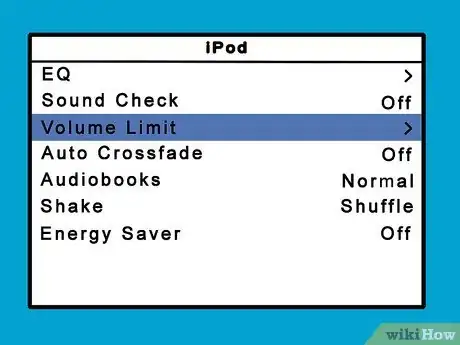
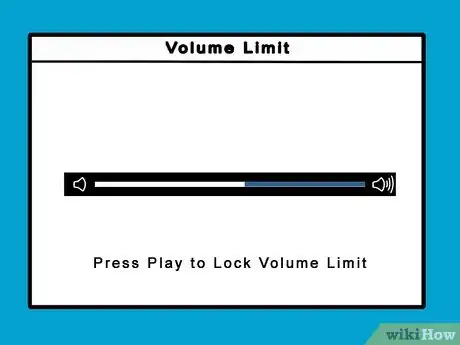
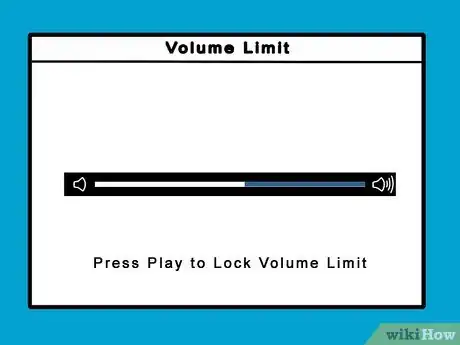
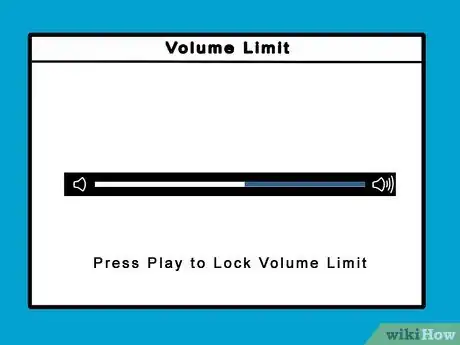
4Select Volume Limit. Scroll down until this option is highlighted, then press the center button.
- Depending on your iPod, you may first have to select Playback.
-
5Enter your iPod's volume limit passcode. If you previously set a limit on your iPod's volume and implemented a passcode for it, you'll use your iPod's wheel to select a number and press the center wheel to lock in the number for each field in the passcode entry area.
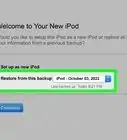
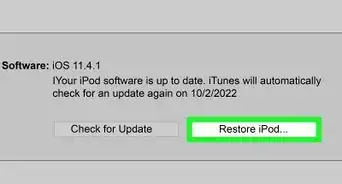
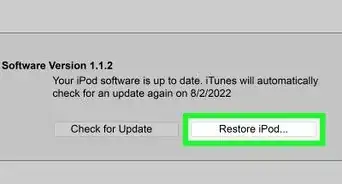
- If you don't know your iPod's volume limit passcode, you'll need to remove the volume limit using a Windows computer or a Mac. You can also restore your iPod to remove the passcode, though this will remove your iPod's contents.
-
6Raise the iPod's volume to the maximum setting. Once you've unlocked the Volume Limit menu, raise the volume as high as possible by scrolling with the wheel. Doing this effectively removes any volume limitations.[1]
- While your iPod won't be able to exceed the maximum volume as dictated by this menu, the maximum volume is significantly louder than the default volume.
-
7Save your volume changes. Press the center button to do so.
Setting the Maximum Volume on an iPod Shuffle
-
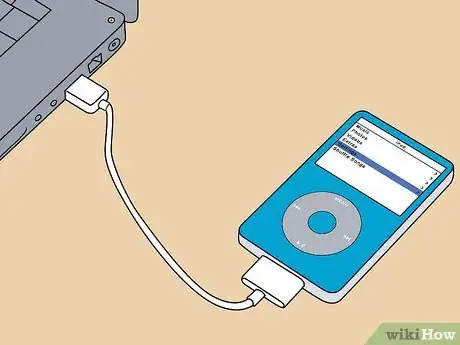
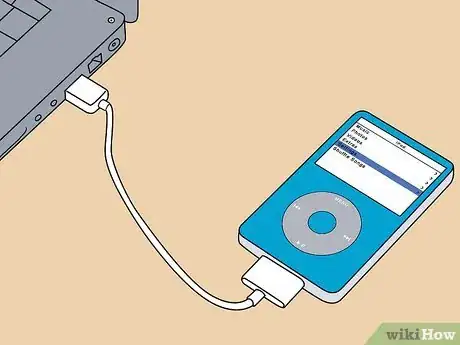
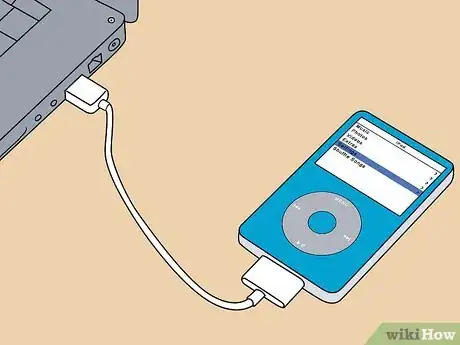
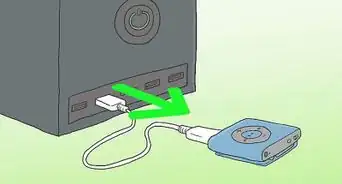
1Attach your iPod Shuffle to a computer. Plug one end of the iPod's charging cable to one of your computer's USB ports, then plug the other end of the cable into your iPod.
- If you have a Mac, you may need to get a USB 3.0 to USB-C adapter before you can plug your iPod's cable into your Mac.
-
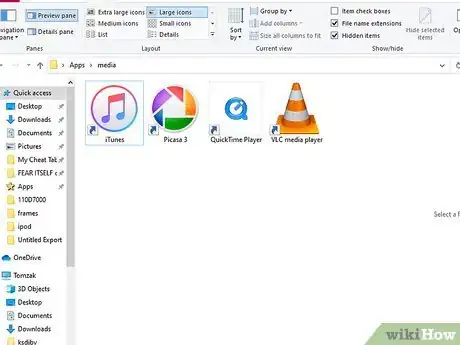
2Open iTunes. Click or double-click the iTunes app icon, which resembles a multicolored musical note on a white background.
-
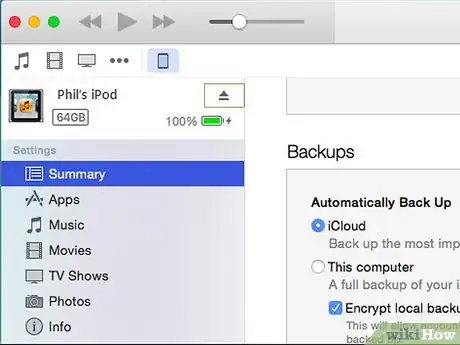
3Click the iPod Shuffle's icon. You should see it appear in the upper-left side of the iTunes window. Doing so opens the iPod Shuffle's page.
-
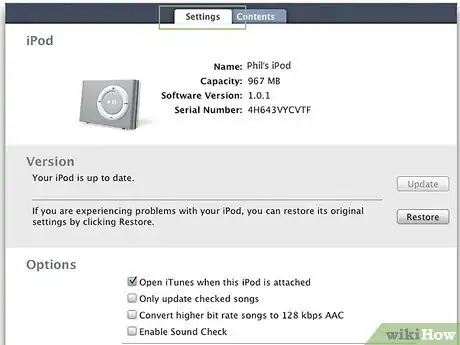
4Click Settings. It's in the middle of the page.
-
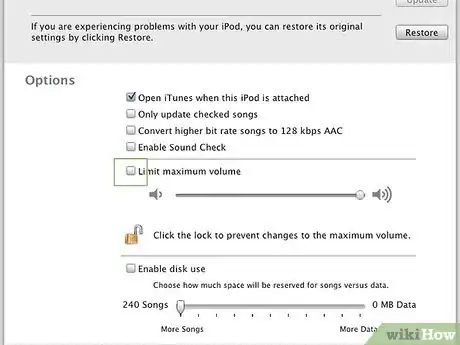
5Uncheck the "Limit maximum volume" box. Doing so will remove any volume lock that was previously on your iPod Shuffle.
- If this box isn't checked, your iPod Shuffle isn't volume-locked.
-
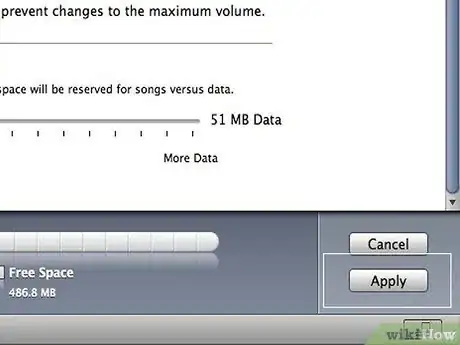
6Click Apply. It's in the bottom-right corner of the iTunes window. Doing so saves your changes.
Removing the Volume Limit Passcode on Windows
-
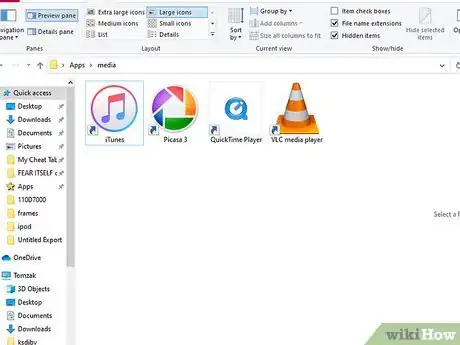
1Open iTunes. Click or double-click the iTunes app icon, which resembles a multicolored musical note on a white background.
-
2Connect your iPod to your computer. Attach one end of the iPod's charging cable to one of your computer's USB ports, then plug the other end of the cable into your iPod.
-
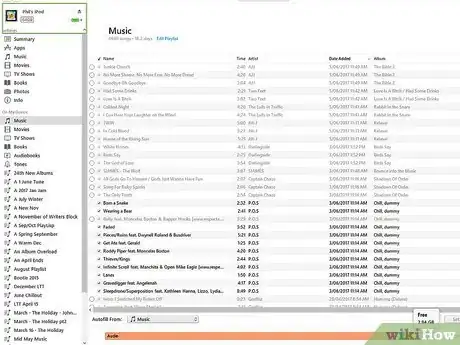
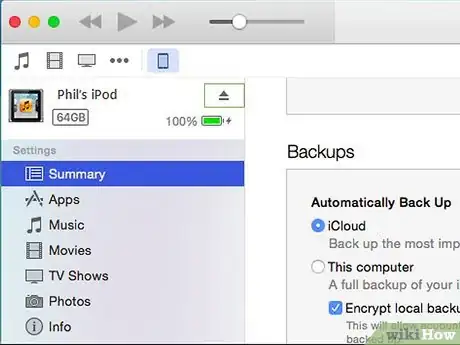
3Wait for the iPod to show up in iTunes. Once you see the iPod's logo appear in the upper-left side of the iTunes window, you can proceed.
- This is important because your iPod's hidden files and folders won't show up in File Explorer until your iPod is registered by iTunes.
-
4
-
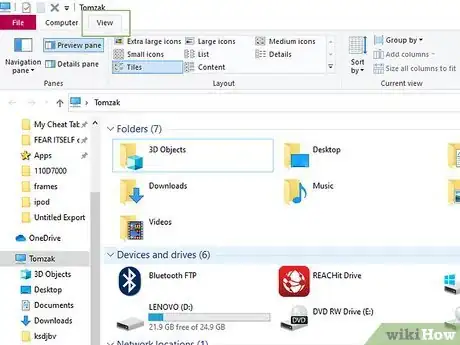
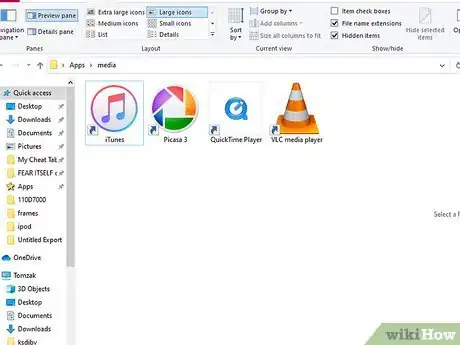
5Click View. It's a tab at the top of the File Explorer. A toolbar will appear at the top of the File Explorer window.
-
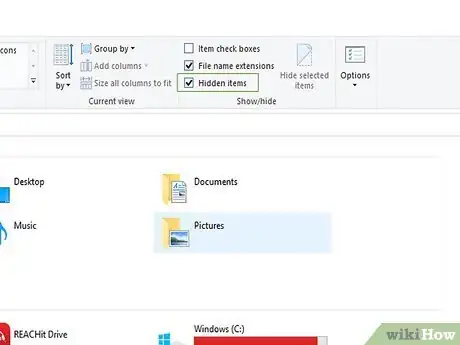
6Check the "Hidden items" box. This option is in the "Show/hide" section of the toolbar. Checking it ensures that you'll be able to see your iPod's hidden files and folders.
-
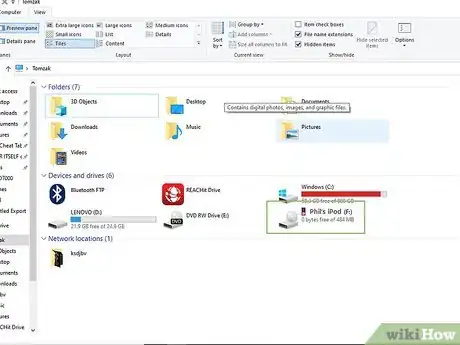
7Open your iPod's folder. Click your iPod's name in the lower-left side of the File Explorer window. You may first have to scroll down on the left-hand column.
- If you don't see the iPod's name here, click the This PC tab at the top of the left-hand column, then double-click the iPod's name under the "Devices and drives" heading.
-
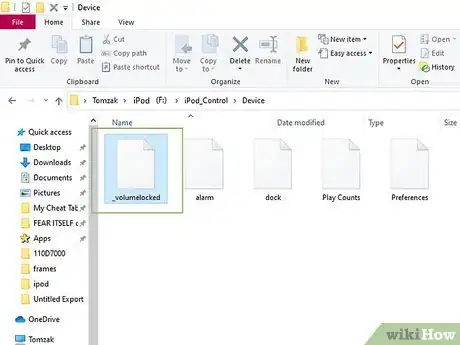
8Find the "_volumelocked" file. You'll usually find it by double-clicking the "iPod_control" folder and then double-clicking the "Devices" folder.
- You can also try typing volumelocked or _volumelocked into the search bar that's in the upper-right side of the folder.
-
9Delete the "_volumelocked" file. Click once the "_volumelocked" file, then press the Delete key on your keyboard. The "_volumelocked" file will be deleted from your iPod.
-
10Disconnect your iPod from your computer. Right-click the iPod's name in File Explorer and click Eject, then remove the iPod from its cable.
-
11Restart your iPod. Turn off your iPod, wait for one minute, and then turn back on the iPod to accomplish this.
-
12Change your iPod's volume limit. Now that you've removed the lock from your iPod's Volume Limit menu, you can raise the volume by doing the following:
- Open the main menu.
- Select Settings.
- Select Volume Limit (you may first have to select Playback here).
- Raise the volume limit to the maximum setting.
- Press the center button.
Removing the Volume Limit Passcode on Mac
-
1Plug your iPod into your Mac. Attach one end of the iPod's charging cable to one of your Mac's USB ports, then plug the other end of the cable into your iPod.
- Depending on your Mac, you may need to get a USB 3.0 to USB-C adapter before you can plug your iPod's cable into your Mac.
-
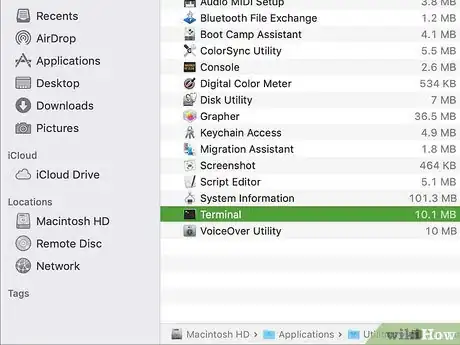
2
-
3
-
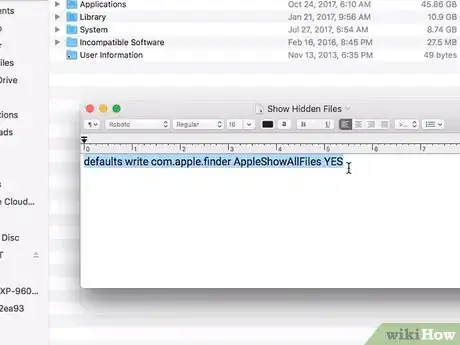
4Enter the "show hidden folders" command. Type defaults write com.apple.finder AppleShowAllFiles TRUE into Terminal and press ⏎ Return, then type in killall Finder and press ⏎ Return.
-
5
-
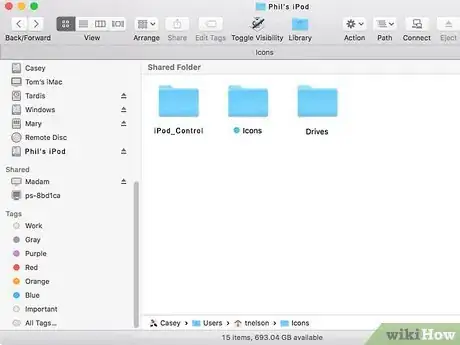
6Open your iPod's folder. Click your iPod's name in the lower-left side of the Finder window to do so.
-
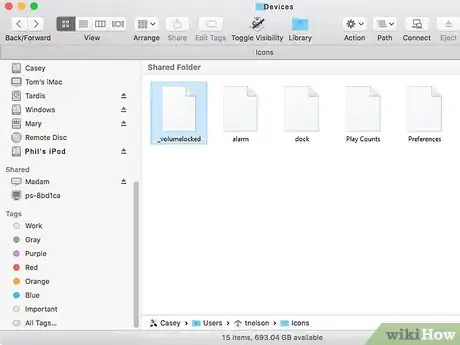
7Find the "_volumelocked" file. In most cases, you'll find and double-click the "iPod_control" folder and then double-click the "Device" folder that's inside of it to get to the "_volumelocked" file's location.
- You can also try typing volumelocked or _volumelocked into the search bar that's at the top of Finder.
-
8Delete the "_volumelocked" file. Drag the "_volumelocked" file to the Trash, then release it there.
-
9
-
10Force-restart your iPod. Turn off your iPod, wait for one minute, and then turn back on the iPod to accomplish this.
-
11Change your iPod's volume limit. Now that you've removed the lock from your iPod's Volume Limit menu, you can raise the volume by doing the following:
- Open the main menu.
- Select Settings.
- Select Volume Limit (you may first have to select Playback here).
- Raise the volume limit to the maximum setting.
- Press the center button.
Adjusting Song Volume
-
1Understand how this method works. If you can't adjust your iPod's volume output using the above methods, you can still increase your songs' overall volume by adjusting their volume boost from within iTunes.
- Listening to songs at full volume boost can cause distortion. It can also damage your hearing, so be careful when using this method.
-
2Open iTunes. Click or double-click the iTunes app icon, which resembles a multicolored musical note on a white background.
-
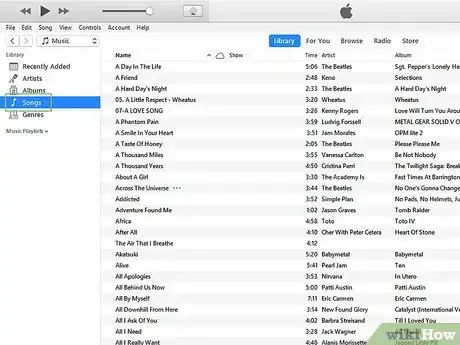
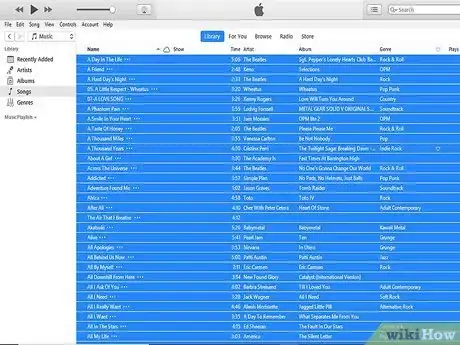
3Click Songs. It's a category on the left side of the iTunes window. Doing so brings up a list of all the songs in your iTunes library.
-
4Select your entire music library. Click any song, then press either Ctrl+A (Windows) or ⌘ Command+A (Mac).
-
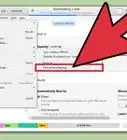
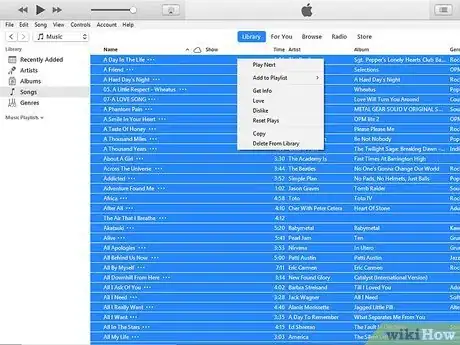
5Right-click a song. This prompts a drop-down menu.
- On a Mac, click the File menu item in the top-left corner of the screen.
-
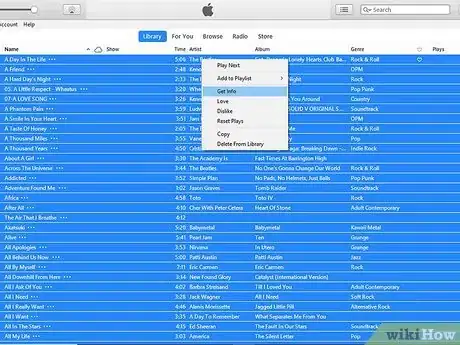
6Click Get Info. It's in the right-click menu (Windows) or the File drop-down menu (Mac). A pop-up window will appear.
-
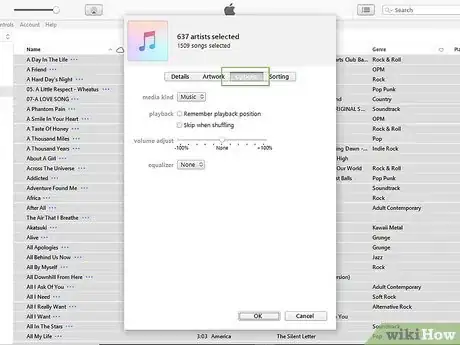
7Click the Options tab. You'll find this option at the top of the pop-up window.
-
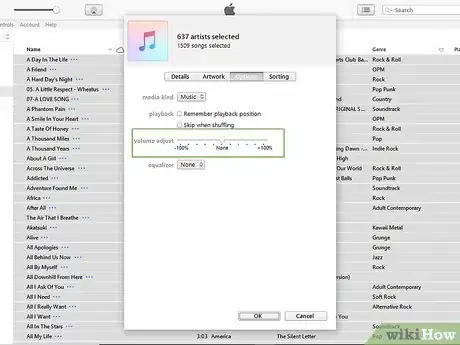
8Adjust the volume. Click and drag the "volume adjust" slider to the right to increase the song volume.
-
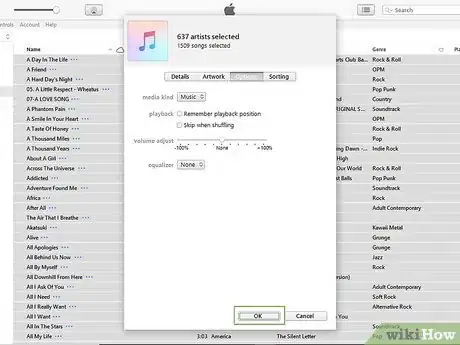
9Click OK. It's at the bottom of the window.
-
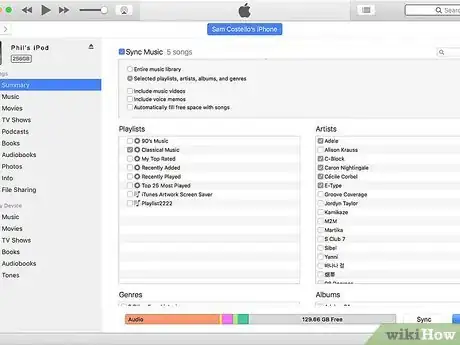
10Add the songs to your iPod. Now that your songs have been adjusted, you can sync the songs to your iPod by connecting your iPod to the computer and clicking Sync when it appears at the bottom of the window.
Warnings
- Listening to music on full volume will eventually harm your hearing.⧼thumbs_response⧽
- Deleting from your iPod any files other than the one specified in this article may prevent your iPod from working.⧼thumbs_response⧽





















-Step-29.webp)


