This article was co-authored by Ricardo Mitchell and by wikiHow staff writer, Eric McClure. Ricardo Mitchell is the CEO of CN Coterie, a fully licensed and insured Lead EPA (Environmental Protection Agency) Certified construction company located in Manhattan, New York. CN Coterie specializes in full home renovation, electrical, plumbing, carpentry, cabinetry, furniture restoration, OATH/ECB (Office of Administrative Trials and Hearings/Environmental Control Board) violations removal, and DOB (Department of Buildings) violations removal. Ricardo has over 10 years of electrical and construction experience and his partners have over 30 years of relevant experience.
There are 9 references cited in this article, which can be found at the bottom of the page.
This article has been viewed 336,018 times.
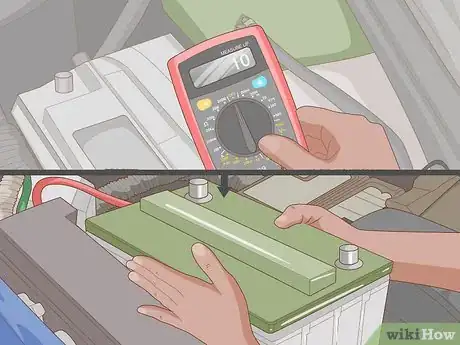
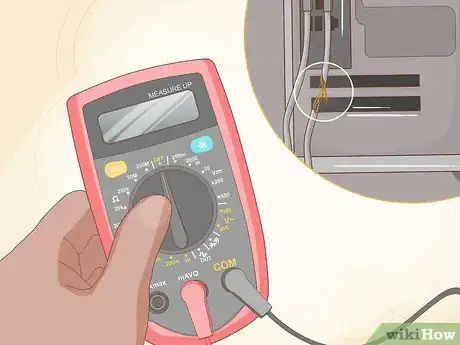
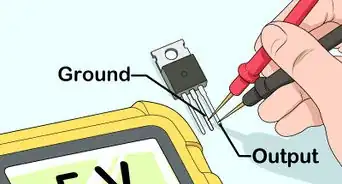
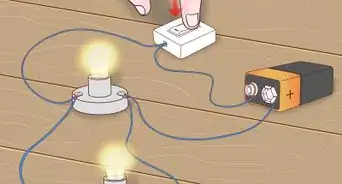
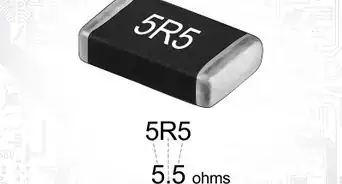
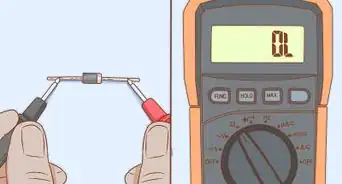
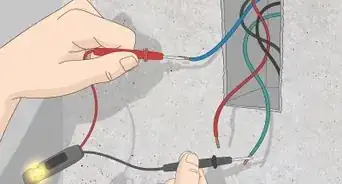
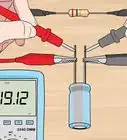
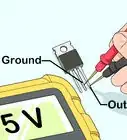
To test continuity, all you have to do is stick 2 terminals on your multimeter against 2 ends of an electrical current. Testing continuity in a wire, current, or fuse is a good idea if you’re installing or repairing any electrical components in an outlet, fuse box, car, or appliance. Continuity refers to how much resistance there is in a closed electrical current. This is an important element to check with a multimeter because poor continuity can cause fires, shocks, or damage to your electrical devices. Always turn off, unplug, or flip the breaker on the signal that you’re testing to prevent shocks or fires.
Steps
Setting up Your Multimeter
-
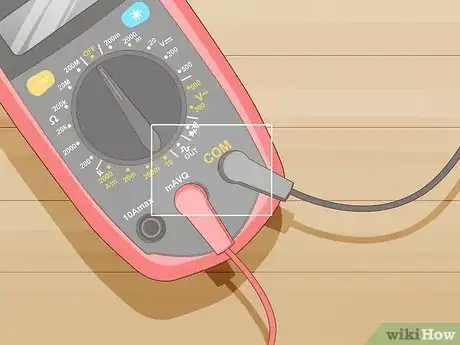
1Connect the black and red terminals with the corresponding slots. You have multiple holes for terminals on the front of the multimeter. Plug the black cord into the slot labeled “COM” and the red cord into the slot labeled “mAVΩ” or “AVΩ.” COM is short for “common,” and is the ground, while mAVΩ stands for “measure amperage, voltage, ohms,” and is used to measure current. Ignore the port labeled “10A,” which is used for measuring really high currents. Turn the multimeter on.[1]
- The black terminal is the ground, and the red probe is for the active current. This matters more if you’re checking voltage, and there isn’t any special difference between the cords themselves though.
- The terminals are the exposed metal pieces at the end of the black and red cords. They measure electrical currents.
-
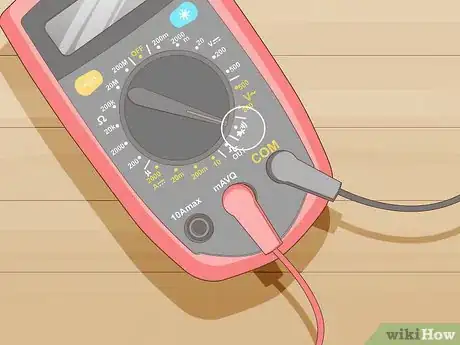
2Turn the dial on the multimeter to the continuity setting. The symbol for continuity may be different depending on your brand and model. Generally, the continuity mode will have a diode symbol, which is a triangle with a line on the right side. It may also have a symbol that looks like soundwaves.[2]
- If your multimeter doesn’t have a dedicated continuity setting, you can still perform a continuity test by turning the dial to the lowest number in resistance mode. Resistance is measured in ohms, and its symbol is Ω.
- When in doubt, consult your multimeter’s manual to figure out how to set it to continuity mode.
Advertisement -
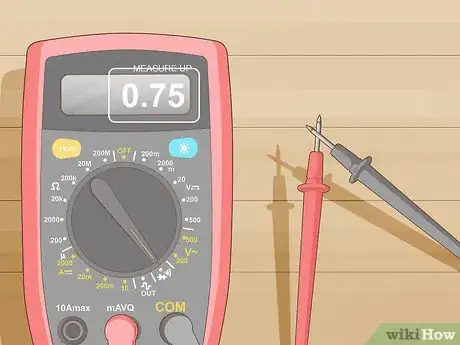
3Touch the metal parts of your terminals together to make sure it works. To test the continuity setting’s calibration, touch the 2 terminals together and hold them in place. If the number on the multimeter is less than 1, then your multimeter is functioning correctly. If the reading is a flat 0, that’s fine too.[3]
- Most multimeters will also beep if the signal is good to indicate that the continuity setting is working properly.
- If there is no beep or you get a high reading, check the dial to make sure you’re on the right setting. Then, check the ports that your terminals are plugged in to. Finally, try replacing your terminals before consulting your manual to find out how you can reset the multimeter.
- If the screen displays a 1 all the way on the left-side of the screen and not where it normally displays readings, it usually means that the signal is broken. This is a sign that your terminals are bad.
- It’s okay if the number fluctuates a little.
Testing an Electrical Signal
-
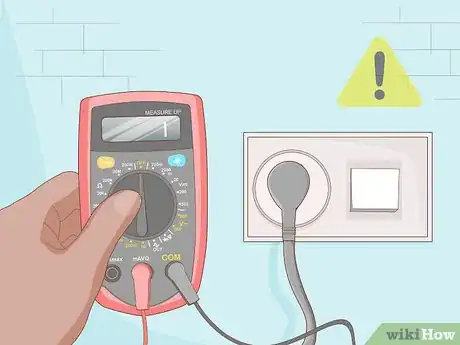
1Turn off and unplug the device that you’re testing. Not only is it dangerous to test continuity when an active electrical signal is flowing through an outlet, wire, or power source, but it won’t even work. Continuity is tested by sending a small current through the 2 terminals and reading the resistance on the current. If there is another current on top of the signal being sent, the multimeter won’t read the correct resistance.[4]
- If you’re testing an outlet that is already installed, flip the breaker on the fuse box for the room that the outlet is in to shut off the current.
- Some devices, like hot tubs, radios, or car systems, will store a charge even after the power is off. Wait at least 1 hour after unplugging these systems before testing them.
- You obviously can’t unplug a wire or fuse. Don’t worry about turning these off if they’re not already installed in something. Take any removable fuse out and test any hooked up wire by turning the appliance, car, or device off first.
-
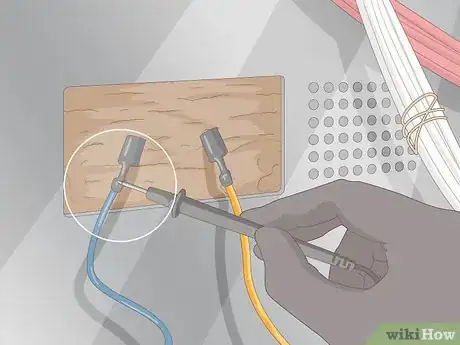
2Put the black terminal on the first end of the device, fuse, or wire. If you’re testing a fuse, put the terminal anywhere on the fuse’s conductor, which will be metal. If you’re testing a wire, stick the black terminal on either end of the exposed wire.[5] If you’re testing soldering, put the terminal directly on the material. The metal piece at the end of the terminal must maintain constant contact with the piece that you’re testing.[6]
- If you’re testing an outlet, unscrew the faceplate and unscrew the outlet’s mounting screws. Pull it out a little and put the black terminal on the metal screw on the side.
- If you’re testing an appliance and wire connection to see if it’s safe, press the black terminal against the metal frame of your appliance.
-
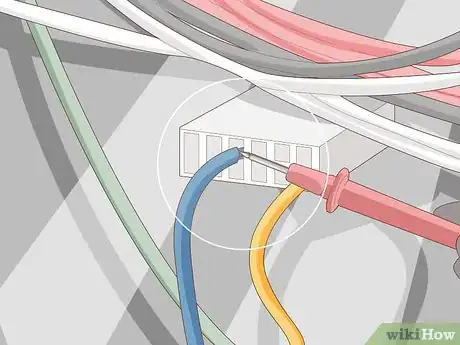
3Place the red terminal on a separate part of the fuse, wire, or other end of the device. With the black terminal still on the first end of the current, press the exposed, red terminal on the other end of a linear current, like a second end of the wire or second fuse terminal.[7] If you’re testing an open current, put it anywhere on the plate of an outlet or the frame of an appliance. This will connect the 2 terminals using the wire, outlet, or fuse as a conduit. The current will automatically be sent to the other terminal to render a reading.[8]
- If you’re testing a switch, there should be no continuity reading when you flip the switch to the off position.
- If you’re testing a fuse, put the red terminal anywhere on the body of the fuse but don’t let your 2 terminals touch. It’s not dangerous, but it will mess with your reading.
- If you’re testing soldering, put the red terminal on the other end of the material that you’re testing.
- If you’re testing an appliance and wire connection for safety reasons, press the red terminal against the wire or fuse that you’re testing.
-
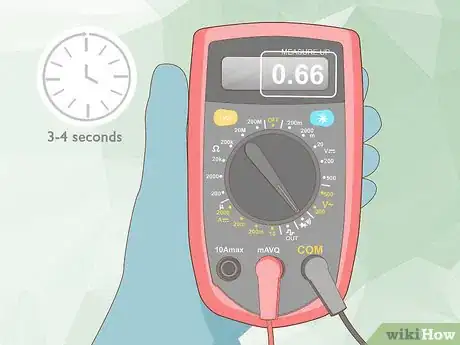
4Wait for the numbers to stabilize and check the reading to get your resistance. The numbers on your multimeter screen will jump up and down at first as your multimeter adjusts to the current. Wait 3-4 seconds and keep the 2 terminals as still as possible to get an accurate reading.[9]
Understanding the Results
-
1Know that a reading of 0 indicates perfect continuity. If your multimeter reads 0 ohms, it means that there is perfect continuity in the wire, fuse, battery, or device. Most multimeters will beep continuously when testing a connection with good or perfect continuity.[10]
- A constant 0 indicates a perfect connection. The continuity doesn’t need to be 0 to be safe though.
-
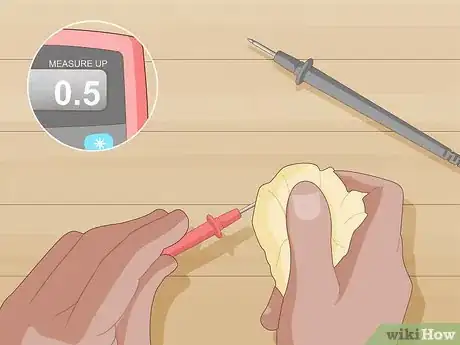
2Understand that a reading lower than 1 means good continuity or dirty terminals. A reading lower than 1 on your multimeter almost certainly indicates the terminals are dirty. Turn your multimeter off and wipe your black and red terminals with a dry paper towel. Try testing the current again. If it still reads lower than 1, your continuity is good, but not perfect.[11]
- It is perfectly safe to use a wire, fuse, or device with a continuity reading lower than 1.
- If the number bounces up and down from a high number to 0, it means that your multimeter’s battery is probably dying.
-
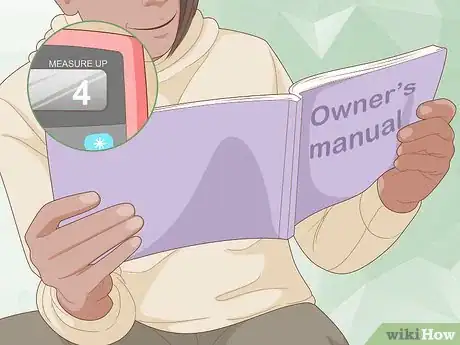
3Check your device’s manual if your multimeter reads between 1-10. If the number reads between 1 and 10, whether the result is a problem or not really depends on the specific device. Consult your appliance or car manual to see if there is information on whether this is an acceptable level of resistance. You should consider playing it safe by not using the device in the meantime though.
-
4Seek a replacement fuse or wire if the reading is higher than 10 ohms. If you have a reading higher than 10 ohms, you have poor continuity. The resistance is higher than it should be and you need to replace the wire, fuse, outlet, battery, or device. Do not use the device until the problematic connection has been resolved.[12]
- Check to see if there is an X or M in front of the ohm symbol on the reading. If there is, it means that it’s actually reading megaohms, which means that there are zeroes that won’t fit on the screen. This means that your multimeter is reading the signal in thousands and your connection is dangerously high.
- If there’s a 1 on the left-hand side of the screen, it probably means that the reading is too high for the screen to register. Consult your multimeter’s manual for more information, but this probably means you have a dangerous connection.
- If the reading is higher than 10, then your device, wire, appliance, or fuse will overheat. While this may not be an issue for short-term use, it can lead to long term problems and is dangerous.
-
5Recognize that no reading indicates a broken current. If you know the multimeter is working because you tested the terminals, you should get some kind of reading. If no numbers display or it shows an error message, then you have a broken connection and the current is being interrupted. This usually means a broken fuse, snapped wire, or bad battery.[13]
- If the number is blinking, it is usually an indication that the current is broken, but some signal is getting through. This blinking function is only available on some multimeters.
-
6Do not plug in an appliance if you get an active reading when testing a wire and the frame. If you get a reading higher than 0 when testing an appliance and a connected wire or fuse, it means that the wires are not adequately installed. Do not plug the appliance back in or you’ll risk shocking yourself or starting a fire. Contact an electrician or appliance-repair company immediately.[14]
Expert Q&A
Did you know you can get premium answers for this article?
Unlock premium answers by supporting wikiHow
-
QuestionHow do you check whether a wire is broken?
 Ricardo MitchellRicardo Mitchell is the CEO of CN Coterie, a fully licensed and insured Lead EPA (Environmental Protection Agency) Certified construction company located in Manhattan, New York. CN Coterie specializes in full home renovation, electrical, plumbing, carpentry, cabinetry, furniture restoration, OATH/ECB (Office of Administrative Trials and Hearings/Environmental Control Board) violations removal, and DOB (Department of Buildings) violations removal. Ricardo has over 10 years of electrical and construction experience and his partners have over 30 years of relevant experience.
Electrician & Construction Professional, CN Coterie
Warnings
- Never test continuity on an active current. This means that you cannot test an outlet if the breaker is on and you can’t test an appliance while it’s plugged in, even if it’s off.⧼thumbs_response⧽
- Make sure that there are no exposed lengths of wire after replacing them.⧼thumbs_response⧽
- Some appliances, like hot tubs or radios, will store an electrical current even after they’re unplugged. Wait at least 1 hour before testing these appliances.⧼thumbs_response⧽
- If you operate a device when the resistance is high, you run the risk of shocking yourself, starting a fire, or damaging your device.⧼thumbs_response⧽
- Always test the continuity of a wire when splicing a new wire into an electrical system.⧼thumbs_response⧽
References
- ↑ https://youtu.be/OOK8np4t40c?t=1
- ↑ https://youtu.be/OOK8np4t40c?t=11
- ↑ https://youtu.be/OOK8np4t40c?t=45
- ↑ https://youtu.be/R6DgIA_ikQQ?t=22
- ↑ Ricardo Mitchell. Electrician & Construction Professional, CN Coterie. Expert Interview. 28 January 2021.
- ↑ https://geoffthegreygeek.com/using-a-multimeter/
- ↑ Ricardo Mitchell. Electrician & Construction Professional, CN Coterie. Expert Interview. 28 January 2021.
- ↑ https://geoffthegreygeek.com/using-a-multimeter/
- ↑ https://geoffthegreygeek.com/using-a-multimeter/
- ↑ https://www.hellermanntyton.co.za/binaries/content/assets/downloads/za/manuals-and-operating-instructions/testing_of_electrical_installations_guide.pdf
- ↑ https://www.hellermanntyton.co.za/binaries/content/assets/downloads/za/manuals-and-operating-instructions/testing_of_electrical_installations_guide.pdf
- ↑ https://www.hellermanntyton.co.za/binaries/content/assets/downloads/za/manuals-and-operating-instructions/testing_of_electrical_installations_guide.pdf
- ↑ https://www.hellermanntyton.co.za/binaries/content/assets/downloads/za/manuals-and-operating-instructions/testing_of_electrical_installations_guide.pdf
- ↑ https://youtu.be/R6DgIA_ikQQ?t=100
