wikiHow is a “wiki,” similar to Wikipedia, which means that many of our articles are co-written by multiple authors. To create this article, 9 people, some anonymous, worked to edit and improve it over time.
This article has been viewed 94,154 times.
Learn more...
If you need a Crossover Cable, and have a few extra standard Ethernet Cables around your place, you do not need to go out and buy a separate cable.
With a few minutes work, you can splice your own crossover cable without the need of the tools that other guides say that you "absolutely need".
While most guides to create crossover cables say that you need Crimping tools, Wire strippers, etc. - with this guide you will find you have everything you need right in your own home or office!
Steps
-
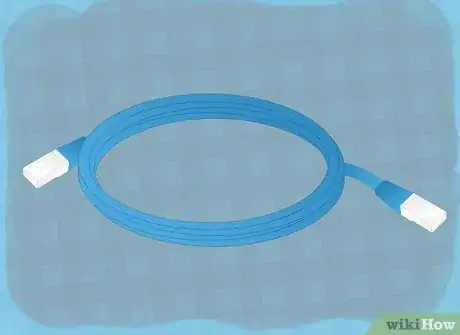
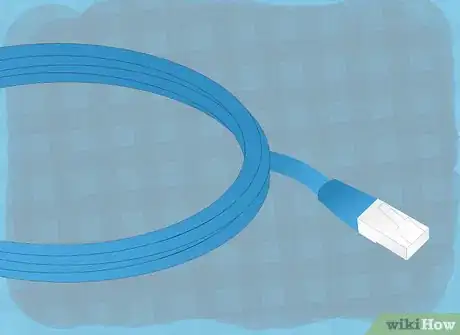
1Find a standard Ethernet cable you don't use for anything. With this guide, you will be able to use a long 100 feet (30.5 m). cable, or a shorter size, whatever your needs require.
-
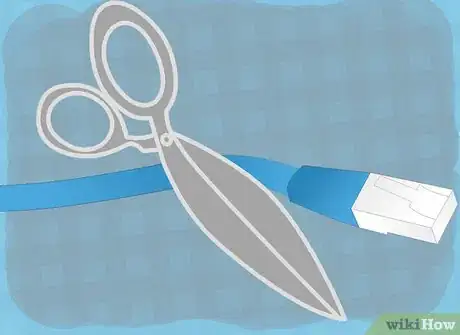
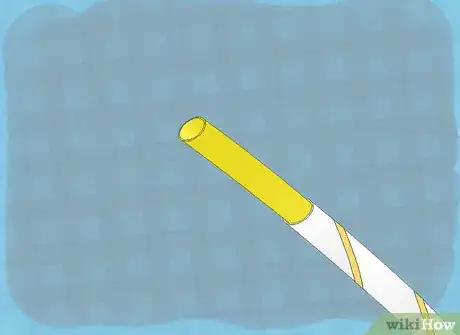
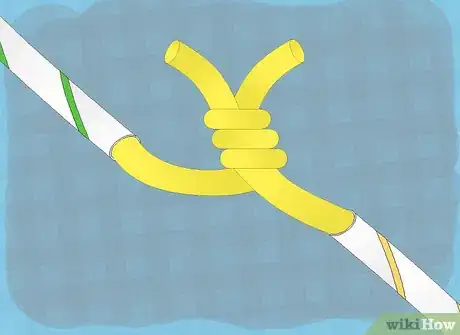
2Towards one end of the cable, cut open a slit a few inches long. Be careful not to damage the wiring inside the cable or cut yourself.Advertisement
-
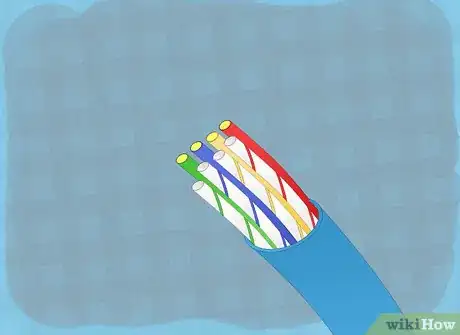
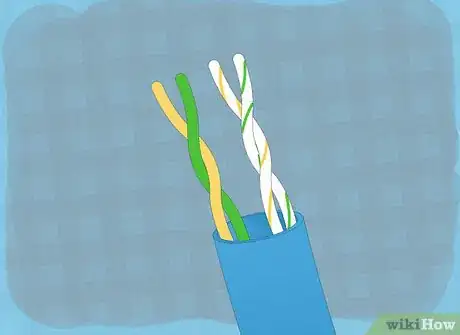
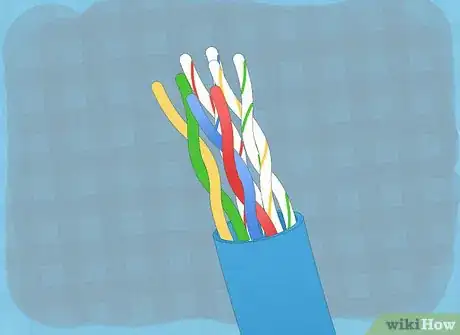
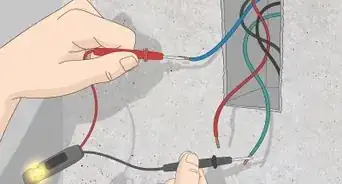
3Peel back and remove the cable casing. This will leave the inner wiring exposed. Examine how the wiring is twisted together and note the colors of the wires. For this project, we will be cutting the colored wires (green, orange, white-green, white-orange) and leaving the other wires in place as usual.
-
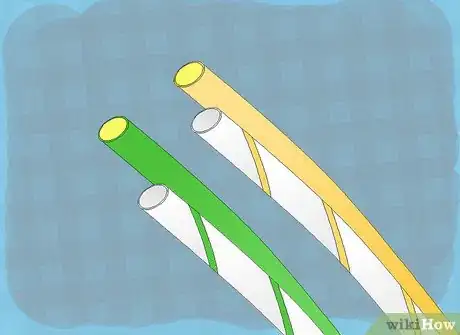
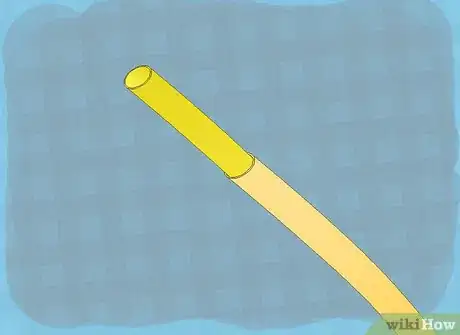
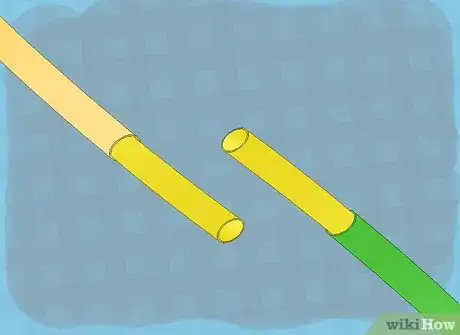
4Cut the green, orange, white-green and the white-orange. The other wires will be left as-is.
-
5
-
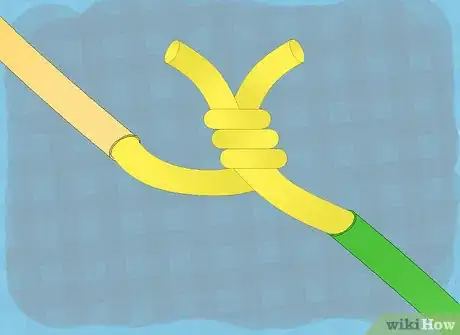
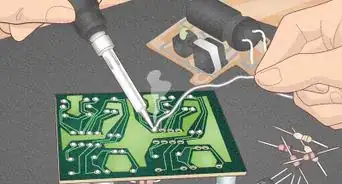
6On Side "A" we will call it, connect the green stripped end to the orange stripped end on Side "B". Twist the wires together, and mend with electrical or another kind of tape. If you have a soldering iron, you can optionally solder the leads together.
-
7You now have one step of your crossover wire completed. Lets continue on.
-
8Just as we connected the orange and green wires for one side of our crossover cable, lets now repeat the process with the final two wires.
- Start by stripping the green-white wires. (once again, approx. 1/4 or 1/2 inch)
- Repeat the wire stripping on orange-white wires. (once again, approx. 1/4 or 1/2 inch)
-
9On Side "A", join the green-white wire to the orange-white wire on Side "B". Twist the wires together and fix with tape. Again, if you prefer, you can solder the wires together as opposed to twisting them together.
-
10Join the remaining wires. Join the orange-white wire on Side "A", with the green-white wire on Side "B". Fashion the wires with tape or solder.
-
11
-
12Admire your new, home made crossover cable!
Community Q&A
-
QuestionDo I need to crimp the wires?
 Community AnswerNo, you don't have to crimp anything. You can just solder or twist the wires, although I don't recommend twisting since the wires could get loose.
 -
QuestionWhat are the applications of a crossover cable?
 Community AnswerIt's used for directly connecting two devices (such as computers) together without going through a network switch or router.
