This article was co-authored by wikiHow staff writer, Jack Lloyd. Jack Lloyd is a Technology Writer and Editor for wikiHow. He has over two years of experience writing and editing technology-related articles. He is technology enthusiast and an English teacher.
The wikiHow Tech Team also followed the article's instructions and verified that they work.
This article has been viewed 331,449 times.
Learn more...
This wikiHow teaches you how to share a folder with other computers on your network. Doing this will allow any computer on your network to access and change the files in the shared folder. You can share and access a folder from both Windows and Mac computers, though the computer from which the folder is shared and the computer on which the folder is accessed both need to be on the same wireless (or wired) Internet connection. If you just want to synchronize a folder on your computer to another local folder or a flash drive, you can use the FreeFileSync program.
Things You Should Know
- You can share folders with other computers to allow access and changes.
- When sharing folders, you must be on the same Wi-Fi network for access.
- Alternatively, you can use FreeFileSync to sync a folder to another local folder or flash drive.
Steps
Sharing Folders on Windows
-
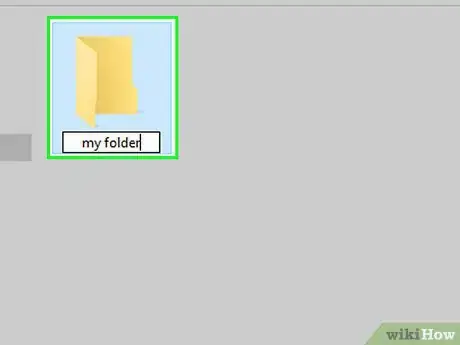
1Create the folder that you want to synchronize if necessary. If you want to synchronize a new folder rather than an existing folder, create a folder by doing the following:
- Go to the location in which you want to create the folder (e.g., the desktop).
- Right-click an empty space.
- Select New
- Click Folder
- Type in a name.
- Press ↵ Enter.
- Add files to the folder by dragging and dropping them onto the folder's icon.
-
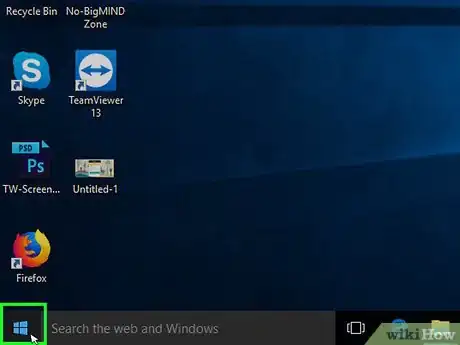
2Open Start . Click the Windows logo in the bottom-left corner of the screen. The Start menu will pop up.Advertisement
-
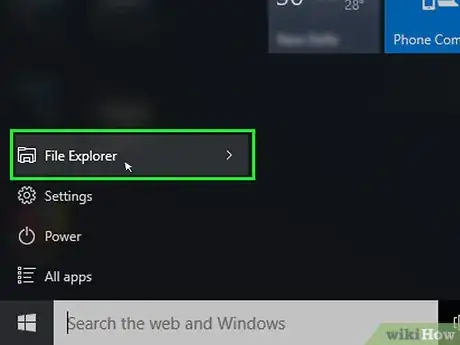
3
-
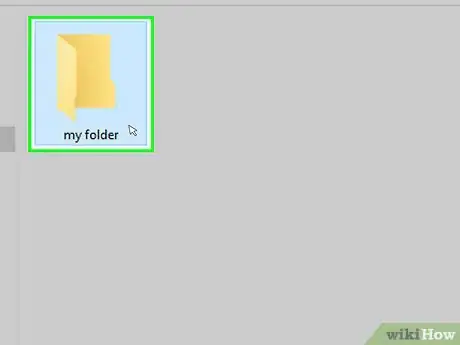
4Select the folder. Go to the location of the folder that you want to synchronize, then click the folder to select it.
-
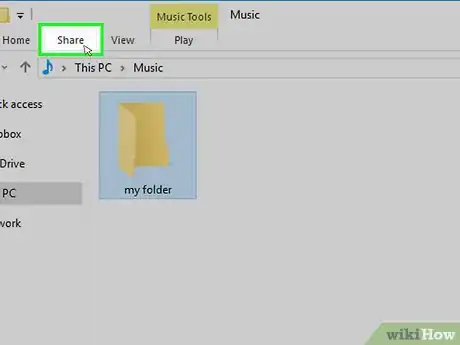
5Click the Share tab. It's in the upper-left side of the folder. Doing so prompts a toolbar to appear at the top of the window.
-
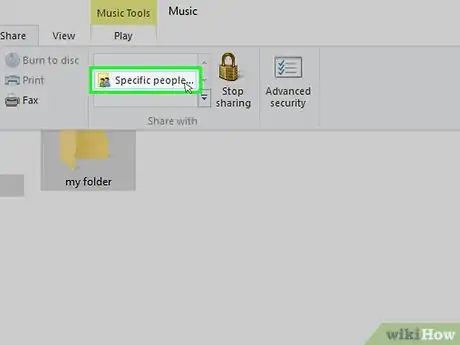
6Click Specific people…. You'll find this option in the "Sharing" section of the toolbar. Clicking it prompts a new window to open.
-
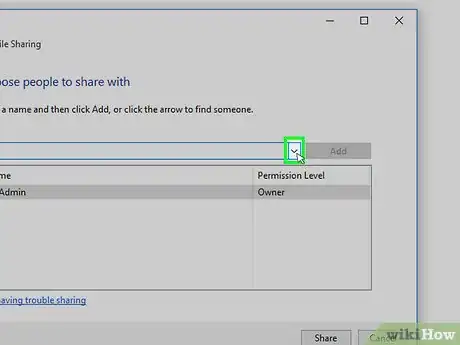
7
-
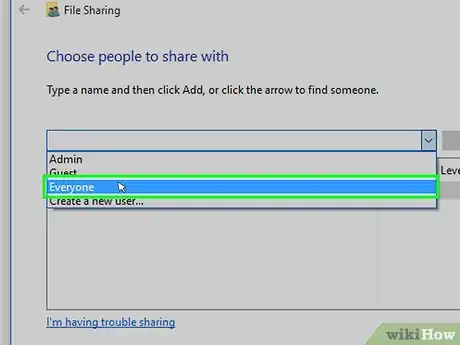
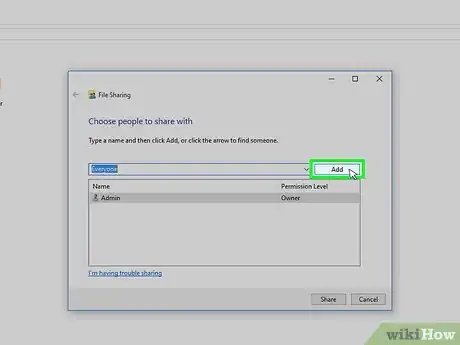
8Click Everyone. This option is in the drop-down menu.
-
9Click Add. It's to the right of the drop-down box. Doing so enables folder access for anyone on your network for your selected folder.
-
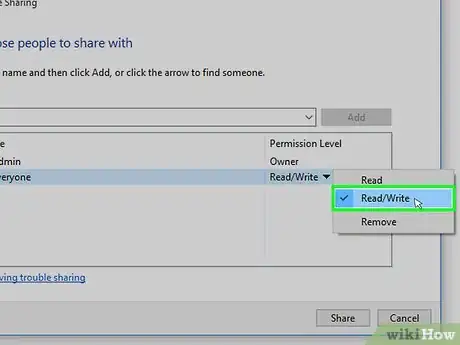
10Allow others to add or remove files. Click Read ▼ to the right of Everyone, then click Read/Write in the resulting menu.
-
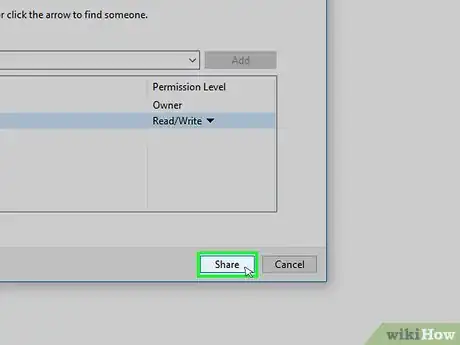
11Click Share. This option is at the bottom of the window.
-
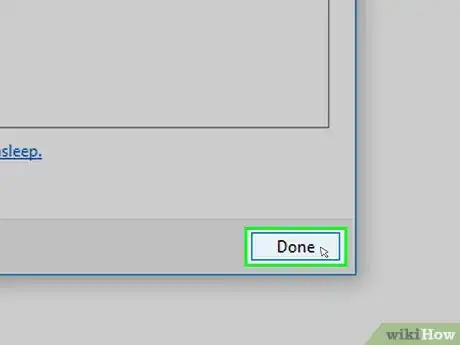
12Click Done. It's at the bottom of the window. This will close the window, signifying that your folder is now being shared with other computers on your network.
-
13Make sure that the other computer is on your network. In order to synchronize the folder between your two computers, both computers must be on the same wireless network.
- If the computer with which you want to synchronize files isn't on the same network, connect it to the same network before proceeding.
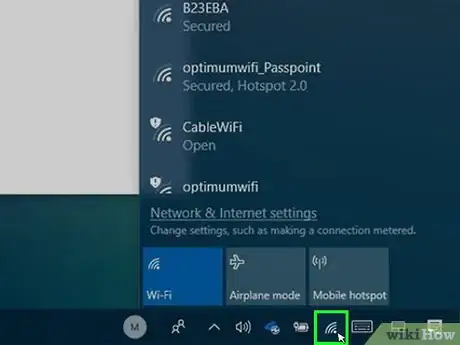
- You can check your computer's current network by clicking the Wi-Fi icon in the lower-right side of the screen (Windows) or the Wi-Fi icon in the upper-right corner of the screen (Mac) and looking at the top network name.
- This will work if your computers are both on the same wired (Ethernet) network as well.
-
14Access the shared folder from the other computer. Once you've shared the folder, the other computer should be able to view the folder's contents and add files to (or remove files from) the folder:
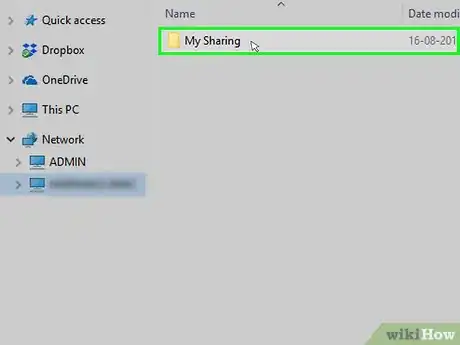
- Windows — Open File Explorer, click the other PC's name in the left-hand column of folders (you may need to scroll down first), and open the folder.
- Mac — Open Finder, click your PC's name in the lower-left side of the window, and open the folder.
Sharing Folders on Mac
-
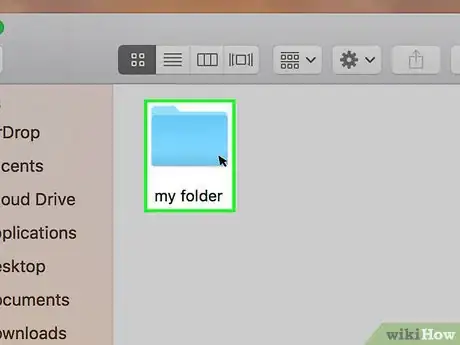
1Create the folder that you want to synchronize if necessary. If you want to synchronize a new folder rather than an existing folder, create a folder by doing the following:
- Go to the location in which you want to create the folder (e.g., the desktop).
- Click File
- Click New Folder
- Type in a name for your folder.
- Press ⏎ Return.
- Add files to the folder by dragging and dropping them onto the folder's icon.
-
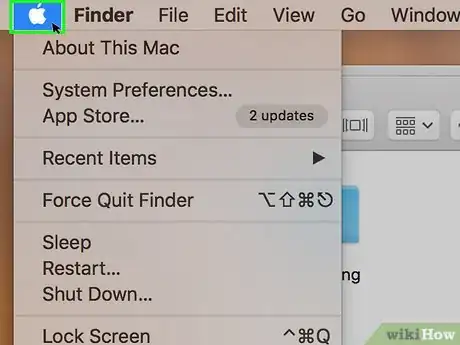
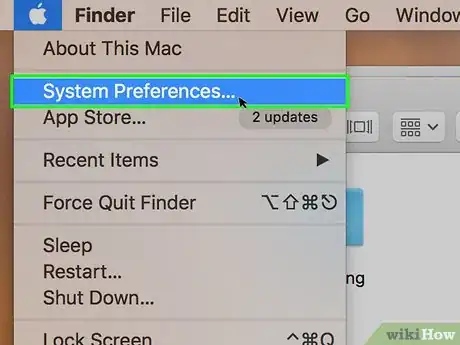
2
-
3Click System Preferences…. It's near the top of the drop-down menu. Doing so opens the System Preferences window.
-
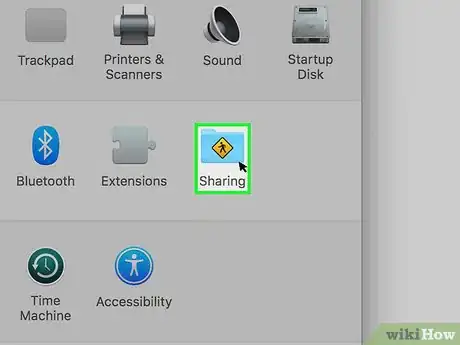
4Click Sharing. You'll find this option on the right side of the System Preferences window.
-
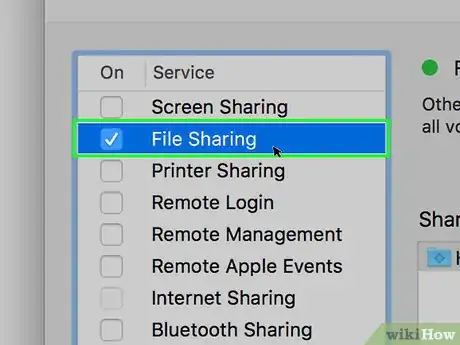
5Click File Sharing. It's an option on the left side of the window.
-
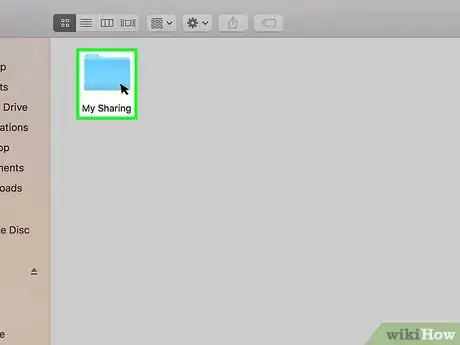
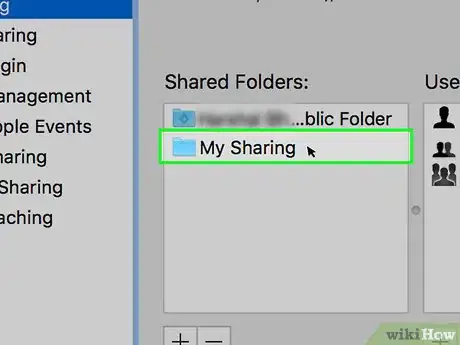
6Add your folder to the "Shared Folders" list. Click + below the "Shared Folders" list, select the folder that you want to share, and click Add in the lower-right corner of the screen.[1]
-
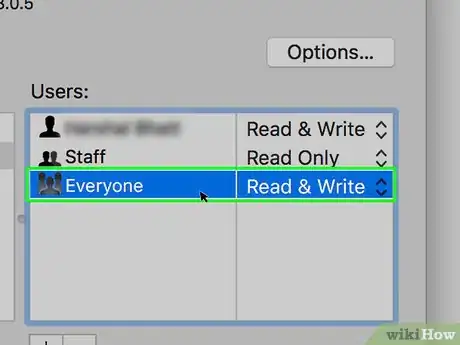
7Allow others to add or remove files. Click Custom to the right of the "Everyone" entry in the "Users" list, then click Read & Write in the resulting menu.
-
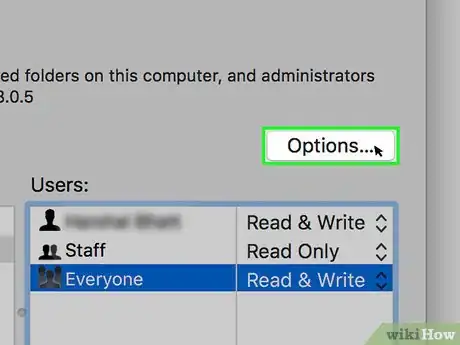
8Click Options…. It's in the lower-right side of the window. Doing so opens a new window.
-
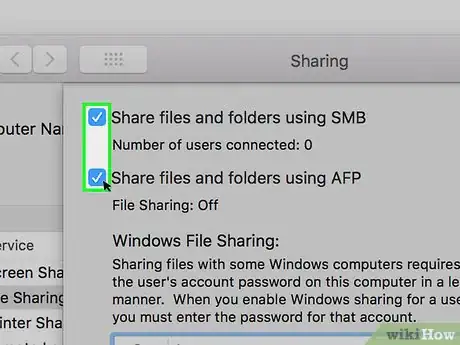
9Check both boxes. The two boxes that you need to check are near the top of the window.[2]
- If you plan on sharing your folder to a Windows computer, check the box in the "Windows Sharing" window as well.
-
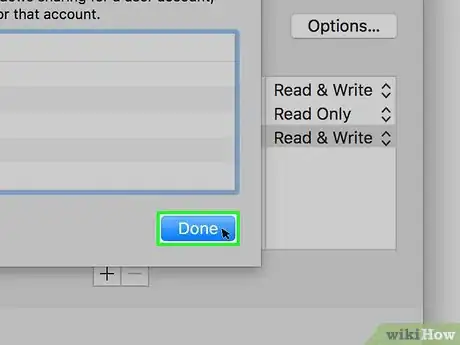
10Click Done. It's at the bottom of the window. Doing so saves your changes and enables file sharing on your Mac.
- If file sharing isn't enabled, you can click the checkbox to the left of File Sharing on the left side of the window.
-
11Make sure that the other computer is on your network. In order to synchronize the folder between your two computers, both computers must be on the same wireless network.
- If the computer with which you want to synchronize files isn't on the same network, connect it to the same network before proceeding.
- You can check your computer's current network by clicking the Wi-Fi icon in the lower-right side of the screen (Windows) or the Wi-Fi icon in the upper-right corner of the screen (Mac) and looking at the top network name.
- This will work if your computers are both on the same wired (Ethernet) network as well.
-
12Access the shared folder from the other computer. Once you've shared the folder, the other computer should be able to view the folder's contents and add files to (or remove files from) the folder:
- Mac — Open Finder, click your Mac's name in the lower-left side of the window, and open the folder.
- Windows — Open File Explorer, click your Mac's name in the left-hand column of folders (you may need to scroll down first), and open the folder.
Using FreeFileSync
-
1Download FreeFileSync. Go to the FreeFileSync website at https://freefilesync.org/, click the green Download button near the bottom of the window, scroll down to the "Download FreeFileSync" heading, and click the link for your operating system.
- For example, you'll click Download FreeFileSync 10.0 Windows Setup for Windows or Download FreeFileSync 10.0 macOS for a Mac.
-
2Install FreeFileSync. Depending on whether you use Windows or a Mac computer, this process will vary:
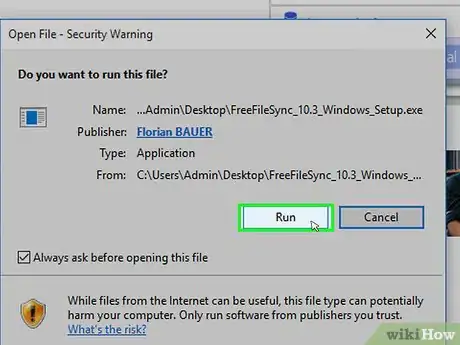
- Windows — Double-click the downloaded EXE file, click Yes when prompted, and click Next until the installation begins.
- Mac — Double-click the downloaded ZIP folder to open and extract it, double-click the PKG file in the extracted folder, and follow any on-screen instructions.
-
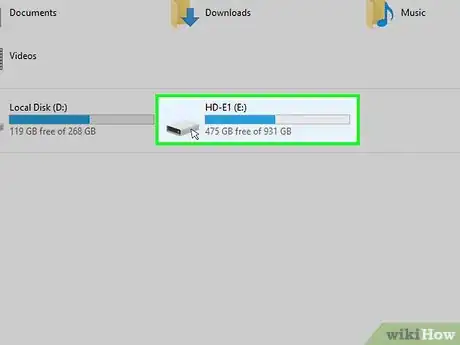
3Plug removable storage into your computer if necessary. If you want to synchronize your files to a USB flash drive or external hard drive so that any changes you make to the folder will automatically synchronize when the drive is connected, plug the removable storage into one of your computer's USB ports.
- Skip this step if you just want to synchronize the folder with a different folder on your computer.
- On a Mac, you'll need a USB-C (Thunderbolt 3) flash drive or external hard drive, or a USB 3.0 to USB-C adapter.
-
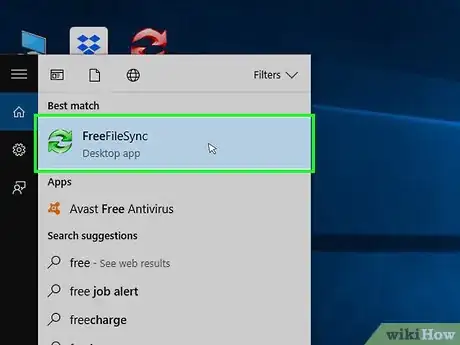
4Open FreeFileSync. Double-click the FreeFileSync app icon, which resembles two green arrows circling, to do so. The FreeFileSync window will pop up.
-
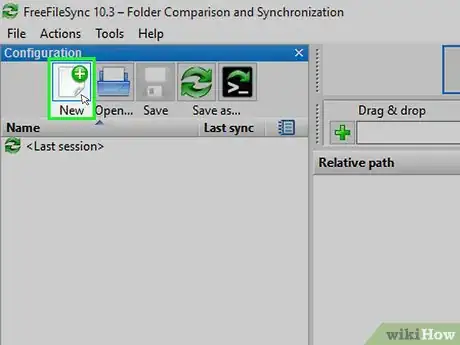
5Click New. It's in the upper-left side of the FreeFileSync window. This clears any information in the FreeFileSync window.
-
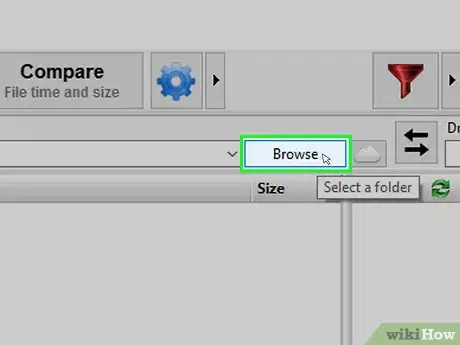
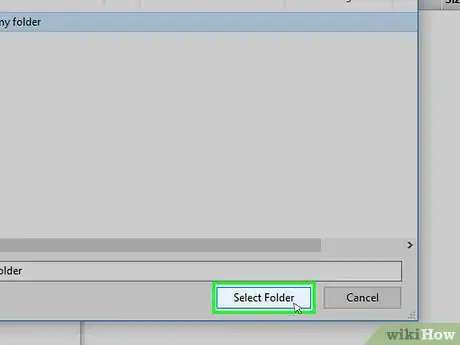
6Add the folder from which you want to synchronize files. Above the middle section of the FreeFileSync window, click Browse, then go to the folder from which you want to synchronize files, click it, and click Select Folder.
- On a Mac, you'll click Choose instead.
-
7Add a synchronization location. This is the location to which your folder's files will sync (e.g., your flash drive). Click Browse above the right-most section of the FreeFileSync window, click the folder or storage item you want to use, and click Select Folder (Windows) or Choose (Mac).
-
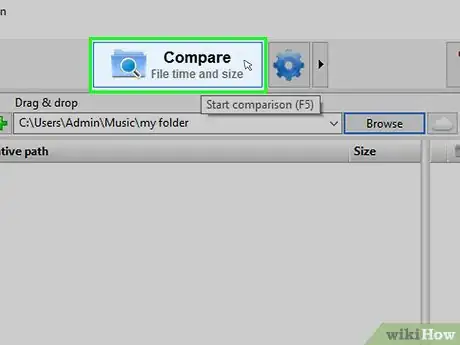
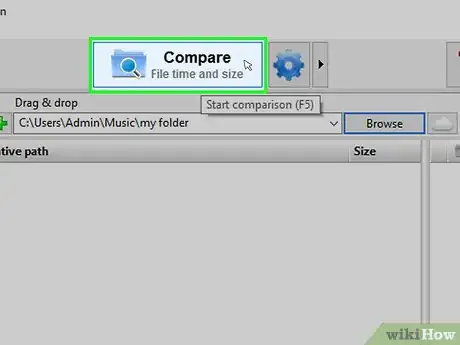
8Click Compare. It's above the first folder's column. Doing so brings up a list of the files in each location.[3]
-
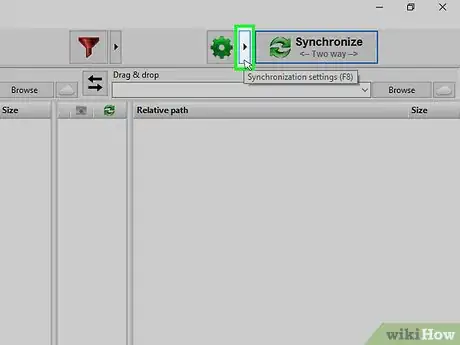
9Click the triangle to the right of the green gear icon. This icon is above the column for the storage item or folder to which you want to synchronize your folders. A drop-down menu will appear.
-
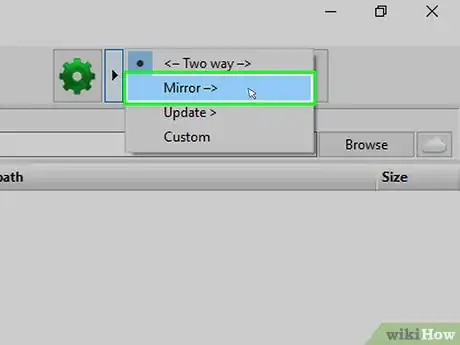
10Click Mirror ->. It's in the drop-down menu. The Mirror option ensures that any files from your first folder will automatically be copied into the second location.
- Keep in mind that any files in the second location which don't already match files in the first location will be deleted when you do this.
- If you want to synchronize the folders both ways so that no files are deleted, click <- Two way -> instead.
-
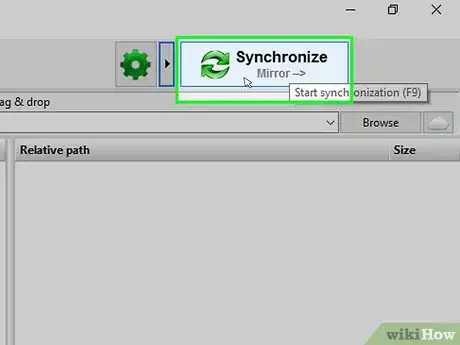
11Click Synchronize. This is in the upper-right side of the window.
-
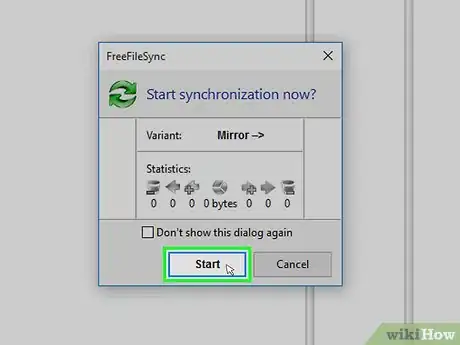
12Click Start when prompted. Your first location's files will begin copying to the second location.
-
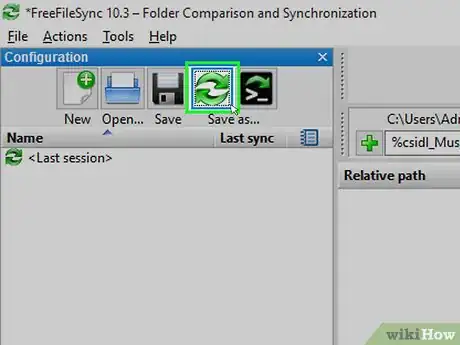
13Save your FreeFileSync configuration. If you want to synchronize your folders in the future, you'll need to save the settings to a configuration file by doing the following:
- Click the green, circular arrow-shaped Save As icon in the upper-left side of the window.
- Enter a name for your configuration.
- Select a save location.
- Click Save
-
14Run the synchronization again when needed. When it comes time to re-synchronize your folder with your selected synchronization location, find and double-click the configuration file that you saved. This will open FreeFileSync and run the synchronization process.
- If you move or change the name of either your folder or the removable storage you use, the file synchronization won't work and you'll have to redo the configuration.
Community Q&A
-
QuestionI have drawings for different products ('A' and 'B'). Some drawings are for 'A,' some are for 'B,' and some are for both. How do I mirror A/B drawings from folder A to folder B?
 Community AnswerWhile I'm unsure of your OS, you could try storing the 'A' folder and the 'B' folder in another folder called 'AB.' Then, when choosing a directory, you can narrow down to folder A, B, or AB as a source, where AB will contain all of A and B. That's as specific as I can get without knowing more about the OS and programs you're using.
 -
QuestionI have two drives with mostly the same files and folders under the "Documents" folder in each. How do I copy from one to another, but skip duplication where the files are identical?
 Community AnswerJust drag one on top of another. It will alert you whenever a duplicate file is found, and ask if you want to skip the duplicate file or rename it; just select Skip.
 -
QuestionHow do I transfer music from F drive into Windows 10?
 Community AnswerIf you mean a hard drive that is labeled as "F" on your computer, just find the music and drag it to the desktop tab using Windows Explorer.
Warnings
- Moving files out of the shared folder on the primary computer will prevent connected computers from accessing the files in question.⧼thumbs_response⧽
References
About This Article
1. Open the File Explorer.
2. Select a folder.
3. Click Share.
4. Click Specific people.
5. Select Everyone and click Add.
6. Allow Read/Write permissions.
7. Click Share.
8. Click Done.
