X
This article was co-authored by wikiHow staff writer, Nicole Levine, MFA. Nicole Levine is a Technology Writer and Editor for wikiHow. She has more than 20 years of experience creating technical documentation and leading support teams at major web hosting and software companies. Nicole also holds an MFA in Creative Writing from Portland State University and teaches composition, fiction-writing, and zine-making at various institutions.
This article has been viewed 23,681 times.
Learn more...
This wikiHow teaches you how to flip the Skype camera from regular to selfie-mode (or vice-versa) on an iPhone or iPad.
Steps
Method 1
Method 1 of 2:
During a Video Call
-
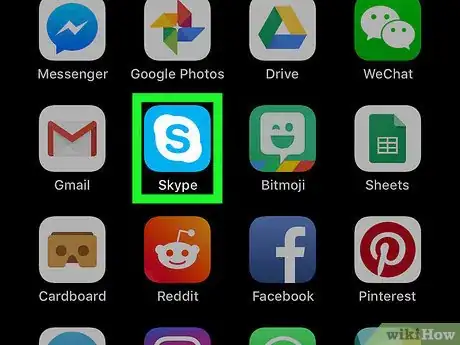
1Open Skype on your iPhone or iPad. It’s the blue and white cloud icon with an “S” inside. You’ll usually find it on the home screen.
-
2Tap the contact you want to call. You can choose the contact from either the Chats or Contacts tab.Advertisement
-
3Tap the video camera icon. It’s near the top-right corner of the screen. Once your contact accepts the call, you should be able to see one another. Your camera will open to the front (selfie) camera by default.
-
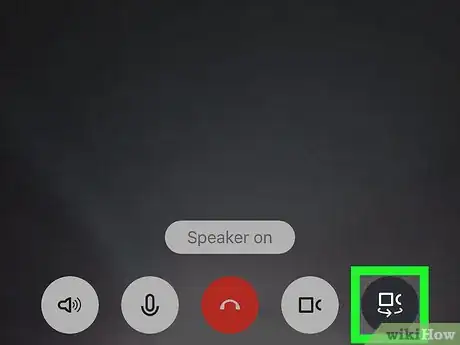
4Tap the two curved arrows in a circle. It’s at the bottom of the screen. This switches the camera mode to the back camera.
- To switch back to the front camera, tap the screen to display the options, then tap the two curved arrows again.
Advertisement
Method 2
Method 2 of 2:
Taking a Photo
-
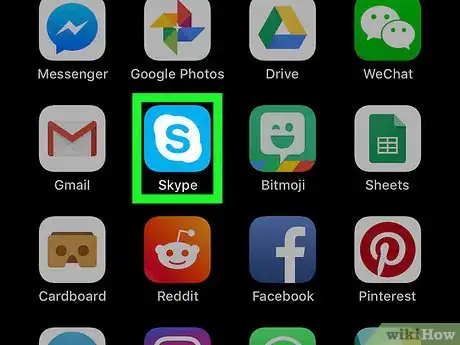
1Open Skype on your iPhone or iPad. It’s the blue and white cloud icon with an “S” inside. You’ll usually find it on the home screen.
-
2Tap the contact you want to send a photo. The conversation will appear.
-
3Tap the camera icon. It’s at the bottom-right corner of the screen. This opens the camera to the back (regular) camera by default.
-
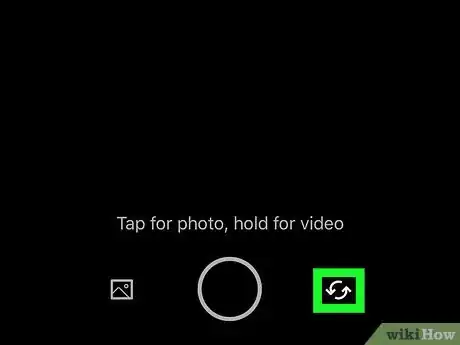
4Tap the two curved arrows. It’s the icon at the bottom-right corner of the screen. This switches to the front (selfie) camera.
- To switch to the back camera again, tap the two curved arrows.
Advertisement
About This Article
Advertisement
