This article was co-authored by wikiHow staff writer, Travis Boylls. Travis Boylls is a Technology Writer and Editor for wikiHow. Travis has experience writing technology-related articles, providing software customer service, and in graphic design. He specializes in Windows, macOS, Android, iOS, and Linux platforms. He studied graphic design at Pikes Peak Community College.
The wikiHow Tech Team also followed the article's instructions and verified that they work.
This article has been viewed 175,100 times.
Learn more...
Do you want to add text columns in Adobe Illustrator? Illustrator is a vector graphics editing program that is popular amongst graphic designers. Because Illustrator uses vector graphics, it is preferred for creating text and typography as text looks neater and cleaner in Illustrator as opposed to Photoshop. You can add color, texture, shading, bullets, and columns, among other things. Columns help organize the text similar to how it is divided in a newspaper. This wikiHow article teaches how to set up columns in Illustrator.
Things You Should Know
- Use the text tool to create text boxes in Adobe Illustrator.
- You can divide text boxes into columns using the Area Type Options menu, which can be found in the "Type" menu.
- You can also create separate text boxes for each column and connect them together.
Steps
Using Area Type Options
-
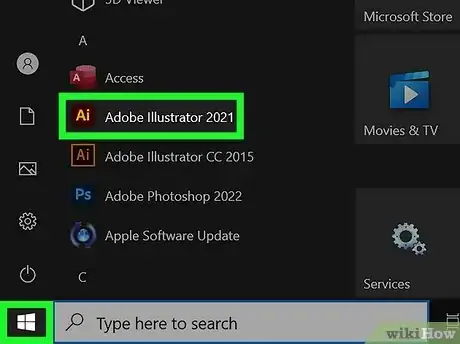
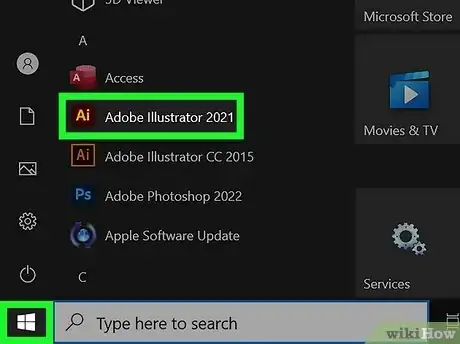
1Open Adobe Illustrator. It has a yellow icon with "Ai" in the middle. Click the Illustrator icon in the Windows Start menu or Applications folder on Mac to open Illustrator.
- You need a subscription to Adobe Illustrator or Adobe Creative Cloud to download and install Illustrator. You can try a free 7-day trial of Adobe Illustrator at https://www.adobe.com/products/illustrator/free-trial-download.html.
-
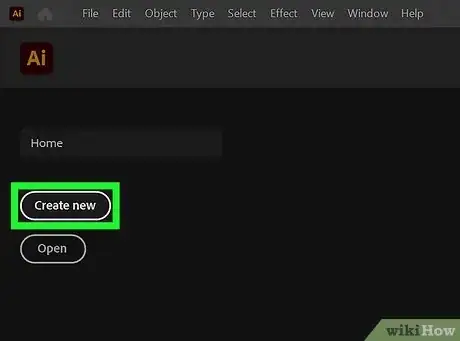
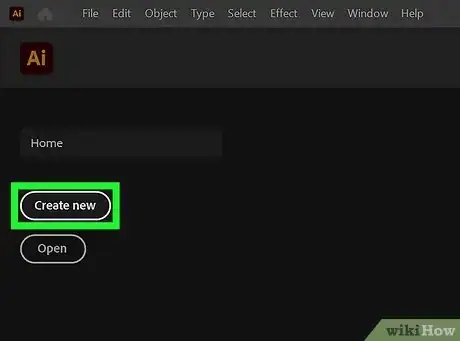
2Open or create a new Illustrator document. To create a new Illustrator document, click Create New on the opening screen. Enter the dimensions of your document and click Create. To open an existing document click Open on the title screen and select a saved Illustrator document. Click Open.[1]
- You can open or create a new Illustrator document at any time by clicking File in the menu bar at the top, followed by New or Open.
Advertisement -
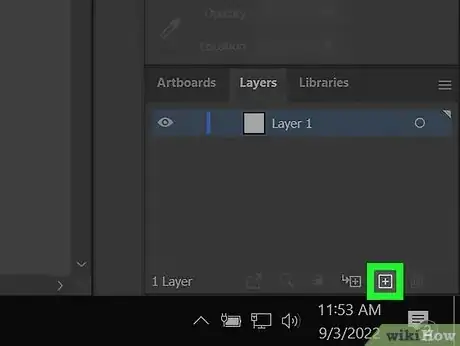
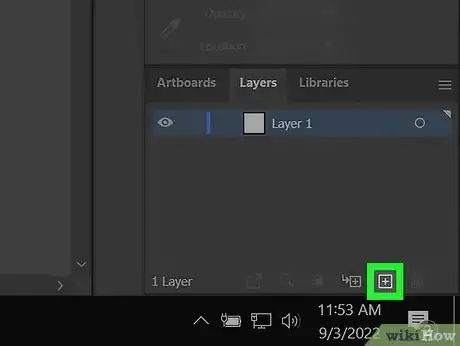
3Create a new layer for your text (optional). It's a good idea to keep your text on a separate layer. To create a new layer, click the Layers tab in the menu to the right. Then click the icon that resembles a sheet of paper with a folded corner at the bottom of the Layers panel.
- If you don't see the Layers panel, click on Windows" in the menu bar at the top, then click Layers from the drop-down menu.
-
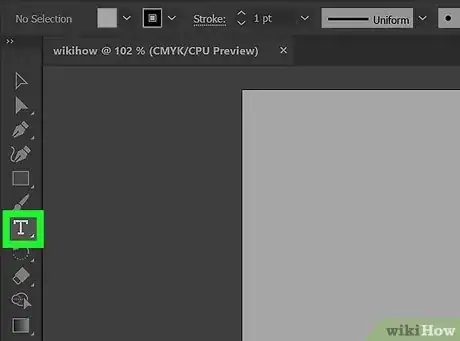
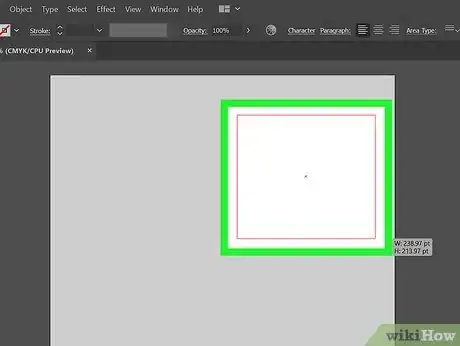
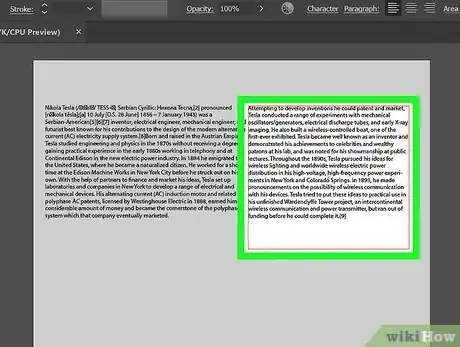
4Create a text box for your text. To do so, click the text tool in the toolbar to the left. It has an icon that resembles a capital "T." Click and drag to draw a square over the area you want your text to go. This will create a text box.
- Alternatively, you can select the text tool by press T on your keyboard.
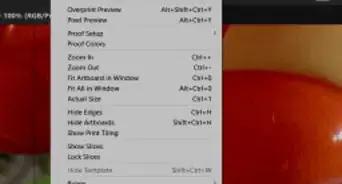
- It's a good idea to use rulers when creating a text box. You can click and drag out from the rulers to add guides to your document. This helps keep your document looking neat and professional. To add rulers to your document, click View in the menu bar at the top. Then hover over Rulers in the drop-down menu. Click Show Rulers.
-
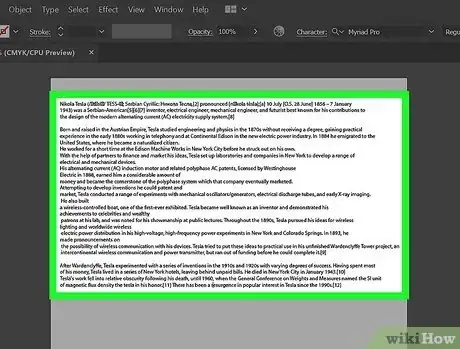
5Type or paste the text into the text box. To do so, click the text tool in the toolbar to the left. Hover over the edge of your text box and click to activate type mode inside the text box. Type or copy and paste your text.
-
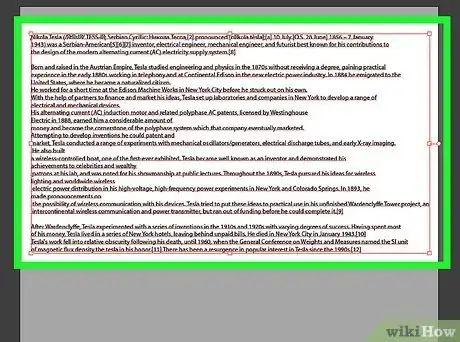
6Make sure the text box is selected. To do so, click the selection tool in the toolbar or press V on your keyboard to select the Selection tool. Click your text or the edge of your text box. The text box will be highlighted with a blue box.
-
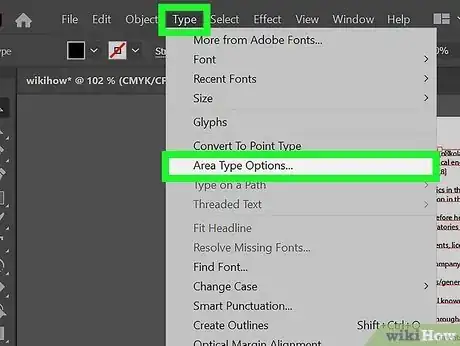
7Open the Area Type Options menu. Use the following steps to do so:
- Select Type from the top horizontal tool bar.
- Select Area Type Options in the drop-down menu.
-
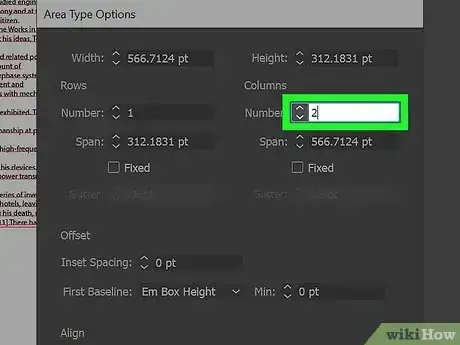
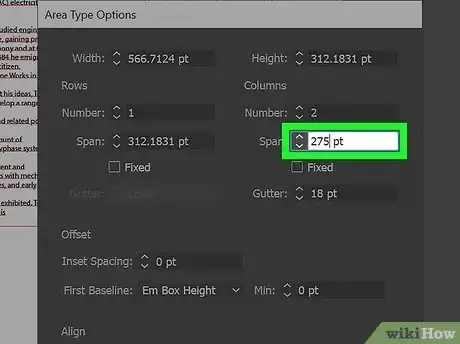
8Select the number of columns you would like. The columns section is toward the right-hand side. Enter the number of columns you want in the box next to "Number."
-
9Choose the width of the columns. Use the box next to "Span" to specify a column width. By default, Adobe Illustrator will automatically divide your columns into even widths.
- Check the "Fixed" box if you want the column widths to stay the same, even if you add text and increase or decrease the size of the text box. The number of columns can change, but each column with remain the same width. Do not check this box if you want the number of columns to stay the same but do not care if the column widths change as you increase or decrease the size of the text box.
-
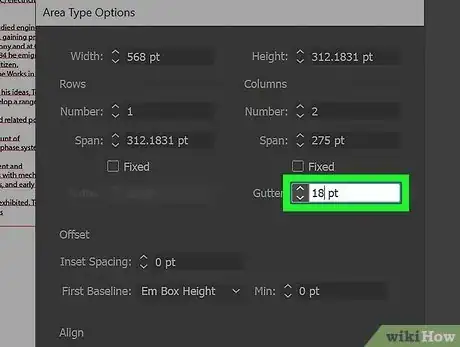
10Adjust the size of the "Gutter." The gutter is the space between columns. Adobe Illustrator will automatically choose a gutter, and you can adjust it as needed. If you want to change the size of the gutter, enter the desired gutter space in the box next to "Gutter."
-
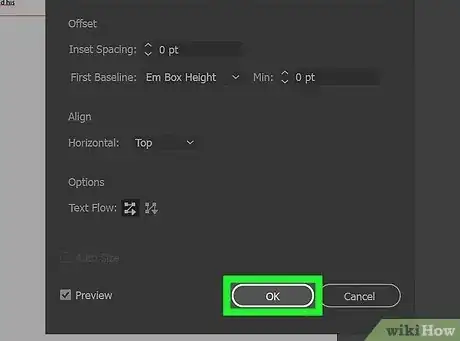
11Click Ok. It's in the lower-right corner. This applies your column settings to the text box.
Manually Drawing Columns
-
1Open Adobe Illustrator. It has a yellow icon with "Ai" in the middle. Click the Illustrator icon in the Windows Start menu or Applications folder on Mac to open Illustrator.
-
2Open or create a new Illustrator document. To create a new Illustrator document, click Create New on the opening screen. Enter the dimensions of your document and click Create. To open an existing document click Open on the title screen and then select a saved Illustrator document. Click Open.[2]
- You can open or create a new Illustrator document at any time by clicking File in the menu bar at the top, followed by New or Open.
-
3Create a new layer for your text (optional). It's a good idea to keep your text on a separate layer. To create a new layer, click the Layers tab in the menu to the right. Then click the icon that resembles a sheet of paper with a folded corner at the bottom of the Layers panel.
- If you don't see the Layers panel, click on Windows" in the menu bar at the top, then click Layers from the drop-down menu.
-
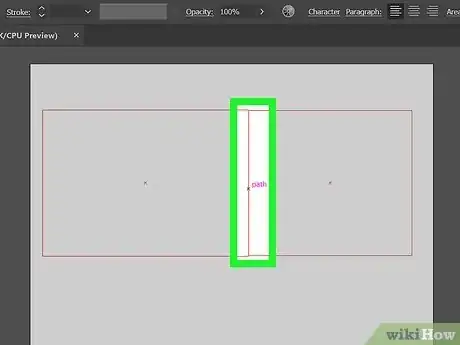
4Draw a text box for each column. To do so, click the text tool in the toolbar to the left. It has an icon that resembles a capital "T." Click and drag to draw a square over the area you want a column to go. Create a separate text box for each column.
- Alternatively, you can select the text tool by press T on your keyboard.
- It's a good idea to use rulers when creating a text box. You can click and drag out from the rulers to add guides to your document. This helps keep your document looking neat and professional. To add rulers to your document, click View in the menu bar at the top. Then hover over Rulers in the drop-down menu. Click Show Rulers.
- You can use the Pen tool or Direct Select tool to edit the shape of your text boxes.
-
5Connect your text boxes. To do so, click the Selection tool in the toolbar to the left. It has an icon that resembles a black mouse cursor. Click the edge of your first column with the Selection tool to select it. You will notice a small box on the right edge of the text box towards the bottom. Click that box and then click the edge of your next column. This connects the two text boxes and allows text to flow from one text box to the next. Repeat for any additional columns.
- You can press V on the keyboard to select the Selection tool.
-
6Type or paste your text into the first text box. To do so, click the Text tool in the toolbar to the left. Hover over the edge of your first text box and click to activate type mode within the text box. Type your text or copy and paste it. When you reach the bottom of the first text box, your text will flow over into the next text box, and so on.
Community Q&A
-
QuestionIllustrator cc 2018 does not have area type options. Can you help me with this?
 Community AnswerIt's there. It's in the same location as the image: Type>Area and then type Options.
References
About This Article
1. Open or create a new Illustrator document.
2. Use the text tool to create a text box for each column.
3. Click the small box on the right edge of your first text box near the bottom.
4. Click the edge of the next text box to connect the two text boxes.
5. Add your text to the first text box.
