wikiHow is a “wiki,” similar to Wikipedia, which means that many of our articles are co-written by multiple authors. To create this article, 9 people, some anonymous, worked to edit and improve it over time.
This article has been viewed 304,682 times.
Learn more...
Adobe illustrator is a popular graphics editing program. Available on both Windows and Mac operating systems, it allows users to create 3D logos, layer images and create web or print documents. While it is similar to Adobe's Photoshop, it is known for its ability to create typography and text logos. You can add borders, color and patterns to objects to give them more distinctive looks. Texture designs are available on the Internet and with the use of a few tools, you can add an interesting texture to your document. This article will tell you how to add a texture in Illustrator.
Steps
-
1Download or search for a texture on the Internet. There are many free textures available by simply searching "illustrator texture." Commonly used textures include wood grain, mosaic, patchwork, stained glass and craquelure texture, which is similar to a patina on plaster. Choose a texture image that is light in color and save it on your computer.
-
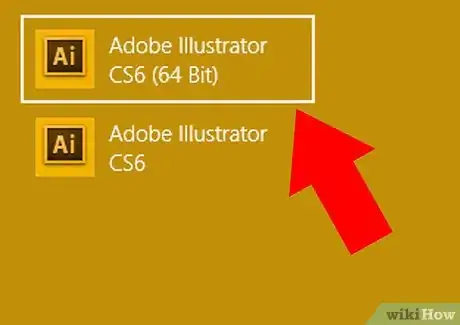
2Open your Adobe Illustrator application.Advertisement
-
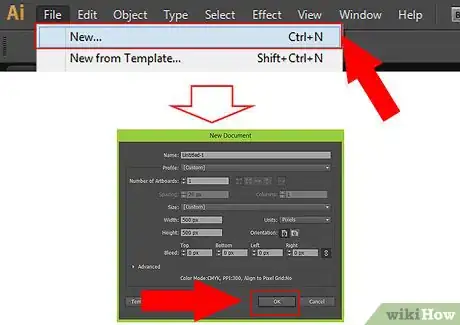
3Open an existing document or create a new print or web document in the dialogue box that pops up.
-
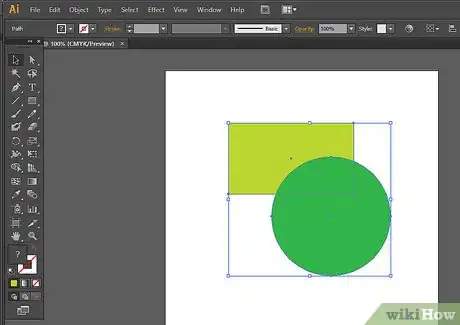
4Select the object to which you want to add a texture.
-
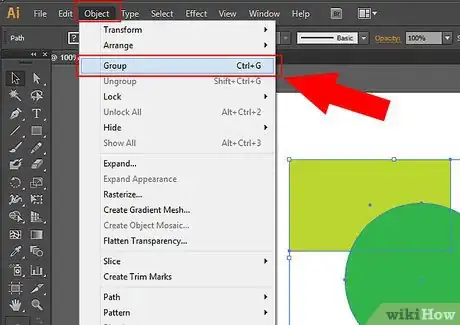
5Group objects together if you want to change the texture of more than 1 thing. Select the objects that you want to be grouped together. Click on the "Object" menu on your horizontal toolbar, then click "Group."
-
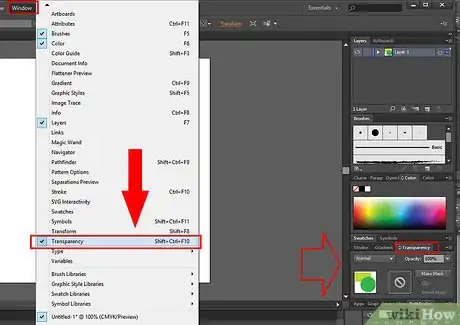
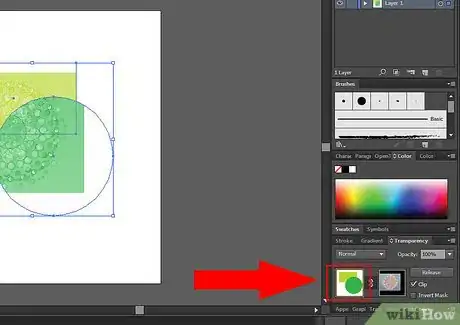
6Click the "Window" menu in the top horizontal toolbar. Select "Transparency" from the drop-down menu. A palette should open up to the right of your document. You should also see a drop down menu for blending and a drop down menu for opacity.
-
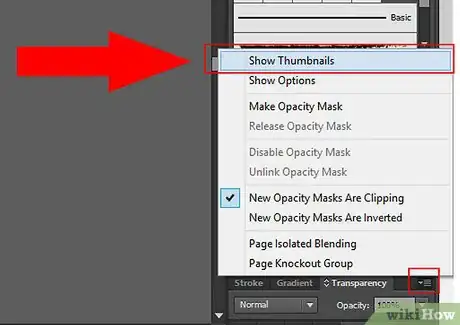
7Select the fly down menu to the right of the opacity box. Choose "Show Thumbnails."
-
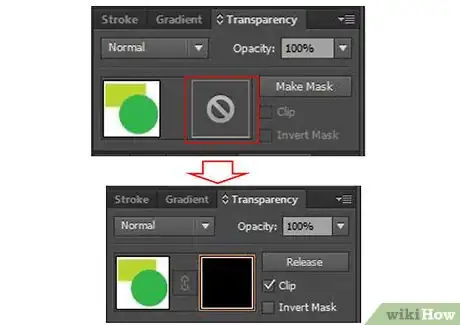
8Double click on the gray space next to the square thumbnail of the object that appears. This will create an opacity mask. Your image may disappear from view since your opacity begins as a black box, to indicate that it is not opaque.
-
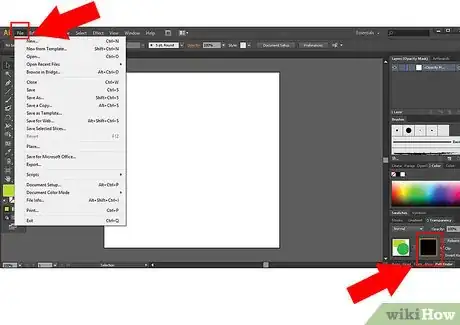
9Select the black box. Select the "File" drop down menu on your top horizontal toolbar.
-
10Scroll down and select "Place." A browser box will open. Select the texture file that you downloaded from the Internet earlier. The image will appear in your black thumbnail box.
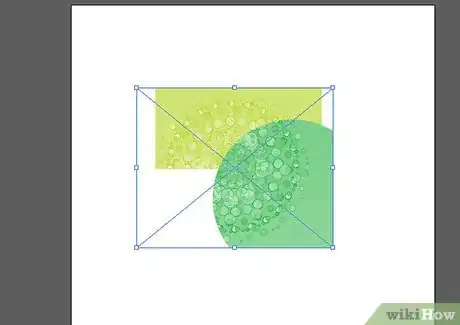
- A large, opaque texture image will appear on top of your image. You will not see the image, but rather a red box with guidelines that allow you to move the texture box across the page. Your main image's texture will change as you move the texture image around.
-
11Experiment with moving the texture image around until your image or logo has a texture you like.
-
12Click back on the thumbnail of your image when you are done. You will return to the file images and you will be able to make changes to other layers.
-
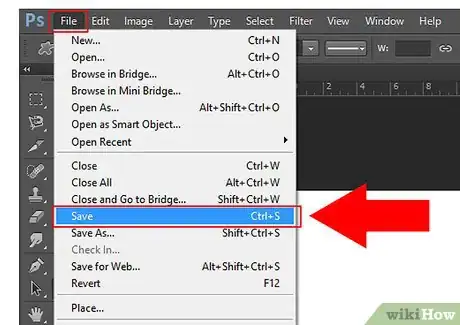
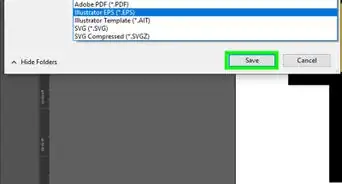
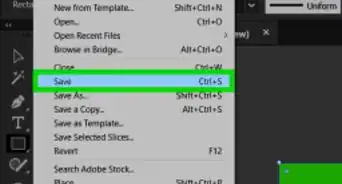
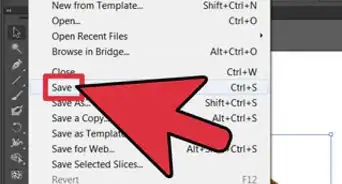
13Save your Adobe Illustrator file to complete the texture changes. You can repeat this process with different objects and textures.

