X
This article was co-authored by wikiHow staff writer, Jack Lloyd. Jack Lloyd is a Technology Writer and Editor for wikiHow. He has over two years of experience writing and editing technology-related articles. He is technology enthusiast and an English teacher.
The wikiHow Tech Team also followed the article's instructions and verified that they work.
This article has been viewed 276,470 times.
Learn more...
This wikiHow teaches you how to create a border—also known as a "stroke"—around content in Adobe Illustrator. You can do this on both Windows and Mac versions of Illustrator.
Steps
-
1Open Illustrator. Its app icon resembles an orange "Ai" on a dark background.
-
2Open your Illustrator project. Click Open..., then select an existing project. If you don't have an existing project, you can simply select a photo to get started.
- On some versions of Illustrator, you may first have to click File before selecting Open... in the drop-down menu.
Advertisement -
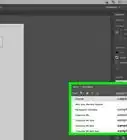
3Click the "Typography" drop-down box. It's in the upper-right side of the page. A drop-down menu will appear.
- This box may also say "Start".
- If this box says "Essentials" in it, skip this step and the next one.
-
4Click Essentials. This is near the top of the drop-down menu.
-
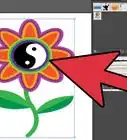
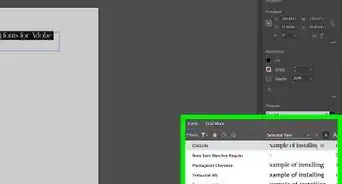
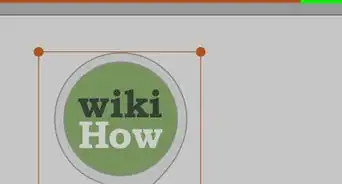
5Select your content. Click the photo, text, or other element on the page that you want to outline.
-
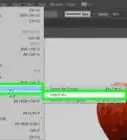
6Click the Window tab. It's at the top of the window (Windows) or the screen (Mac). A drop-down menu will appear.
-
7Click Appearance. You'll find this near the top of the drop-down menu. The Appearance mini-window will open near your project.
-
8Click ☰. It's in the top-right corner of the Appearance window. This will prompt a drop-down menu.
- The icon here actually has four horizontal lines instead of three.
-
9Click Add New Stroke. It's in the drop-down menu. The Stroke menu will open.
-
10Double-click the "Stroke" icon. It's a box wrapped around a smaller box in the lower-left corner of the window. This will open the Stroke Color window.
- You should see a white box with a red slash through it either behind or in front of the "Stroke" icon.
-
11Select a color. Click and drag up or down the color bar on the right side of the window to change the overall color, then click a section on the gradient to select a specific iteration of that color.
-
12Click OK. It's in the top-right corner of the Stroke Color window.
-
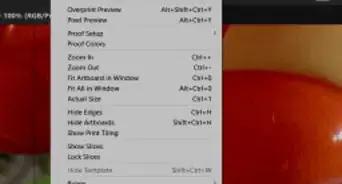
13Click the Effect tab. This is at the top of the window or screen. Doing so prompts a drop-down menu.
-
14Select Path. It's near the top of the Effect drop-down menu. A pop-out window will appear next to the Path option.
-
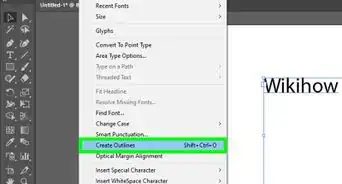
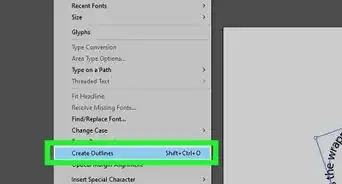
15Click Outline Object. You'll see this in the pop-out window. A border will appear around your content.
-
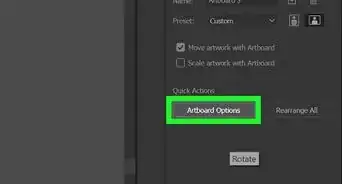
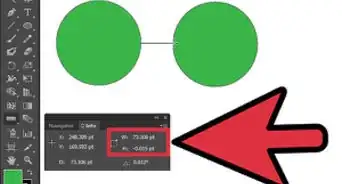
16Edit your border's thickness. In the Appearance window, you'll see a numbered box to the right of the "Stroke" heading. Clicking the upward-facing arrow to the left of this number will increase your border's thickness, while clicking the downward-facing arrow will decrease the thickness.
-
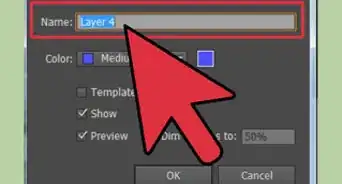
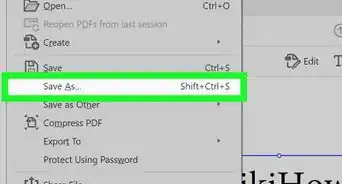
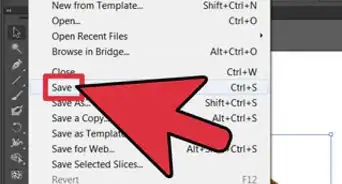
17Save your changes. Click File, then click Save in the drop-down menu to save your changes to your project.
- You can also click Save As if you want to save this project separately, or if it's a new project. You'll then be prompted to enter a name and choose a save location.


Advertisement


About This Article
Jack Lloyd
wikiHow Technology Writer
This article was co-authored by wikiHow staff writer, Jack Lloyd. Jack Lloyd is a Technology Writer and Editor for wikiHow. He has over two years of experience writing and editing technology-related articles. He is technology enthusiast and an English teacher. This article has been viewed 276,470 times.
How helpful is this?
Co-authors: 12
Updated: June 4, 2020
Views: 276,470
Categories: Adobe Illustrator
Advertisement