X
wikiHow is a “wiki,” similar to Wikipedia, which means that many of our articles are co-written by multiple authors. To create this article, 23 people, some anonymous, worked to edit and improve it over time.
The wikiHow Tech Team also followed the article's instructions and verified that they work.
This article has been viewed 1,529,049 times.
Learn more...
This wikiHow teaches you how to access a Gmail account on an iPhone using Apple Mail or one of Google's official apps, Gmail or Inbox.
Steps
Method 1
Method 1 of 2:
Using Apple Mail App
-
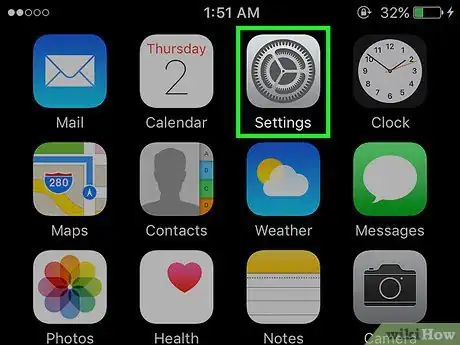
1Open Settings. It's a gray app that contains gears (⚙️) and is typically located on your home screen.
-
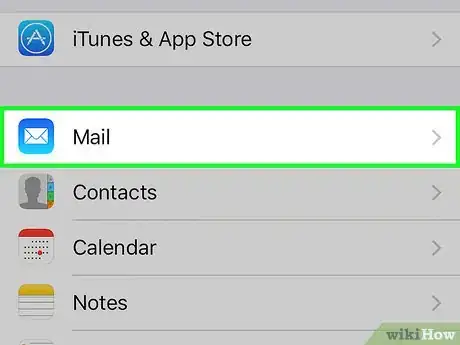
2Scroll down and tap Mail. It's in a section with other Apple apps, like Calendar and Notes.Advertisement
-
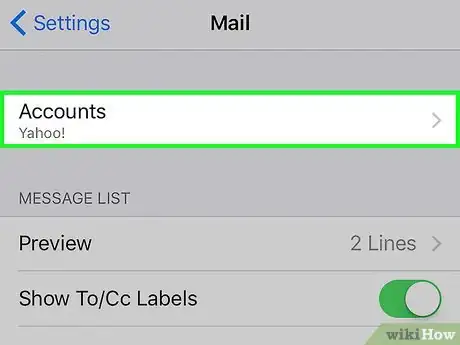
3Tap Accounts. It's the first section of the menu.
-
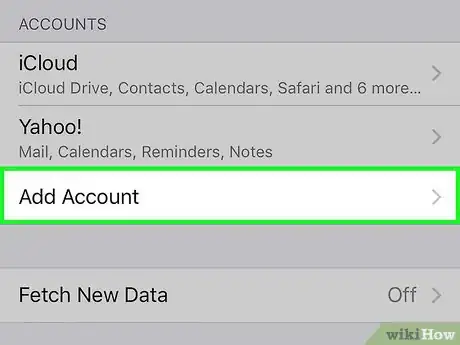
4Tap Add Account. It's at the bottom of the "ACCOUNTS" section.
-
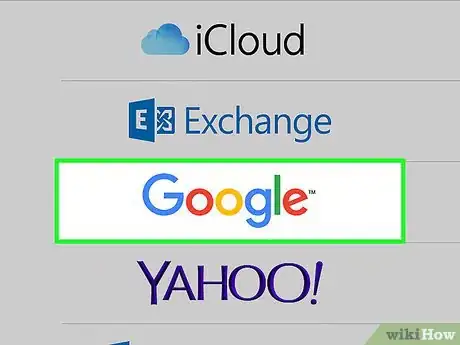
5Tap Google. It's in the middle of the list.
-
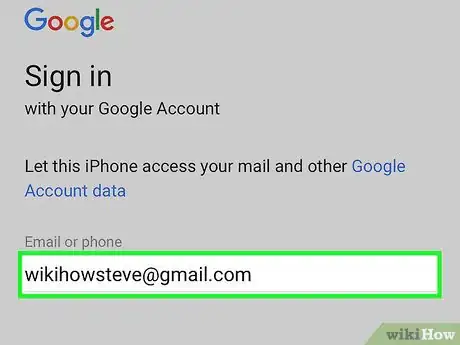
6Enter your Gmail address in the labeled field.
-
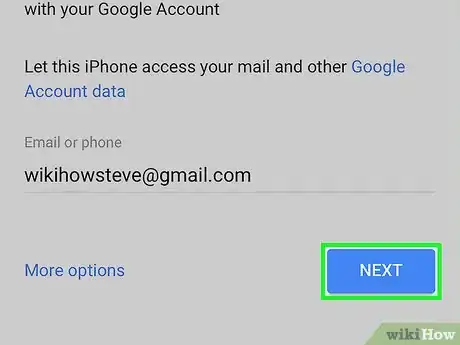
7Tap NEXT. It's a blue button on the screen.
-
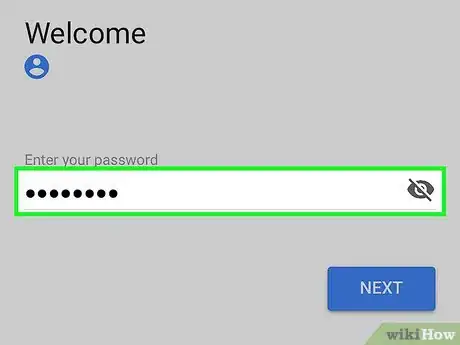
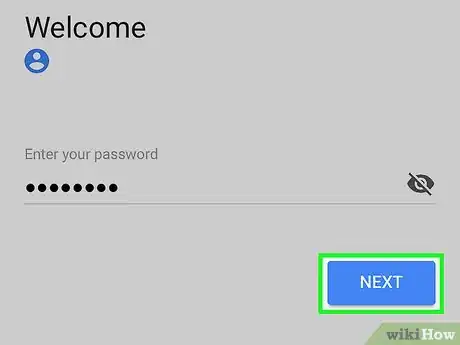
8Enter your password in the labeled field.
-
9Tap NEXT. It's a blue button on the screen.
- If you've enabled two-step verification for Gmail, enter the verification code you received via text or using Authenticator.
-
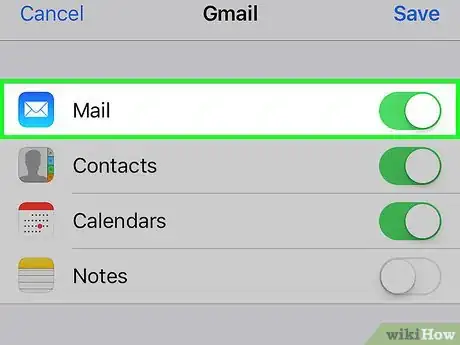
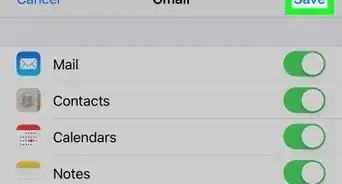
10Slide "Mail" to the "On" position. It will turn green.
- Select other Gmail data you want to sync with your iPhone by sliding the data you want to see on your iPhone to the "On" (green) position.
-
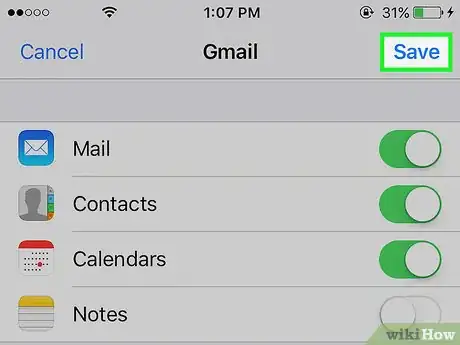
11Tap Save. It's in the upper-right corner of the screen. Now you can send and receive Gmail messages using the native iPhone Mail app.
Advertisement
Method 2
Method 2 of 2:
Using Gmail or Inbox App
-
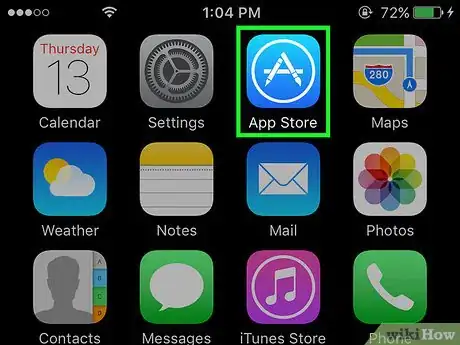
1Open the App Store. It's a blue app that contains a white "A" inside a circle.
-
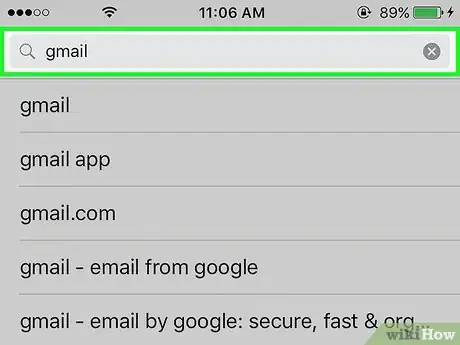
2Tap Search in the bottom-right part of the screen. Then tap the "Search" field at the top of the screen and begin typing "Gmail". As you type, apps will be suggested on the screen below the "Search" field.
-
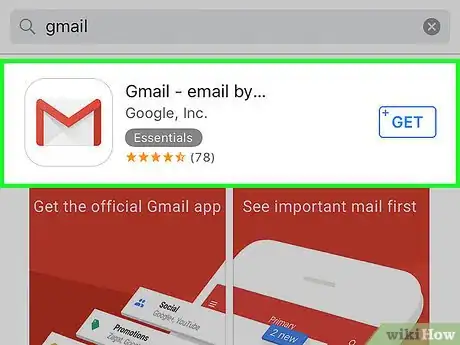
3Choose an app. Both Gmail and Inbox by Gmail are official Google apps that allow you to send and receive Gmail messages on your iPhone.
- The main difference between the two apps is that you can set up non-Gmail accounts in the Inbox app.
-
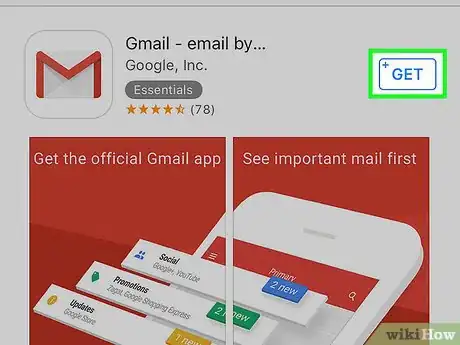
4Tap GET. It appears to the right of the app.
- When the button label changes to INSTALL, tap it again. An app icon has been added to your home screen.
-
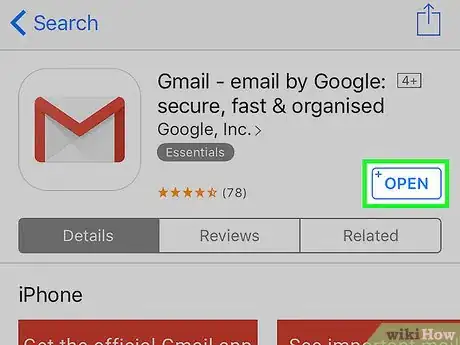
5Tap OPEN. It's in the location where the GET and INSTALL buttons had been.
-
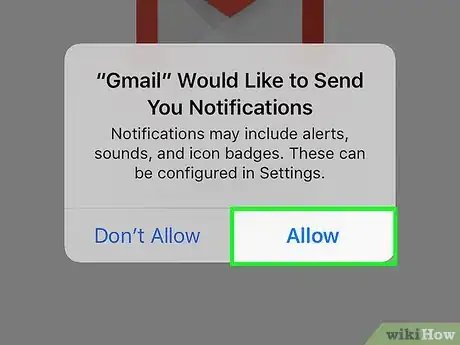
6Tap Allow. Doing so permits the app to send you notifications when you receive email.
- If you are using the Inbox app instead of the Gmail app, it will ask you to sign in first before it asks you to allow notifications.
- You can change these settings by opening your Settings, scrolling down and tapping Notifications, then tapping Gmail or Inbox.
-
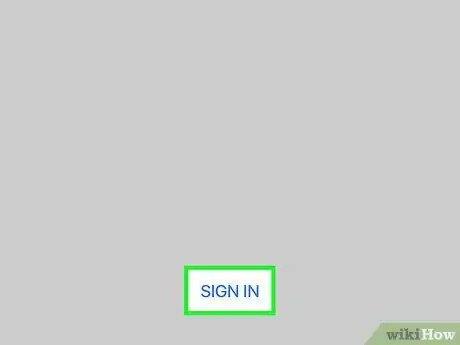
7Tap SIGN IN. It's at the bottom of the screen.
-
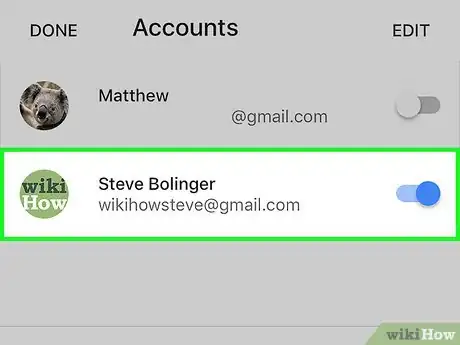
8Add your Gmail account. If you see it in the "Accounts" list, slide your account to the "On" (blue) position.
- If your account isn't listed, tap + Add account at the bottom of the list. Then enter your Gmail address, tap NEXT, enter your password, and then tap NEXT.
- If you've enabled two-step verification for Gmail, enter the verification code you received via text or using Authenticator.
-
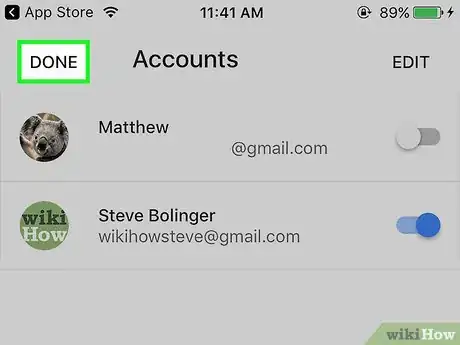
9Tap DONE. It's in the upper-left corner of the screen. Now you've set up your Gmail account on your iPhone using one of the official Google apps.
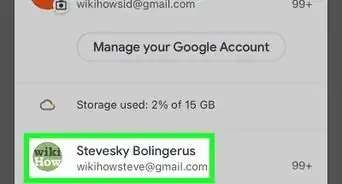
- To add or edit your Gmail accounts, tap ≡ in the upper-left corner of the Inbox, tap the downward arrow to the right of your Gmail address, then tap ⚙️ Manage accounts.
Advertisement
Community Q&A
-
QuestionHow do I get my Gmail email on my iPad?
 Community AnswerYou can use the same method described here for an iPad. Either download the Gmail app from the app store and log in from there, or open Safari and go to gmail.com just like you would on your computer.
 -
QuestionHow do I delete multiple emails from my inbox?
 Community AnswerHold shift, then select the emails you want to delete and delete them like you normally would.
 -
QuestionHow can I delete emails?
 Community AnswerHold the email until a list of options pops up or slide your finger over the email and it should disappear.
Advertisement
About This Article
Advertisement
