X
wikiHow is a “wiki,” similar to Wikipedia, which means that many of our articles are co-written by multiple authors. To create this article, 13 people, some anonymous, worked to edit and improve it over time.
This article has been viewed 252,050 times.
Learn more...
Laser printers eventually run out of toner after continued use. Being able to replace them swiftly and correctly lets you get back to work faster. If you want to learn how to replace a toner cartridge in a laser printer, follow these steps.
Steps
-
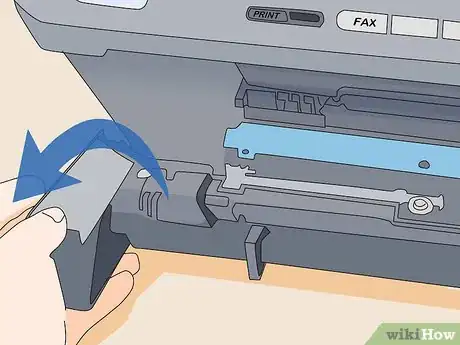
1Open the printer door to access the toner cartridges.
-
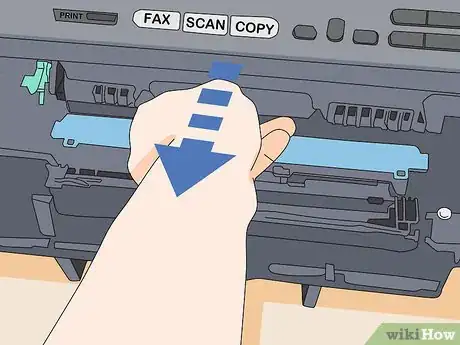
2Remove the drum assembly from the printer by pulling it straight out.Advertisement
-
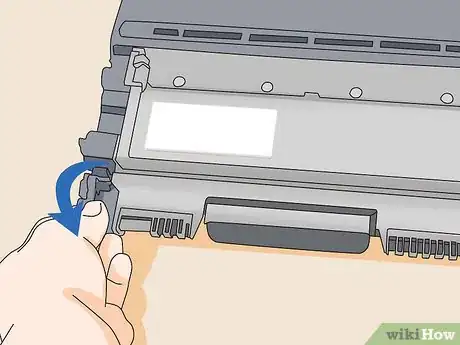
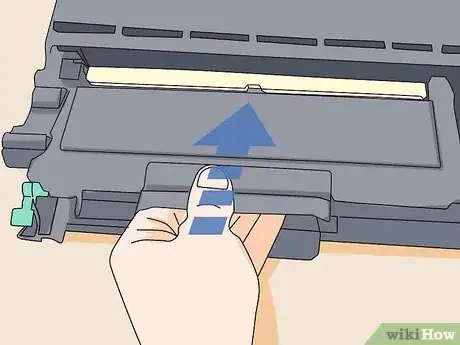
3Remove the spent cartridge by pressing the release lever on the drum assembly.
-
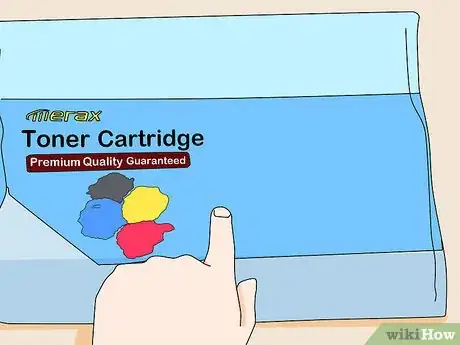
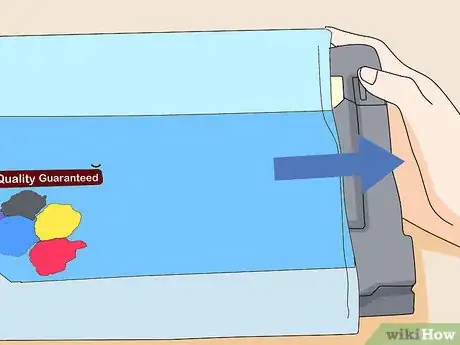
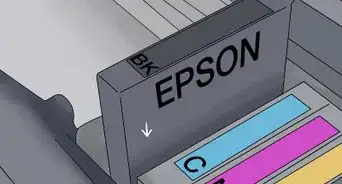
4Take the new cartridge out of the box, but keep it in its plastic packaging. Sometimes, during shipping, toner can settle in the toner drum, resulting in poor-quality copies. To prevent this problem, gently shake the cartridge. This helps fully distribute toner throughout the cartridge.
-
5Remove the new cartridge from its packaging and pull off the sealing tape.
- While doing this, be careful not to touch the imaging drum on the bottom of the toner cartridge. Smudges on the drum can cause print-quality problems.
-
6Put the replacement cartridge in. It should snap in place securely.
-
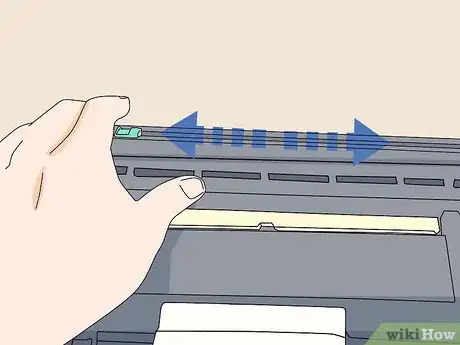
7Slide the drum cleaning lever back and forth.
-
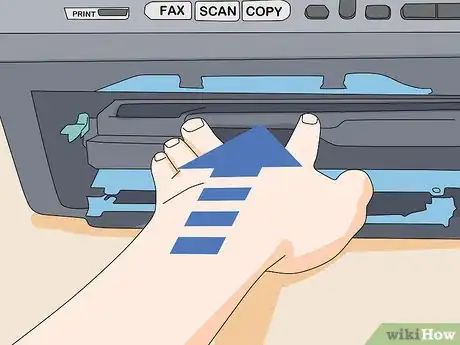
8Reinsert the drum assembly completely, and close the printer's access port.
-
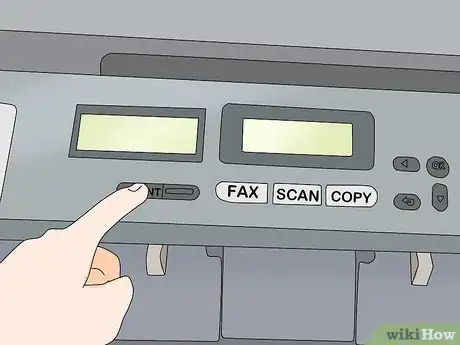
9Your printer is ready to be used.
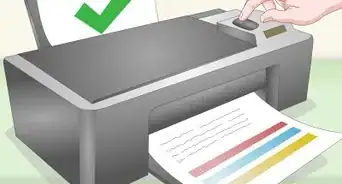
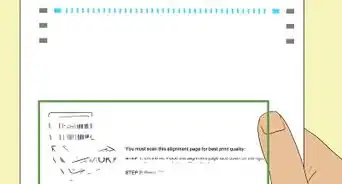
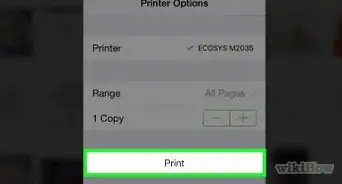
- Print a test page. Your computer will automatically recognize that a new cartridge has been installed. Most computers will ask you if you want to print a test page to ensure that the new cartridge is functional. Click "OK." The computer will scan the printer settings and eventually produce a printed page.
Advertisement
Community Q&A
-
QuestionWhat can I do if I pressed the wrong button on the testing page?
 Community AnswerThere are a few types of reports that a printer can output; generally, at worst, you simply print out a page of specs, which still serves as evidence that the printer is working.
Advertisement
References
About This Article
Advertisement
