This article was co-authored by wikiHow staff writer, Janice Tieperman. Janice is a professional and creative writer who has worked at wikiHow since 2019. With both a B.A. and M.A. in English from East Stroudsburg University, she has a passion for writing a wide variety of content for anyone and everyone. In her free time, you can find her working on a new crochet pattern, listening to true crime podcasts, or tackling a new creative writing project.
There are 14 references cited in this article, which can be found at the bottom of the page.
This article has been viewed 22,065 times.
Learn more...
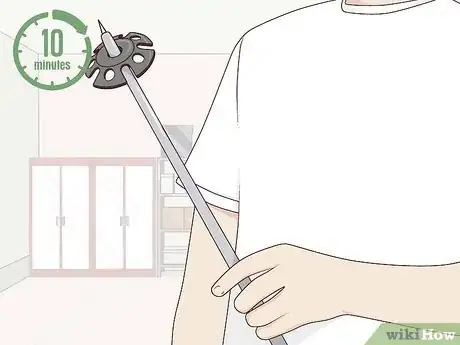
Believe it or not, your ski baskets play a really important role whenever you hit the slopes. Every time you ski, your baskets prevent your poles from sticking too far into the snow. Because of this, your baskets might be looking a little worse for wear if you ski pretty frequently. Thankfully, it only takes about 10 minutes to upgrade your skis so you can get right back to one of your favorite winter activities.
Steps
Removing the Old Basket
-
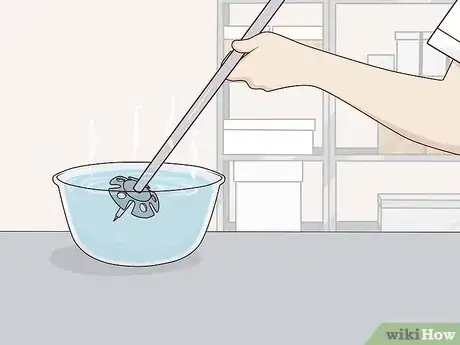
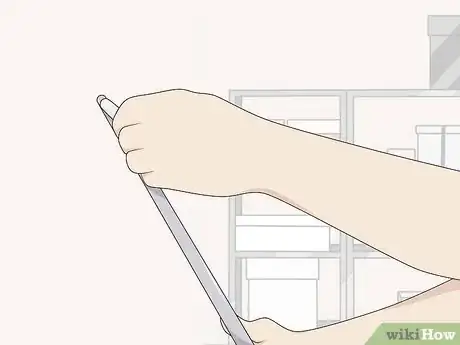
1Heat your old basket with hot water to loosen the glue. Fill a pot with water and place it over low heat on the stovetop. Hold the strapped end of the pole in 1 hand, then dip the basket and tip into the hot water. Keep the basket in the water for about 1-2 minutes so the original glue can soften and loosen a bit.[1]
- The water doesn’t need to be boiling—just hot enough to loosen the glue, like 140 to 160 °F (60 to 71 °C).
- You can also use hot running water to get the job done.
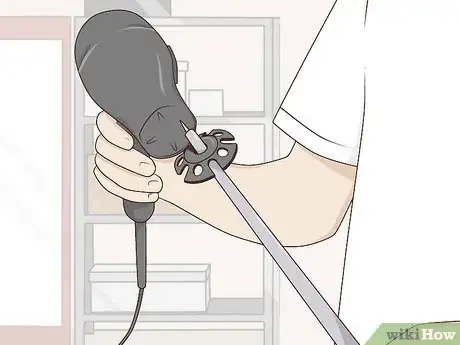
- You can also use a hair dryer to loosen the glue. Set the blow dryer to high, then hover it a few inches or centimeters away from the existing basket.
-
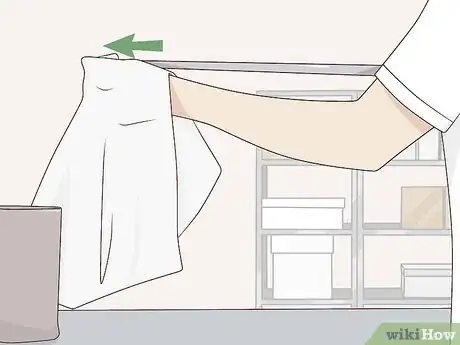
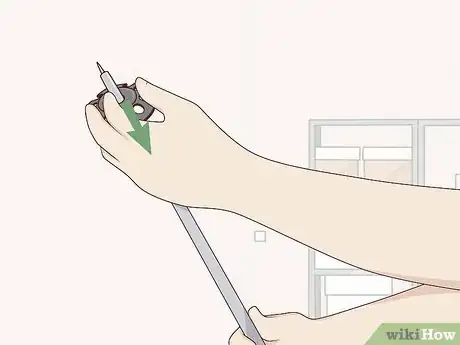
2Pull and slide the basket off the pole with a cloth. Wrap your hand around a cloth so you won’t get burned, then grip the ski pole basket firmly. Slide it off the narrow end of the pole to remove it completely.[2]
- If the basket won’t budge, heat it with a blow dryer or some hot water for 1-2 extra minutes.
Advertisement -
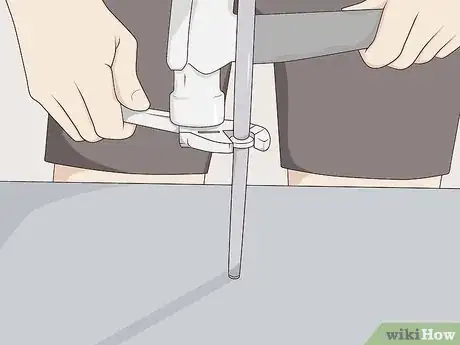
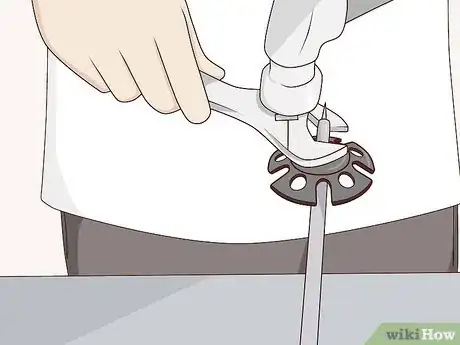
3Remove any metal flex tip mounts with a wrench and hammer. Examine the tip of your pole and see if there’s a small, metal ring attached, otherwise known as a flex tip mount. Since you’re installing an entirely new basket onto your pole, you’ll need to remove this ring. Secure an adjustable wrench just above the ring, then tap the wrench with a hammer to loosen and remove the flex tip mount.[3]
- This tip is about 4 to 5 in (10 to 13 cm) away from the bottom of the ski pole.
Installing the New Ski Pole Basket
-
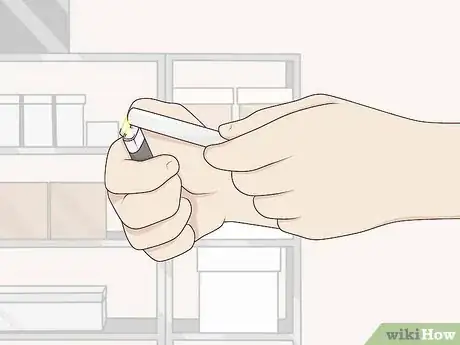
1Melt the tip of a hot glue stick with a lighter. Move the lighter around the bottom of the stick to soften and liquefy some of the glue. Only heat the tip of the stick, as you don’t need to use a lot of glue.[4]
-
2Swipe the glue along the end of the pole. Rub the glue along the bottom 1 in (2.5 cm) of the pole. Be sure to do this while the glue is still warm so the new basket can be as secure as possible.[5]
- Since the basket goes on the bottom of the ski pole, you don’t need to apply that much glue.
- Don’t worry if you don’t have any hot glue on hand—gorilla or super glue can also do the trick in a pinch. When you’re using standard glue, just squeeze a few drops directly onto the end of the pole.[6]
-
3Slide the new basket onto the pole. Shop online or visit a specialty store to pick up a replacement basket for your pole. While the glue is wet, slide the central opening of the basket over the glue on the pole. Try to slide it as far along the pole as you can.[7]
- Ideally, your basket will be about 2 to 3 in (5.1 to 7.6 cm) from the bottom of the pole.[8]
-
4Heat the basket for 1 minute to soften the glue with a blow dryer. For extra security, turn your blow dryer to high heat settings and hover it a few inches or centimeters away from the new ski pole basket. Let the glue soften for about 1 minute, then slide the basket as far as it can go onto the pole.[9]
- You can also soak the ski pole in hot water to soften the glue.
Tip: If you’re using a ski pole basket with a defined point, rotate the basket so the pointed section faces backwards. Be sure to do this before the glue dries completely![10]
-
5Hammer a wrench on top of your new basket to secure it in place. Secure an adjustable wrench along the bottom of the pole. Tap the wrench a few times with a hammer to force the basket further along the pole. Try to position the basket about 2 to 3 in (5.1 to 7.6 cm) from the end of the pole.[11]
- Since you’re glueing and hammering your new basket into place, you don’t need to worry about installing a new flex tip mount.
-
6Wait 10 minutes for the glue to dry completely. If you’re in a rush to ski, set a timer for 10 minutes. In that time, the glue will harden and your ski pole will be ready to use![12]
Warnings
- Don’t use a heat gun to loosen the glue on your pole, as this tool can cause long-term damage to the equipment.[14]⧼thumbs_response⧽
Things You’ll Need
- New ski pole basket
- Hair dryer
- Hot glue stick
- Wrench
- Hammer
- Gorilla or super glue (optional)
- Hot water (optional)
References
- ↑ https://m.youtube.com/watch?v=WhGXoKWeYTQ&t=0m30s
- ↑ https://m.youtube.com/watch?v=WhGXoKWeYTQ&t=0m55s
- ↑ https://m.youtube.com/watch?v=nf8UzSpodi4&t=0m33s
- ↑ https://m.youtube.com/watch?v=WhGXoKWeYTQ&t=1m19s
- ↑ https://m.youtube.com/watch?v=WhGXoKWeYTQ&t=1m22s
- ↑ https://m.youtube.com/watch?v=WhGXoKWeYTQ&t=0m48s
- ↑ https://m.youtube.com/watch?v=WhGXoKWeYTQ&t=1m30s
- ↑ https://m.youtube.com/watch?v=nf8UzSpodi4&t=1m12s
- ↑ https://m.youtube.com/watch?v=WhGXoKWeYTQ&t=1m37s
